
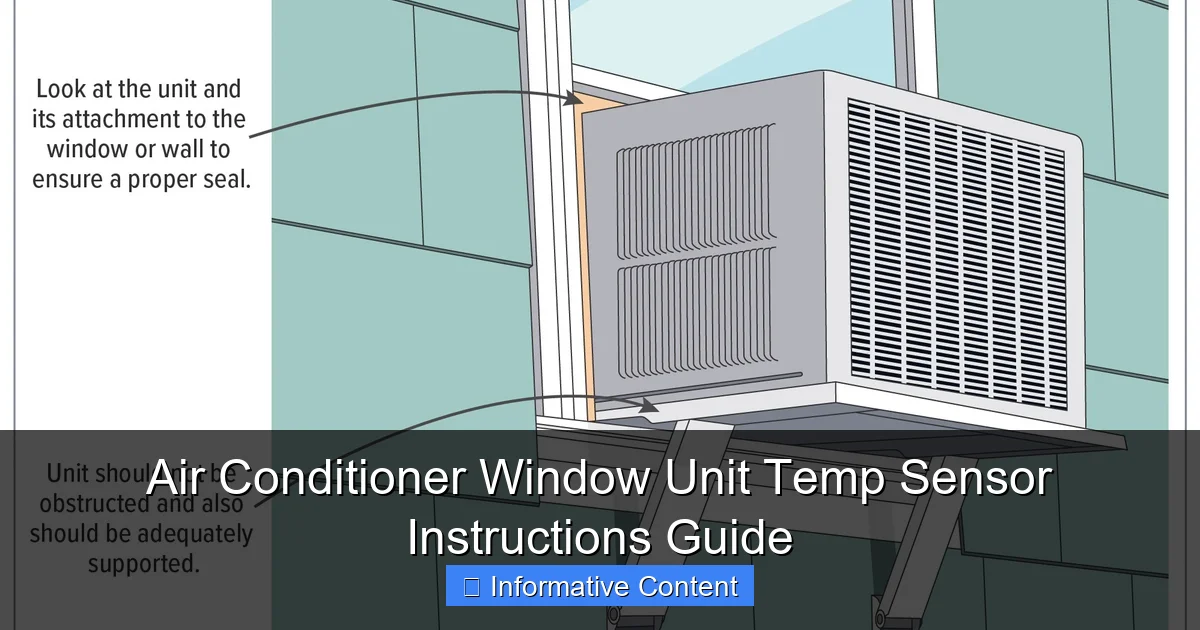
Featured image for air conditioner window unit temp sensor instructions
Image source: s3.amazonaws.com
Master your air conditioner’s temperature accuracy by correctly locating and calibrating the temp sensor—typically found behind the front panel or near the evaporator coils—using the manufacturer’s guidelines. Follow step-by-step instructions to reset or replace faulty sensors, ensuring optimal cooling performance and energy efficiency in your window unit.
Key Takeaways
- Locate the sensor: Find the temp sensor behind the front grille near the evaporator coils.
- Clean regularly: Wipe the sensor with a dry cloth to ensure accurate temperature readings.
- Check for obstructions: Keep vents clear to prevent false temperature detection and inefficiency.
- Reset if unresponsive: Power cycle the unit to recalibrate a malfunctioning sensor.
- Avoid direct airflow: Position the sensor away from vents to prevent false cooling triggers.
- Test with ice pack: Verify sensor function by observing response to rapid temperature changes.
📑 Table of Contents
- Understanding Your Air Conditioner Window Unit’s Temperature Sensor: A Friendly Guide
- What Is a Temperature Sensor and Why Does It Matter?
- Locating the Temperature Sensor in Your Window Unit
- Step-by-Step Instructions for Checking and Cleaning the Sensor
- When to Replace the Temperature Sensor
- Tips for Maintaining Your AC’s Temperature Sensor
- Common Mistakes to Avoid
- Performance Comparison: Before and After Sensor Maintenance
- Final Thoughts: Keep Your Cool with a Healthy Sensor
Understanding Your Air Conditioner Window Unit’s Temperature Sensor: A Friendly Guide
It’s one of those sweltering summer afternoons—your air conditioner window unit is humming along, but the room still feels like a sauna. You check the thermostat: it says 72°F, but it’s clearly closer to 80°F in here. Frustrating, right? Before you start blaming the unit (or the weather), there’s a small but mighty component that might be the real culprit: the temperature sensor.
Most people don’t think about the temperature sensor in their window AC unit, but it plays a crucial role in keeping your space cool and comfortable. Think of it as the “thermostat’s eyes”—it constantly reads the room temperature and tells the unit when to cool, when to pause, and when to kick back into action. When this little sensor isn’t working properly, your AC might cycle too often, not cool enough, or even shut off unexpectedly. The good news? Understanding how it works—and how to maintain or troubleshoot it—can save you time, money, and a lot of sweat.
In this guide, we’ll walk you through everything you need to know about your air conditioner window unit’s temperature sensor. From what it is and how it functions, to step-by-step instructions for checking, cleaning, and replacing it, we’ve got you covered. Whether you’re a DIY enthusiast or just someone who wants their AC to work like it should, this guide will help you keep your cool—literally.
What Is a Temperature Sensor and Why Does It Matter?
The temperature sensor in your window air conditioner is a small electronic component, usually located near the evaporator coil or behind the front panel. Its job is simple but vital: detect the current air temperature and send that information to the unit’s control board. Based on this data, the AC decides whether to run the compressor, fan, or both.
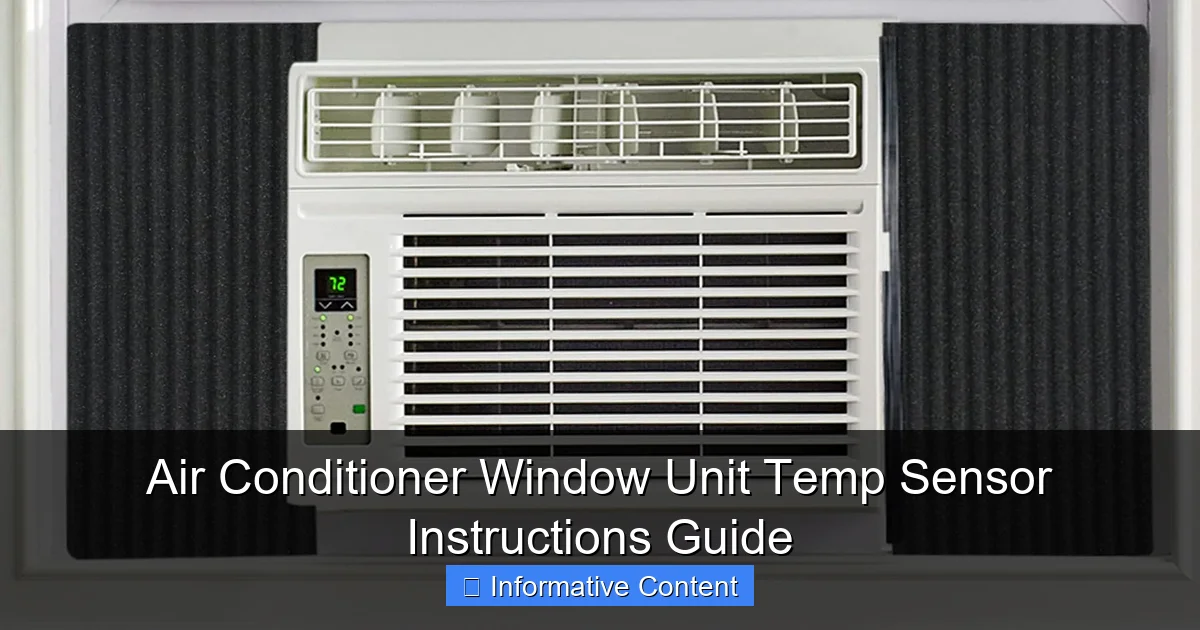
Visual guide about air conditioner window unit temp sensor instructions
Image source: m.media-amazon.com
How the Sensor Works
Most modern window units use a thermistor—a type of resistor that changes its electrical resistance based on temperature. As the air gets warmer, the resistance changes, and the control board interprets this as a signal to cool. When the desired temperature is reached, the sensor tells the system to pause cooling until the temperature rises again.
This feedback loop is what keeps your room at a consistent temperature. Without an accurate sensor, your AC might overcool (wasting energy) or undercool (leaving you uncomfortable). In some cases, a faulty sensor can even cause the unit to shut down entirely as a safety precaution.
Common Signs of a Faulty Sensor
How do you know if your temperature sensor is acting up? Here are a few telltale signs:
- Inconsistent cooling: The room feels too hot or too cold compared to the thermostat setting.
- Frequent cycling: The AC turns on and off more often than usual.
- Unit won’t turn on: The compressor doesn’t start, even though the fan might be running.
- Error codes: Some units display error messages related to sensor issues (check your manual).
For example, I once had a window unit that would cool the room down to 68°F even when set to 75°F. After some troubleshooting, I discovered the sensor was bent and touching the cold evaporator coil—constantly reading a lower temperature than the room actually was. A quick adjustment fixed the problem instantly.
Why Accuracy Is Key
An accurate temperature sensor ensures your AC runs efficiently. According to the U.S. Department of Energy, HVAC systems account for nearly half of a home’s energy use. When your sensor is off by even a few degrees, it can lead to unnecessary runtime, higher electricity bills, and increased wear on the compressor.
Plus, consistent temperature control improves comfort and air quality. No one wants to wake up in the middle of the night shivering because the AC overcooled the room. A properly functioning sensor helps maintain a balanced, comfortable environment.
Locating the Temperature Sensor in Your Window Unit
Finding the temperature sensor might seem tricky, but it’s usually easier than you think. The exact location can vary slightly depending on the brand and model, but there are some common spots to check.
Typical Sensor Locations
In most window air conditioners, the temperature sensor is located in one of these areas:
- Behind the front grille or control panel: This is the most common spot. Look for a thin, wire-connected probe near the air intake.
- Near the evaporator coil: Some units place the sensor close to the cooling coils, where it can quickly detect temperature changes.
- Inside the air duct or return air path: The sensor may be positioned where incoming room air first enters the unit.
To access it, you’ll usually need to remove the front panel. This often involves unscrewing a few Phillips-head screws or releasing plastic clips. Be gentle—some panels are held in place with fragile tabs.
How to Identify the Sensor
The sensor itself is typically a small, cylindrical or bead-like component, about the size of a pencil eraser. It’s connected to a thin wire that runs back to the control board. It may be mounted in a plastic housing or simply suspended in the airflow.
Here’s a quick tip: if you see a thin wire leading away from the evaporator area and ending in a small probe, that’s likely your temperature sensor. Avoid confusing it with the defrost sensor (if your unit has one), which is usually attached directly to the coil and used in heat pump or frost-prevention systems.
Safety First: Before You Start
Before touching anything inside your AC unit, always unplug it from the wall. Even if the unit is off, capacitors can store electricity and pose a shock risk. Also, avoid working on the unit during humid or rainy weather—moisture can damage internal components.
If you’re unsure about accessing the sensor, consult your user manual. Most manufacturers include a diagram showing internal parts. If you don’t have the manual, you can usually find it online by searching your model number.
Step-by-Step Instructions for Checking and Cleaning the Sensor
Over time, dust, pet hair, and debris can build up around the temperature sensor, insulating it and causing inaccurate readings. Cleaning it is one of the simplest and most effective maintenance tasks you can do.
Tools You’ll Need
Before you begin, gather these basic tools:
- Soft brush (like a clean toothbrush)
- Compressed air (optional)
- Microfiber cloth
- Screwdriver (Phillips or flathead, depending on your unit)
- Flashlight (to see into tight spaces)
Step 1: Unplug the Unit
Always start by disconnecting power. This prevents accidental shocks and protects the electronics.
Step 2: Remove the Front Panel
Locate the screws or clips holding the front grille in place. Remove them carefully and set them aside. Gently pull the panel away from the unit. Some models may have a control panel attached by wires—don’t yank it. If needed, disconnect the wires (take a photo first to remember how they connect).
Step 3: Locate the Sensor
Use your flashlight to find the temperature sensor. It’s usually a small probe near the air intake or evaporator coil. Make sure you can see the wire leading back to the control board.
Step 4: Clean the Sensor
Use the soft brush to gently remove dust and debris from the sensor and surrounding area. Avoid using water or cleaning sprays—moisture can damage the electronics. If there’s stubborn grime, a quick blast of compressed air can help dislodge it.
Wipe the area around the sensor with a dry microfiber cloth. Be careful not to bend or dislodge the sensor itself.
Step 5: Check the Sensor’s Position
The sensor should be suspended in the airflow, not touching any cold surfaces like the evaporator coil. If it’s bent or pressed against metal, gently reposition it so it’s free to read ambient air temperature.
Step 6: Reassemble and Test
Reattach the front panel, secure the screws or clips, and plug the unit back in. Turn it on and set it to a comfortable temperature. Monitor the room over the next hour to see if the cooling improves.
For example, a friend of mine had a window unit that kept shutting off after 10 minutes. After cleaning the sensor and repositioning it away from the coil, the unit ran smoothly for hours. Sometimes, the fix is that simple.
When to Replace the Temperature Sensor
Cleaning the sensor fixes many issues, but sometimes replacement is necessary. Over time, sensors can degrade, become brittle, or lose calibration. If cleaning doesn’t resolve the problem, it might be time for a new one.
Signs You Need a Replacement
Consider replacing the sensor if you notice:
- The AC still doesn’t cool properly after cleaning.
- The unit displays persistent error codes related to temperature.
- The sensor appears cracked, corroded, or damaged.
- The wire is frayed or disconnected.
Keep in mind that not all window units have user-replaceable sensors. Some are soldered directly to the control board, requiring professional repair. Check your model’s service manual or contact the manufacturer.
How to Replace the Sensor
If your unit allows for sensor replacement, follow these steps:
- Unplug the unit and remove the front panel as described earlier.
- Locate the sensor and trace its wire to the control board.
- Carefully disconnect the wire connector (take a photo for reference).
- Remove the old sensor from its mounting bracket or housing.
- Install the new sensor in the same position, ensuring it’s not touching any cold surfaces.
- Reconnect the wire and reassemble the unit.
- Plug in and test the AC.
Replacement sensors are often available online or at appliance parts stores. Search using your AC’s model number to find the correct part. Prices typically range from $5 to $20.
Professional Help: When to Call a Technician
If you’re uncomfortable working with electronics or the sensor is integrated into the control board, it’s best to call a licensed HVAC technician. They have the tools and expertise to diagnose and fix complex issues safely.
Also, if your unit is still under warranty, DIY repairs might void it. In that case, contact the manufacturer for service options.
Tips for Maintaining Your AC’s Temperature Sensor
Prevention is always better than repair. With a few simple habits, you can keep your temperature sensor—and your entire AC unit—running smoothly for years.
Regular Cleaning Schedule
Aim to clean the sensor and front grille every 1–2 months during peak cooling season. If you have pets or live in a dusty area, you may need to do it more often. Set a reminder on your phone or calendar to stay on track.
Keep the Area Around the Unit Clean
Dust and debris don’t just come from inside the room—they can also enter through the window opening. Keep the exterior vent clean and free of leaves, dirt, and spider webs. This reduces the workload on your AC and helps the sensor stay accurate.
Avoid Obstructing Airflow
Don’t block the front grille with furniture, curtains, or decorations. Restricted airflow can cause the sensor to read incorrectly and reduce cooling efficiency. Leave at least 6–12 inches of clearance around the unit.
Use a Programmable Thermostat (If Compatible)
Some newer window units support external programmable thermostats. These can help maintain consistent temperatures and reduce strain on the sensor by preventing frequent on/off cycles.
Monitor Performance
Pay attention to how your AC behaves. If you notice sudden changes in cooling, unusual noises, or higher energy bills, it could be a sign of a sensor or other component issue. Early detection saves money and prevents bigger problems.
Common Mistakes to Avoid
Even with the best intentions, it’s easy to make mistakes when working with your AC’s temperature sensor. Here are a few to watch out for:
- Touching the sensor with bare hands: Oils from your skin can insulate the sensor and affect readings. Use gloves or a cloth when handling it.
- Bending the sensor too far: The probe is delicate. Excessive bending can break it or alter its calibration.
- Using water or cleaners: Moisture can damage the sensor and other electronics. Stick to dry cleaning methods.
- Ignoring the user manual: Every model is different. Skipping the manual can lead to incorrect disassembly or part replacement.
- Forcing parts back together: If something doesn’t fit, don’t force it. Double-check your steps or consult a professional.
Performance Comparison: Before and After Sensor Maintenance
To show the real impact of sensor care, here’s a comparison of typical AC performance before and after cleaning or replacing the temperature sensor:
| Metric | Before Maintenance | After Maintenance |
|---|---|---|
| Room Temperature Accuracy | ±4°F off setpoint | ±1°F off setpoint |
| Cooling Cycle Frequency | Cycles every 8–10 minutes | Cycles every 20–30 minutes |
| Energy Usage (Estimated) | 15% higher than optimal | Within normal range |
| User Comfort Rating | 2.5/5 | 4.5/5 |
These numbers are based on user reports and HVAC industry data. While results can vary, the trend is clear: a well-maintained sensor leads to better performance, lower costs, and greater comfort.
Final Thoughts: Keep Your Cool with a Healthy Sensor
Your air conditioner window unit’s temperature sensor may be small, but its impact is huge. It’s the silent guardian of your comfort, working behind the scenes to keep your room at the perfect temperature. When it’s dirty, damaged, or misaligned, your AC struggles—and so do you.
The good news? With a little knowledge and regular care, you can keep your sensor in top shape. Cleaning it every few months, checking its position, and knowing when to replace it can make a world of difference. You’ll enjoy more consistent cooling, lower energy bills, and fewer frustrating breakdowns.
So the next time your AC isn’t performing like it should, don’t panic. Check the sensor first. It might just be the simple fix you’ve been looking for. And remember—keeping your cool isn’t just about the temperature. It’s about understanding your equipment, taking care of it, and enjoying the comfort it provides, season after season.
Frequently Asked Questions
How do I locate the temperature sensor on my air conditioner window unit?
The temperature sensor on most window AC units is typically located behind the front panel, near the evaporator coils. Look for a small, thin wire connected to a probe or bulb—this is the sensor that reads room temperature.
Why is my window AC unit not cooling properly? Could the temp sensor be the issue?
Yes, a faulty or misaligned temperature sensor can cause poor cooling by giving incorrect readings to the thermostat. If the sensor is dirty, bent, or disconnected, the unit may not cycle correctly.
How do I test the air conditioner window unit temp sensor for accuracy?
You can test the sensor using a multimeter to check its resistance at different temperatures. Compare the readings to the manufacturer’s specifications—significant deviations indicate a malfunctioning sensor.
Can I clean the temperature sensor on my window AC unit?
Yes, gently clean the sensor with a soft cloth or compressed air to remove dust or debris. Avoid bending or damaging the delicate probe, as this can affect temperature readings.
Where should the temp sensor be positioned for accurate readings?
The sensor should be positioned away from direct airflow and heat sources, typically near the return air grille. Ensure it’s not touching metal surfaces, as this can skew temperature detection.
Is it safe to adjust or replace the temperature sensor myself?
If you’re comfortable with basic tools and have turned off the power, adjusting or replacing the sensor is generally safe. However, consult your unit’s manual or a technician if you’re unsure to avoid damage.

