
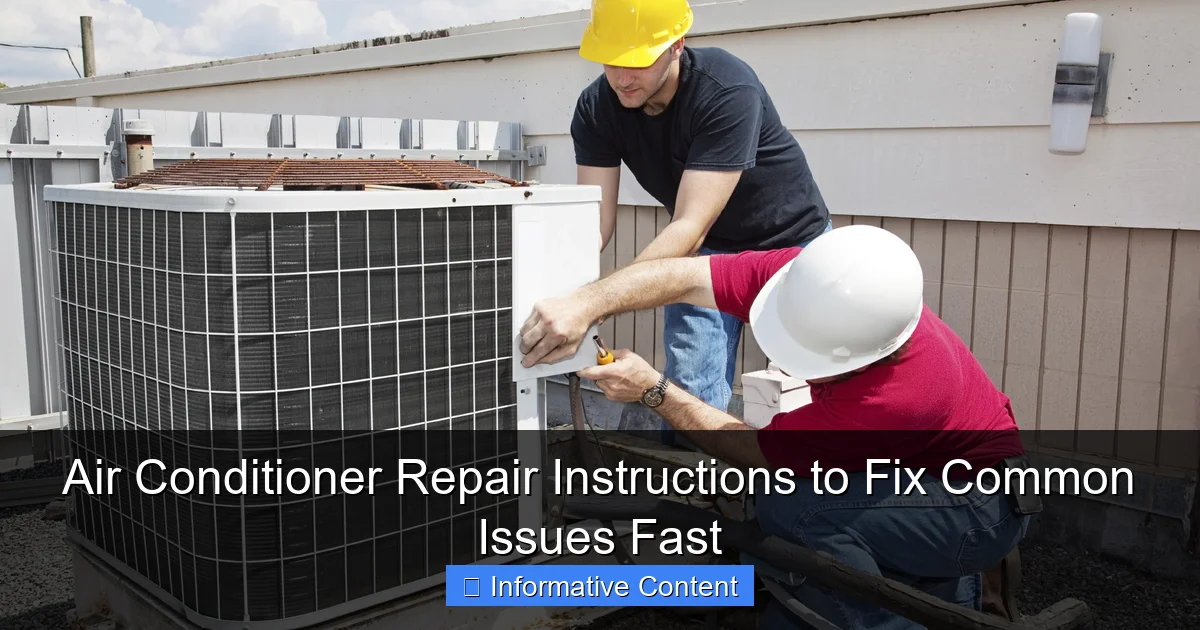
Featured image for air conditioner repair instructions
Image source: applianceguard.com
Quickly diagnose and fix common air conditioner problems with these essential repair instructions, designed to restore cooling performance without costly service calls. From clogged filters to refrigerant leaks, step-by-step solutions help homeowners tackle issues fast and safely, ensuring comfort and efficiency all season long.
Key Takeaways
- Turn off power first: Always disconnect power before attempting any repairs for safety.
- Clean filters regularly: Replace or clean clogged filters to restore airflow and efficiency.
- Check thermostat settings: Ensure it’s on “cool” and set lower than room temperature.
- Inspect refrigerant levels: Low refrigerant may require a pro to recharge and fix leaks.
- Clear drain lines: Prevent water damage by unclogging AC condensate drain lines monthly.
- Listen for odd noises: Grinding or squealing sounds signal urgent motor or fan issues.
📑 Table of Contents
- Air Conditioner Repair Instructions to Fix Common Issues Fast
- 1. Diagnosing the Problem: First Steps for Any AC Repair
- 2. Fixing Warm Air: Why Your AC Isn’t Cooling
- 3. Addressing Strange Noises: What Your AC Is Trying to Tell You
- 4. Preventing and Clearing Airflow Blockages
- 5. When to Call a Professional: Recognizing Your Limits
- 6. Maintenance Checklist: Preventing Future Repairs
- Conclusion: Stay Cool, Stay Safe
Air Conditioner Repair Instructions to Fix Common Issues Fast
It’s a hot summer afternoon. The sun is blazing, and you’re counting on your air conditioner to keep your home cool and comfortable. But instead of a refreshing blast of cold air, you get… nothing. Or worse, warm air. Or a strange noise that sounds like your AC unit is about to launch into orbit. Sound familiar? You’re not alone. Air conditioner problems are one of the most common household frustrations, especially when temperatures climb. The good news? Many common AC issues can be fixed with a little know-how, the right tools, and a calm, methodical approach.
As someone who’s spent years troubleshooting HVAC systems—both professionally and while helping friends and family—I’ve learned that most air conditioner repair instructions don’t need to involve a technician. In fact, over 60% of service calls for AC problems could be avoided with basic maintenance and quick fixes. Whether your unit is blowing warm air, making odd noises, or not turning on at all, this guide walks you through air conditioner repair instructions to help you diagnose and resolve the most common issues fast. No jargon, no fluff—just practical, step-by-step advice you can trust. Let’s get your cool back.
1. Diagnosing the Problem: First Steps for Any AC Repair
Before you grab a wrench or call a technician, take a breath. The first step in any air conditioner repair is proper diagnosis. Jumping to conclusions or replacing parts randomly can waste time and money. Instead, follow a logical process to pinpoint the issue.
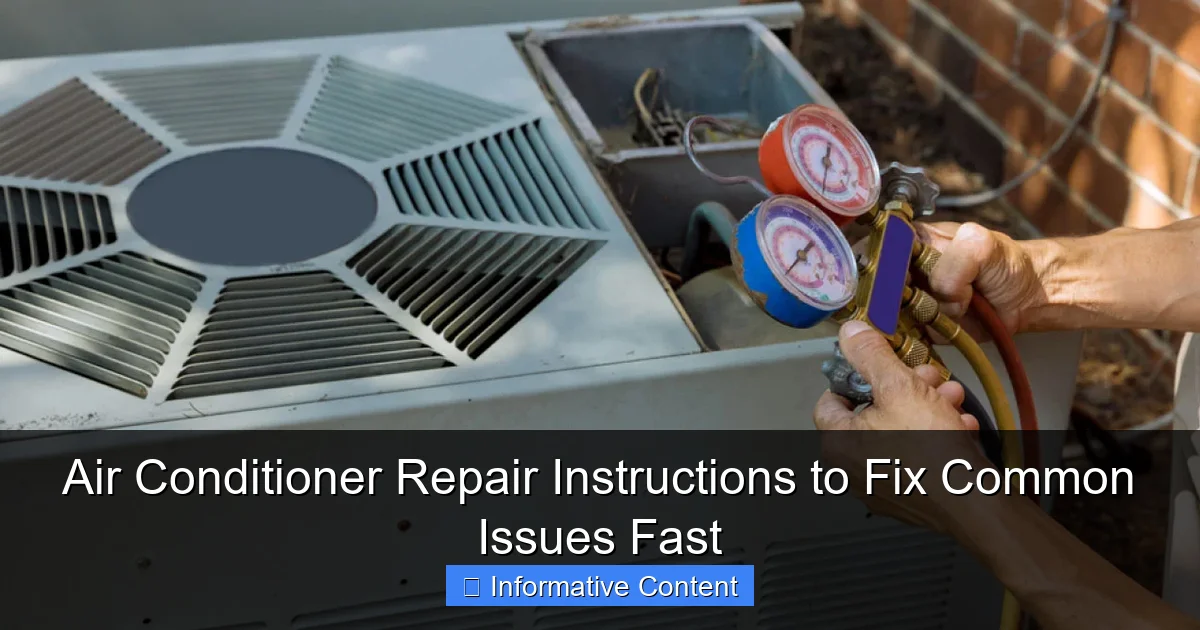
Visual guide about air conditioner repair instructions
Image source: superiorplumbing.ca
Check the Obvious: Power and Thermostat
- Is the unit receiving power? Check your circuit breaker or fuse box. A tripped breaker is one of the most common causes of a non-working AC. Reset it if needed, but if it trips again immediately, that’s a sign of a deeper electrical issue—don’t keep resetting it.
- Thermostat settings: Make sure it’s set to “cool” and the temperature is lower than the current room temp. I once spent 20 minutes troubleshooting a “broken” AC only to realize my kid had switched the thermostat to “heat” during a nap. Oops.
- Battery check: If your thermostat uses batteries, replace them. A low battery can cause erratic behavior.
Listen and Observe: What’s the Unit Doing?
Stand near the indoor and outdoor units. Listen for:
- No sound at all: Could indicate a power issue or failed capacitor.
- Clicking but no start: Often points to a failing compressor or relay.
- Humming or buzzing: May suggest a fan motor problem or refrigerant leak.
- Short cycling (turning on/off quickly): Could be due to dirty coils, low refrigerant, or oversized unit.
Inspect Airflow and Filters
Grab a flashlight and check:
- Air filters: Clogged filters are the #1 cause of airflow issues. If it looks like a dust bunny convention, replace it. A clean filter improves efficiency and prevents strain on the system.
- Vents and registers: Make sure none are blocked by furniture or curtains. Even a 20% blockage can reduce airflow significantly.
- Ductwork: Look for visible tears, gaps, or disconnected sections. Leaky ducts can waste up to 30% of cooled air.
Pro tip: Take photos of the unit’s control panel and wiring before touching anything. This helps you remember how things were connected if you need to reassemble later.
2. Fixing Warm Air: Why Your AC Isn’t Cooling
You turn the dial to 68°F, but the air feels more like 78°F. Warm air from your vents is one of the most frustrating AC issues—but it’s often fixable. Let’s break down the most common causes and how to address them.
Dirty Air Filter (The Usual Suspect)
A clogged filter restricts airflow, causing the evaporator coil to freeze. When the coil thaws, it can’t absorb heat properly, so the air stays warm. This is the air conditioner repair fix I recommend first—it’s free, easy, and effective.
- Turn off the AC.
- Locate the filter (usually near the air handler or return vent).
- Remove and inspect. If it’s gray, brittle, or caked with dust, replace it with a new one (check the size on the old filter).
- Wait 2–4 hours, then restart the unit.
Frozen Evaporator Coil
If you see ice or frost on the indoor coil (behind the filter or inside the air handler), that’s a red flag.
- Turn off the AC and let the ice melt completely (2–4 hours).
- Check the filter—replace if dirty.
- Inspect the blower fan. If it’s not spinning, the motor may be bad or the belt (in older units) may be broken.
- Once thawed, restart the system. If it freezes again, the issue may be low refrigerant or a blocked airflow path—time to call a pro.
Low Refrigerant (Freon) Levels
Refrigerant is the “blood” of your AC system. Too little, and it can’t absorb heat. Signs include:
- Hissing or bubbling sounds (leak indicator)
- Frost on refrigerant lines
- Longer cooling cycles
Important: Only a licensed technician can legally handle refrigerant. But you can help by:
- Checking for visible leaks (oil stains, wet spots on copper lines).
- Noticing if the outdoor unit is unusually quiet or hot.
- Scheduling a professional inspection if you suspect a leak.
Thermostat Calibration Issues
Sometimes the thermostat just reads the room temperature wrong. Try this:
- Place a standalone thermometer next to the thermostat.
- Wait 15 minutes. If the readings differ by more than 2°F, the thermostat may need recalibration or replacement.
- For digital models, check the manual for calibration steps. Older mechanical thermostats can be gently adjusted with a small level.
3. Addressing Strange Noises: What Your AC Is Trying to Tell You
Your air conditioner isn’t supposed to sound like a washing machine full of rocks. Unusual noises are your AC’s way of saying, “Hey, something’s wrong!” Let’s decode the most common sounds and how to fix them.
Banging or Clanking
This usually comes from the indoor unit or blower assembly.
- Cause: Loose or broken fan blades, motor mounts, or a detached component.
- Repair: Turn off the power. Open the access panel and inspect the blower wheel. Tighten any loose screws or bolts. If a blade is cracked or bent, it needs replacement. Use a fan balancing kit if the wheel wobbles.
- Example: A friend’s AC started banging after a storm. Turns out, a small branch had blown into the outdoor unit and damaged the fan blade. A $15 replacement part fixed it.
Hissing or Bubbling
These sounds often point to refrigerant leaks.
- Location: Listen near refrigerant lines, the indoor coil, or the outdoor unit.
- Action: Don’t ignore this. Refrigerant is toxic and depletes the ozone layer. Turn off the AC and call a pro immediately. In the meantime, avoid touching any oily residue—it could be contaminated refrigerant.
Clicking at Startup or Shutdown
Some clicking is normal (relays engaging), but constant or loud clicking is a problem.
- Cause: Failing start capacitor or bad relay.
- Repair: The capacitor stores energy to start the compressor and fan motors. If it’s bulging, leaking, or has a burnt smell, replace it. Use a multimeter to test it (discharge first!). Match the microfarad (µF) and voltage ratings exactly.
- Tip: Capacitors are relatively cheap ($10–$30) and easy to replace. Just take a photo of the wiring before disconnecting.
Squealing or Screeching
High-pitched noises usually come from the blower motor or outdoor fan.
- Cause: Worn motor bearings or a slipping belt (in older units).
- Repair: For motors, apply a few drops of electric motor oil to the bearings (if accessible). For belts, adjust tension or replace if frayed. A squealing belt is a sign it’s about to break.
Humming or Buzzing
Low, continuous sounds often indicate electrical issues.
- Cause: Loose wiring, failing contactor, or a bad transformer.
- Repair: Turn off the power. Inspect the contactor (a small box near the compressor). If the contacts are pitted or burnt, replace the contactor. Check wire connections—tighten any loose ones. If the buzzing persists, call an electrician.
4. Preventing and Clearing Airflow Blockages
Even the most powerful AC can’t cool your home if air can’t flow. Blockages reduce efficiency, strain components, and shorten your unit’s lifespan. Let’s tackle the most common airflow killers.
Dirty Condenser Coils (Outdoor Unit)
The outdoor coil releases heat from your home. If it’s covered in dirt, grass clippings, or debris, heat can’t escape—so the AC works harder and cools less.
- Cleaning steps:
- Turn off the power at the breaker.
- Remove leaves, twigs, and debris from around the unit.
- Use a garden hose to gently wash the coil fins (don’t use a pressure washer—it can bend them).
- For heavy buildup, use a commercial coil cleaner (spray on, wait 10 minutes, rinse).
- Straighten bent fins with a fin comb (available at hardware stores).
- Frequency: Clean coils once a year (spring) or more often if near trees or dusty areas.
Clogged Drain Line
The AC removes moisture from the air, which drains outside. If the line clogs, water can back up and cause leaks or mold.
- Symptoms: Water near the indoor unit, musty smell, or a full drain pan.
- Clearing the line:
- Locate the drain line (usually a PVC pipe near the air handler).
- Remove the cap or access point.
- Use a wet/dry vac to suck out the clog (attach to the end).
- Flush with a mix of 1 part bleach, 3 parts water to kill algae.
- Replace the cap and test by pouring water into the pan—it should drain smoothly.
- Prevention: Add a float switch that shuts off the AC if the pan fills—this prevents water damage.
Blocked Air Vents and Registers
Don’t let furniture or rugs block airflow. Even a small blockage can create hot spots and reduce efficiency.
- Ensure all vents are open and unobstructed.
- Use vent deflectors to redirect air if needed.
- Consider a vent booster fan for weak airflow areas (installs in the duct).
Duct Leaks and Poor Insulation
Leaky ducts waste energy and money. Inspect accessible ductwork in attics, basements, or crawl spaces.
- Look for gaps, tears, or disconnected sections.
- Seal with duct mastic (not duct tape—it fails over time).
- Insulate ducts in unconditioned spaces (R-6 insulation is ideal).
5. When to Call a Professional: Recognizing Your Limits
DIY repairs are empowering, but some jobs are best left to the experts. Knowing when to call a pro saves time, money, and safety risks.
Refrigerant Handling
Recharging refrigerant requires EPA certification. Attempting it yourself can:
- Damage the system (over/undercharging causes compressor failure).
- Expose you to toxic chemicals.
- Violate environmental laws (fines up to $37,500 per leak).
Call a pro if: You suspect a refrigerant leak, need a recharge, or the system is undercharged.
Electrical Work Beyond Capacitors
Replacing a capacitor is usually safe, but:
- Don’t touch wiring inside the control panel.
- Don’t replace contactors or relays without proper training.
- If you smell burning, see sparks, or the unit trips breakers repeatedly, turn it off and call an electrician.
Compressor or Fan Motor Replacement
These are complex, labor-intensive jobs. A failed compressor often means a new AC unit. A pro can:
- Diagnose whether repair or replacement is more cost-effective.
- Handle refrigerant recovery and disposal legally.
- Ensure proper installation and warranty compliance.
System Design or Ductwork Issues
If your home has hot/cold spots, weak airflow in certain rooms, or the AC runs constantly, the problem may be:
- Oversized/undersized unit.
- Poor duct design.
- Insufficient insulation.
A professional HVAC technician can perform a load calculation (Manual J) and recommend solutions.
Warranty Considerations
DIY repairs can void your unit’s warranty. Check the terms. Some manufacturers require professional servicing for major components.
6. Maintenance Checklist: Preventing Future Repairs
The best air conditioner repair is the one you never need. Regular maintenance keeps your system running smoothly and extends its life (typically 10–15 years).
Here’s a simple seasonal checklist:
| Task | Frequency | How to Do It |
|---|---|---|
| Replace air filter | Every 1–3 months | Check monthly; replace when dirty. |
| Clean condenser coils | Annually (spring) | Hose down, remove debris, straighten fins. |
| Clear drain line | Every 3–6 months | Use wet vac and bleach solution. |
| Inspect thermostat | Every 6 months | Check calibration, battery, and settings. |
| Lubricate motors | Every 2–3 years | Use electric motor oil on accessible bearings. |
| Professional tune-up | Annually | Technician checks refrigerant, electrical, and performance. |
Bonus tips:
- Keep 2 feet of clearance around the outdoor unit.
- Install a programmable or smart thermostat to reduce wear.
- Use ceiling fans to improve airflow (they make rooms feel 4°F cooler).
- Shade the outdoor unit with plants or a shade cloth (don’t block airflow).
Remember: A well-maintained AC uses 15–20% less energy and lasts longer. That’s good for your wallet and the planet.
Conclusion: Stay Cool, Stay Safe
Air conditioner problems don’t have to mean a sweltering summer. With these air conditioner repair instructions, you’re equipped to handle the most common issues—from warm air and strange noises to airflow blockages. Start simple: check the thermostat, replace the filter, clean the coils. Most problems are fixable with basic tools and a little patience.
But don’t push your luck. If you’re dealing with refrigerant, complex electrical issues, or a failing compressor, call a professional. Your safety and the integrity of your system are worth it. And remember, prevention is key. A few minutes of maintenance each season can save you from costly repairs down the road.
So the next time your AC acts up, don’t panic. Grab your toolbox, take a deep breath, and work through the steps. You’ve got this. Stay cool, stay safe, and enjoy the comfort of a well-running air conditioner all summer long.
Frequently Asked Questions
What are the most common air conditioner problems I can fix myself?
Common issues like a clogged air filter, frozen evaporator coils, or a tripped circuit breaker can often be resolved quickly with basic troubleshooting. Checking and replacing the filter or resetting the breaker are simple first steps in air conditioner repair instructions.
How do I troubleshoot my AC if it’s not cooling properly?
Start by ensuring the thermostat is set correctly and the air filter is clean. If airflow is weak or warm air is blowing, inspect the outdoor unit for debris and check refrigerant levels—low refrigerant may require professional service.
Can I follow air conditioner repair instructions to fix a leaking unit?
Yes, minor leaks are often caused by a clogged condensate drain line or dirty air filter. Turn off the power, clean the drain line with a wet/dry vacuum, and replace the filter to stop the leak.
Why is my air conditioner making strange noises?
Unusual sounds like rattling, squealing, or grinding may indicate loose parts, a failing fan motor, or debris in the unit. Refer to your air conditioner repair instructions to safely inspect and tighten components or call a technician if needed.
How often should I perform maintenance to avoid AC breakdowns?
Regular maintenance every 3 to 6 months helps prevent common issues. Clean or replace filters monthly during peak use and schedule professional servicing annually to keep your system running efficiently.
What should I do if my AC won’t turn on at all?
First, check the thermostat settings, circuit breaker, and power supply to the unit. If everything appears normal but the AC still won’t start, there may be an issue with the capacitor or wiring that requires expert diagnosis.

