
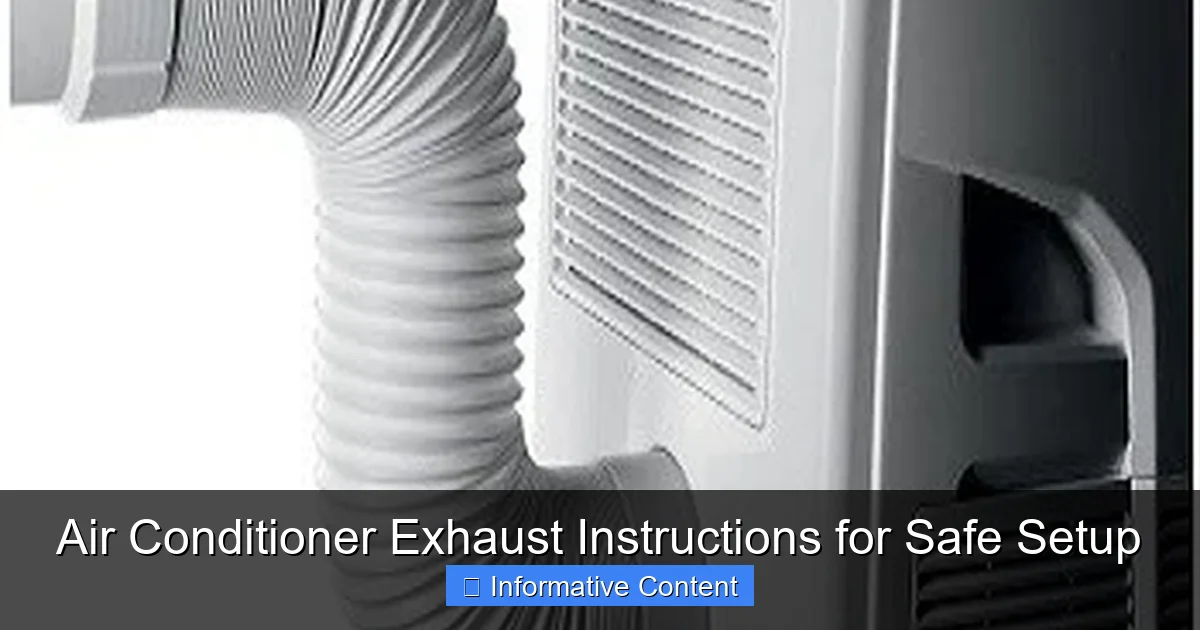
Featured image for air conditioner exhaust instructions
Image source: cdn11.bigcommerce.com
Properly venting your air conditioner exhaust is critical to prevent overheating, reduce energy waste, and ensure safe operation. Always direct the exhaust hose outdoors or into a designated window vent kit, avoiding kinks or blockages that can trigger system shutdowns or fire hazards. Follow manufacturer guidelines precisely—incorrect setup risks costly damage and health-threatening carbon monoxide buildup in enclosed spaces.
Key Takeaways
- Ensure proper venting: Always direct exhaust outside to prevent heat and moisture buildup indoors.
- Seal all connections: Use foil tape or sealant to prevent air leaks and maintain efficiency.
- Check window or wall stability: Secure the exhaust hose to avoid dislodging during operation.
- Inspect for blockages: Regularly clear debris from the exhaust hose to ensure smooth airflow.
- Use the right hose length: Avoid excessive slack or tension to prevent kinks and strain.
- Monitor indoor air quality: Proper exhaust reduces humidity and prevents mold growth.
📑 Table of Contents
- Air Conditioner Exhaust Instructions for Safe Setup
- Understanding How Air Conditioner Exhaust Works
- Choosing the Right Exhaust Venting Method
- Step-by-Step Air Conditioner Exhaust Instructions
- Common Mistakes to Avoid During Exhaust Setup
- Energy Efficiency and Safety Tips
- Comparison of Common Exhaust Venting Methods
- Final Thoughts and Best Practices
Air Conditioner Exhaust Instructions for Safe Setup
It was a sweltering July afternoon when I decided to install my new portable air conditioner. I’d been sweating through sleepless nights for weeks, and finally, relief was in sight. I unboxed the unit, plugged it in, and hit the power button—only to realize something was off. The room wasn’t cooling down. In fact, it felt warmer. Confused, I checked the manual and discovered I’d completely overlooked one critical step: setting up the exhaust hose properly.
That moment taught me a valuable lesson: even the most advanced air conditioner won’t work efficiently—or safely—without correct exhaust installation. Whether you’re using a window unit, a portable AC, or a ductless mini-split, the exhaust system plays a vital role in removing hot air, moisture, and indoor pollutants. Without proper ventilation, your AC can overheat, increase energy bills, or even pose fire or health risks. That’s why understanding air conditioner exhaust instructions isn’t just helpful—it’s essential.
In this guide, I’ll walk you through everything you need to know about air conditioner exhaust setup, from choosing the right venting method to avoiding common mistakes. Whether you’re a first-time installer or just need a refresher, these practical tips and step-by-step instructions will help you keep your home cool, safe, and energy-efficient all summer long.
Understanding How Air Conditioner Exhaust Works
Before diving into installation, it’s important to understand why your air conditioner needs an exhaust system in the first place. Air conditioners don’t just blow cold air—they remove heat and humidity from indoor spaces. This process generates hot air as a byproduct, which must be expelled outside. If that hot air stays trapped indoors, your AC will struggle to cool the room, work harder, and potentially overheat.
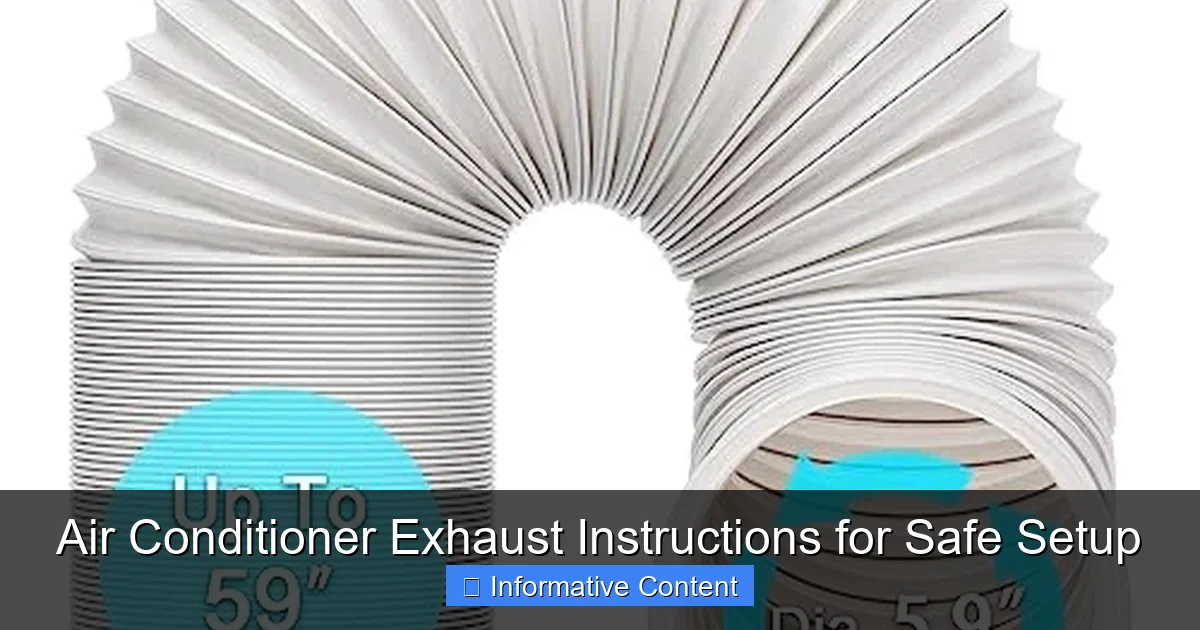
Visual guide about air conditioner exhaust instructions
Image source: m.media-amazon.com
The Science Behind AC Exhaust
Air conditioners operate on a refrigeration cycle. Inside the unit, refrigerant absorbs heat from indoor air and carries it to the condenser coils. The compressor then pumps this hot refrigerant outside, where the heat is released into the outdoor air. For window and portable units, this heat is expelled through an exhaust hose or vent. Without a proper exhaust path, the hot air simply circulates back into the room, defeating the purpose of cooling.
Think of it like trying to dry clothes in a sealed room with a fan. The fan moves air, but without ventilation, moisture builds up and the clothes stay damp. Similarly, your AC needs a way to “breathe out” the heat it collects.
Types of Air Conditioners and Their Exhaust Needs
Different AC units have different exhaust requirements:
- Window Units: These are installed in a window frame and exhaust hot air directly outside through the back of the unit. No additional hoses are needed, but proper sealing is crucial to prevent air leaks.
- Portable Air Conditioners: These require a flexible exhaust hose that vents hot air through a window, wall, or drop ceiling. Most models come with a single or dual-hose system.
- Split Systems (Mini-Splits): These have an indoor unit and an outdoor condenser. The indoor unit doesn’t produce exhaust, but the outdoor unit expels heat during operation. Installation requires professional help for refrigerant lines and electrical connections.
- Through-the-Wall Units: Similar to window units but installed permanently in a wall. Exhaust is handled through the rear, with proper insulation and sealing.
Understanding your unit type is the first step in following the correct air conditioner exhaust instructions. Misidentifying your system can lead to improper installation and reduced performance.
Choosing the Right Exhaust Venting Method
Once you know your AC type, the next step is selecting the best way to vent the exhaust. The goal is to create a secure, airtight path for hot air to escape without letting cool air or outdoor heat sneak back in. Here are the most common venting methods and how to choose the right one for your space.
Window Venting (Most Common for Portable ACs)
Window venting is the go-to method for portable air conditioners. It’s affordable, easy to install, and doesn’t require permanent modifications. Most portable ACs come with a window venting kit that includes a flexible hose, window adapter panel, and weather stripping.
To install:
- Open your window slightly (usually 3–6 inches).
- Place the adjustable window panel into the opening.
- Attach one end of the exhaust hose to the AC unit and the other to the window panel.
- Seal any gaps with foam tape or weather stripping to prevent air leaks.
Pro Tip: Use a window kit designed for your specific AC model. Universal kits may not fit snugly, leading to drafts and reduced efficiency. Also, avoid placing the hose in direct sunlight—heat buildup can reduce airflow.
Wall Venting (Permanent and Efficient)
If you’re installing a through-the-wall unit or want a more permanent solution for a portable AC, wall venting is a great option. This method involves cutting a hole in an exterior wall and installing a vent duct with a flap or louver to prevent backdrafts.
Wall venting offers several advantages:
- No need to open windows, which improves security.
- Better insulation and fewer air leaks.
- Cleaner appearance with no hoses visible.
However, it requires tools, some DIY skills, and possibly permission if you’re renting. Always check local building codes before cutting into a wall.
Drop Ceiling or Attic Venting
In homes with drop ceilings or accessible attics, you can route the exhaust hose through the ceiling space and vent it outside via a roof or soffit vent. This method keeps the hose out of sight and is ideal for rooms where window access is limited.
Be cautious: ensure the attic is well-ventilated and not insulated with materials that could trap heat. Also, avoid kinking or compressing the hose, as this restricts airflow.
Sliding Door or Garage Venting
For rooms with sliding glass doors or garage access, you can use a specialized vent panel that fits into the door track. These panels are adjustable and often include brush seals to minimize air leakage.
This method is especially useful for garages, sunrooms, or apartments with limited window options. Just make sure the door can still close securely and the panel doesn’t interfere with locks.
Step-by-Step Air Conditioner Exhaust Instructions
Now that you’ve chosen your venting method, it’s time to install the exhaust system. Follow these detailed air conditioner exhaust instructions to ensure a safe, efficient setup. I’ll focus on portable ACs since they’re the most common and require the most user involvement.
Step 1: Gather Your Tools and Materials
Before starting, make sure you have:
- Portable air conditioner unit
- Exhaust hose (usually included)
- Window venting kit or wall vent kit
- Measuring tape
- Scissors or utility knife
- Weather stripping or foam tape
- Screwdriver (if needed for window panel)
- Safety gloves and goggles (for wall cutting)
Having everything ready saves time and prevents mid-installation trips to the hardware store.
Step 2: Position the AC Unit Correctly
Place your portable AC near the window or vent opening, but not so close that the hose bends sharply. Ideally, the unit should be within 5–7 feet of the vent to maintain optimal airflow. Avoid placing it on carpet or uneven surfaces, which can block intake vents.
Important: Never block the intake or exhaust vents with furniture, curtains, or rugs. Restricted airflow forces the AC to work harder and can cause overheating.
Step 3: Attach the Exhaust Hose to the Unit
Most portable ACs have a rear or side port for the exhaust hose. Align the hose connector with the port and twist or snap it into place. Some models use a clamp—tighten it securely to prevent leaks.
Check the hose for kinks, cracks, or loose connections. A damaged hose can reduce efficiency and pose a fire risk if it overheats.
Step 4: Install the Window or Wall Vent Kit
For window installation:
- Measure the window opening and adjust the vent panel to fit.
- Cut the panel to size if necessary (most are adjustable).
- Insert the panel into the window frame and close the window onto it.
- Secure with screws or brackets if provided.
For wall installation:
- Mark the vent location on the exterior wall (usually 6–8 inches in diameter).
- Drill a pilot hole, then use a reciprocating saw to cut the opening.
- Insert the vent duct from the outside and secure with screws.
- Apply exterior-grade sealant around the edges to prevent water intrusion.
Step 5: Connect the Hose to the Vent
Attach the other end of the exhaust hose to the window panel or wall vent. Make sure the connection is tight and airtight. Use duct tape or zip ties if needed, but avoid covering the hose with tape that could melt under heat.
If using a dual-hose portable AC, repeat the process for the second hose (which draws in outdoor air for cooling the condenser). Dual-hose units are more efficient and should be vented separately.
Step 6: Seal All Gaps
Even small gaps around the vent or hose can let hot air back into the room. Use weather stripping, foam tape, or silicone caulk to seal any openings. This simple step can improve cooling efficiency by up to 20%.
Test the seal by feeling around the edges for drafts. If you feel warm air escaping, reinforce the seal.
Common Mistakes to Avoid During Exhaust Setup
Even with the best intentions, it’s easy to make mistakes during installation. I’ve made a few myself—like forgetting to remove the exhaust hose cap (yes, really!) or installing the hose with a sharp bend. Here are the most common errors and how to avoid them.
Ignoring the Exhaust Hose Cap
Many portable ACs come with a plastic cap on the exhaust port to protect it during shipping. Forgetting to remove this cap is a rookie mistake that blocks airflow completely. Always double-check that the port is clear before turning on the unit.
Using a Hose That’s Too Long or Too Short
Exhaust hoses should be as short and straight as possible. Long hoses increase resistance and reduce airflow. If your hose is too long, coil the excess neatly—don’t kink or compress it. If it’s too short, use an extension kit (available from most manufacturers), but avoid DIY splicing, which can create leaks.
Venting into an Enclosed Space
Never vent your AC exhaust into an attic, crawl space, or garage unless it’s specifically designed for that purpose. Trapped hot air can raise indoor temperatures, damage insulation, or create moisture problems. Always vent directly to the outdoors.
Overlooking Regular Maintenance
Exhaust systems need upkeep. Dust, debris, and pet hair can clog the hose or vent, reducing efficiency. Clean the hose every 1–2 months with a vacuum or damp cloth. Check the outdoor vent for blockages like leaves or bird nests.
Also, inspect the hose for wear and tear. Cracks or holes can let hot air leak back into the room. Replace damaged hoses immediately.
Using the Wrong Type of Hose
Not all hoses are created equal. Some are insulated, some are flexible, and others are rigid. Use only the hose recommended by your AC manufacturer. Substituting with a generic or HVAC duct hose can lead to poor performance or safety hazards.
Energy Efficiency and Safety Tips
Proper exhaust setup doesn’t just keep your home cool—it also saves energy and prevents hazards. A well-vented AC uses less electricity, lasts longer, and operates more safely. Here’s how to maximize both efficiency and safety.
Improve Energy Efficiency
An inefficient exhaust system forces your AC to work harder, increasing energy consumption. To save money and reduce environmental impact:
- Seal all gaps: As mentioned earlier, air leaks can reduce efficiency by up to 20%.
- Use insulated hoses: Some portable ACs come with insulated exhaust hoses that prevent heat gain. If yours doesn’t, consider upgrading.
- Close unused vents: If your home has multiple AC units, close vents in unused rooms to focus cooling where it’s needed.
- Maintain proper clearance: Keep at least 12–18 inches of space around the AC unit for airflow.
According to the U.S. Department of Energy, properly maintained AC systems can reduce energy use by 10–15%. That’s hundreds of dollars saved over a summer.
Ensure Electrical and Fire Safety
Air conditioners draw significant power, and improper installation can create fire risks. Follow these safety guidelines:
- Use a dedicated outlet: Never plug your AC into an extension cord or power strip. Use a grounded, 120V outlet rated for at least 15 amps.
- Avoid overloading circuits: Don’t run other high-wattage appliances (like space heaters or microwaves) on the same circuit.
- Check for overheating: If the unit feels excessively hot or smells burnt, turn it off immediately and inspect the exhaust system.
- Install smoke detectors: Place detectors near the AC unit and in adjacent rooms for early warning.
Prevent Moisture and Mold Issues
Exhaust systems also remove humidity, but if not vented properly, moisture can accumulate indoors. This leads to mold, mildew, and poor air quality. To prevent this:
- Ensure the condensate drain (if your unit has one) is clear and draining properly.
- Use a dehumidifier in humid climates to reduce strain on the AC.
- Clean the exhaust hose regularly to prevent mold growth inside.
Comparison of Common Exhaust Venting Methods
| Venting Method | Best For | Installation Difficulty | Energy Efficiency | Cost | Security |
|---|---|---|---|---|---|
| Window Venting | Portable ACs, renters | Easy | Good | Low ($20–$50) | Moderate (window must be open) |
| Wall Venting | Permanent installations, homeowners | Moderate to Hard | Excellent | Medium ($50–$150) | High (no open windows) |
| Drop Ceiling Venting | Offices, basements, rooms with ceilings | Moderate | Good | Medium ($40–$100) | High |
| Sliding Door Venting | Patios, garages, sunrooms | Easy | Fair | Low ($30–$60) | Low (door access required) |
This table helps you compare options based on your needs. For most renters, window venting is the best balance of cost and convenience. Homeowners may prefer wall venting for long-term efficiency and aesthetics.
Final Thoughts and Best Practices
Setting up your air conditioner exhaust correctly might seem like a small detail, but it makes a huge difference in performance, safety, and comfort. From my own experience, I can tell you that skipping this step leads to frustration, wasted energy, and a hotter home. But with the right air conditioner exhaust instructions, you can avoid those pitfalls and enjoy reliable cooling all season long.
Remember these key takeaways:
- Always follow the manufacturer’s instructions for your specific model.
- Choose the venting method that fits your space and lifestyle.
- Seal all connections to prevent air leaks.
- Maintain your exhaust system regularly.
- Prioritize safety—electrical, fire, and moisture risks are real.
Whether you’re cooling a single room or managing multiple units, proper exhaust setup is the foundation of efficient air conditioning. Take the time to do it right, and your AC will thank you with years of reliable service.
Stay cool, stay safe, and enjoy the comfort of a well-ventilated home.
Frequently Asked Questions
How do I properly vent my portable air conditioner exhaust?
To safely vent your portable AC, connect the exhaust hose to the unit’s outlet and extend it to a nearby window or vent using the included kit. Ensure the hose is straight and unobstructed to prevent overheating and maintain efficiency.
Can I run my air conditioner exhaust through a wall instead of a window?
Yes, but you’ll need a wall vent kit designed for air conditioner exhaust instructions. This setup requires professional installation to avoid leaks, structural damage, or improper ventilation.
What happens if the AC exhaust hose is too long or bent?
A bent or overly long exhaust hose reduces airflow, forcing the unit to work harder and risking overheating. Follow manufacturer guidelines to keep the hose as short and straight as possible.
Do I need to insulate the air conditioner exhaust hose?
Insulating the hose helps prevent condensation and improves efficiency, especially in humid climates. Use foam pipe insulation or a thermal cover for optimal performance.
Why is my AC not cooling even after following the exhaust instructions?
Check for leaks, blockages, or a disconnected exhaust hose, as these are common causes. Also, verify the exhaust is vented outside—not into an attic or closet—to meet air conditioner exhaust instructions.
How often should I clean the exhaust hose or vent?
Clean the hose every 3–6 months to remove dust, mold, or debris that can restrict airflow. Disconnect the hose and wash it with mild soap and water, then dry thoroughly before reattaching.

