
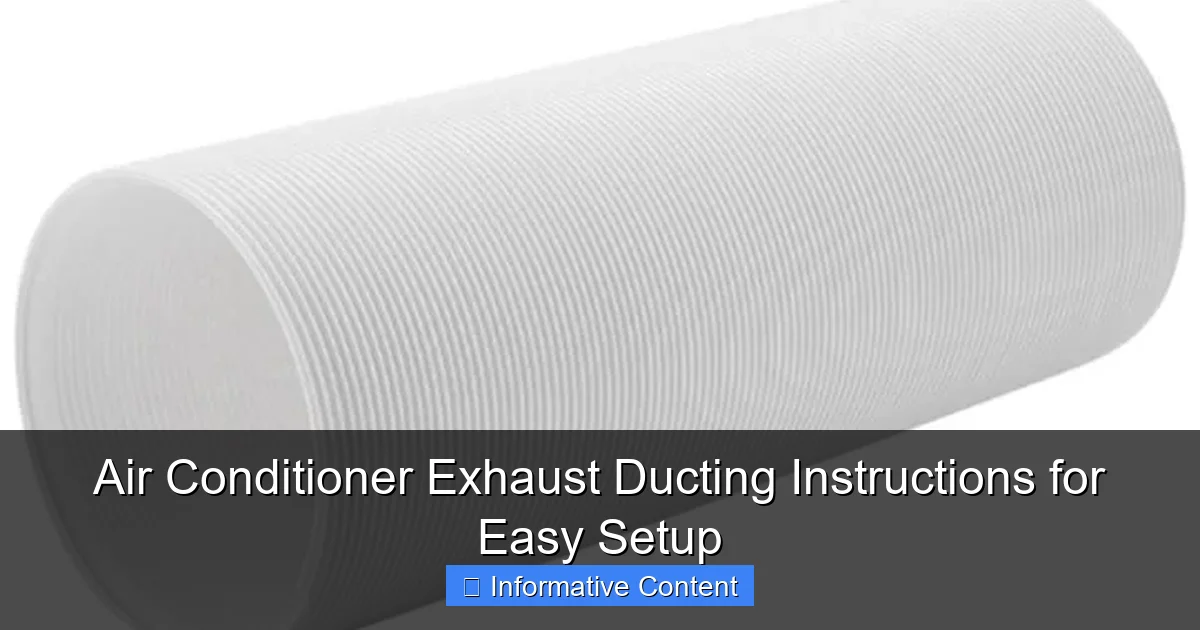
Featured image for air conditioner exhaust ducting instructions
Image source: img.lazcdn.com
Proper air conditioner exhaust ducting is essential for efficient cooling and preventing hot air recirculation. Follow these step-by-step instructions to securely connect, insulate, and vent your AC unit’s exhaust duct—ensuring optimal airflow, reduced strain on the system, and a cooler, more comfortable space with minimal setup effort.
Key Takeaways
- Measure carefully: Ensure duct length matches your unit and space for a snug fit.
- Seal all joints: Use foil tape to prevent leaks and maximize efficiency.
- Minimize bends: Keep ducting straight to maintain optimal airflow and performance.
- Insulate ducts: Wrap with insulation to reduce condensation and energy loss.
- Check local codes: Verify venting requirements to avoid installation issues or fines.
- Secure connections: Fasten ducts firmly to prevent dislodging during operation.
📑 Table of Contents
Why Proper Exhaust Ducting Matters
Imagine this: It’s the peak of summer, and your portable or window air conditioner is working overtime. The unit hums along, but the room never quite cools down. You check the settings, clean the filter, and even open a window—but nothing helps. Chances are, your air conditioner exhaust ducting is the culprit. Without proper ducting, hot air can’t escape, and your AC becomes a noisy, inefficient fan.
Whether you’re using a portable unit or a through-the-wall AC, the exhaust ducting is its lifeline. It carries hot air from the condenser coils outside, allowing the unit to cool your space effectively. A poorly installed or leaky duct system can reduce efficiency by up to 30%, according to HVAC experts. Worse, it can lead to overheating, higher energy bills, and even damage to the unit. But don’t worry—setting up your air conditioner exhaust ducting doesn’t have to be a headache. With the right tools, a little patience, and these step-by-step instructions, you can get it done in under an hour.
Understanding Your Air Conditioner’s Exhaust System
How Exhaust Ducting Works
Think of your air conditioner as a heat mover. It pulls warm indoor air, cools it over refrigerant coils, and then pushes the cooled air back into the room. But where does the heat go? That’s where the exhaust ducting comes in. The hot air generated by the condenser (the back of the unit) is expelled outside through the duct. Without this escape route, the heat would just circle back into your room, making the AC work harder and longer.
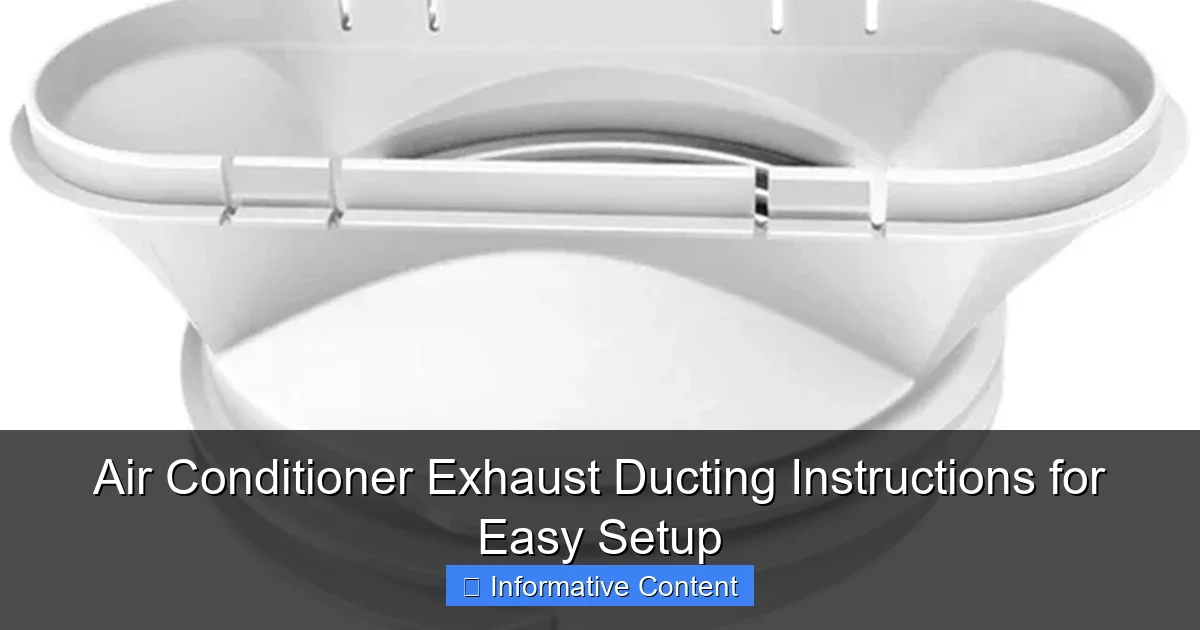
Visual guide about air conditioner exhaust ducting instructions
Image source: picclickimg.com
Portable and window units typically use flexible ducting—often made of insulated vinyl or aluminum—that connects to a window or wall vent. The duct is designed to be temporary, so it’s lightweight and easy to install. But that also means it’s prone to kinks, leaks, and poor insulation if not set up correctly.
Types of AC Units That Use Exhaust Ducting
Not all air conditioners require ducting. Here’s a quick breakdown:
- Portable ACs: These are the most common units requiring ducting. They’re self-contained and use a single or dual exhaust hose to vent hot air outside.
- Window ACs: Most models vent hot air directly through the back of the unit, but some high-capacity units may include a duct kit for better airflow.
- Through-the-wall units: These often come with a permanent or semi-permanent duct that’s built into the wall or window frame.
- Ductless mini-splits: These don’t use traditional ducting. Instead, they have an indoor air handler and an outdoor condenser connected by a refrigerant line. No exhaust duct needed!
For this guide, we’ll focus on portable and window ACs, which rely on air conditioner exhaust ducting to function efficiently. If you’re using a different type, check your manual for specific venting instructions.
Signs Your Ducting Isn’t Working
Before you even start installing, it’s worth checking if your current setup is doing its job. Here are red flags that your exhaust ducting needs attention:
- The room cools slowly or not at all, even after hours of running.
- You feel warm air blowing into the room from the back or sides of the unit.
- The duct is visibly kinked, crushed, or has gaps where air escapes.
- The unit shuts off frequently due to overheating.
- You hear loud hissing or whistling sounds (a sign of air leaks).
If any of these sound familiar, it’s time to revamp your ducting setup. A few small fixes can make a huge difference.
Tools and Materials You’ll Need
Essential Tools for Installation
Don’t worry—you won’t need a full toolbox. Most air conditioner exhaust ducting setups require just a few basic items:
- Measuring tape: To measure the distance from your AC to the window or vent.
- Scissors or utility knife: For cutting ducting or insulation tape.
- Screwdriver (optional): Some window kits require screws to secure the frame.
- Level (optional): To ensure your duct isn’t sloping downward, which can cause condensation.
- Flashlight: Helpful for checking tight spaces or dark corners.
Pro tip: If you’re working alone, a second pair of hands can make the job easier—especially when aligning the duct with the window frame.
Ducting Materials and Accessories
Here’s what you’ll need to buy or check for in your AC kit:
- Flexible exhaust hose: Most portable ACs come with a 5–7 foot hose. If yours is damaged or too short, replacement hoses are available online or at hardware stores. Look for insulated models to prevent heat loss.
- Window or wall vent kit: This includes a frame that fits into your window or wall opening. Common types include sliding window adapters, casement window kits, and permanent wall vents.
- Insulation tape or foam strips: To seal gaps and prevent air leaks.
- Hose clamps or zip ties: To secure the hose to the unit and vent frame.
- Weather stripping (for permanent installs): Helps seal the vent from drafts and pests.
Example: I once tried using duct tape to seal a loose hose connection. Big mistake. The tape melted in the summer heat, creating a sticky, gooey mess. Insulation tape or foam strips are far better—they’re heat-resistant and last longer.
Optional Upgrades for Better Performance
Want to boost efficiency? Consider these add-ons:
- Insulated duct sleeves: These slip over your hose to prevent condensation and heat loss.
- Dual-hose adapters: Some portable ACs support dual hoses (one for intake, one for exhaust), which improves airflow and cooling power.
- Magnetic window seals: Great for casement or tilt-in windows that don’t have a flat frame.
While these aren’t mandatory, they can make a noticeable difference—especially in humid climates where condensation is a problem.
Step-by-Step Installation Guide
Preparing Your Space
Before you start, clear the area around your AC and window. Move furniture, rugs, or curtains that might block airflow. If you’re using a portable unit, place it on a flat, stable surface near the window—ideally within 6 feet of the vent location.
Next, check the window or wall opening. Measure the width and height to ensure your vent kit fits. If you’re using a sliding window, open it just enough to slide the frame in. For casement windows (those that open outward), you’ll need a special adapter or a wall vent.
Installing the Window Vent Kit
This is the backbone of your ducting setup. Here’s how to install it:
- Assemble the frame: Most kits snap together or use screws. Follow the manufacturer’s instructions.
- Insert the frame into the window: Slide it into the gap, then close the window snugly against it. For sliding windows, the frame should sit on the track. For casement windows, use brackets or magnets to hold it in place.
- Adjust the size: If the frame is too wide, use the included extension panels. Too narrow? Add foam strips to fill gaps.
- Secure it: Use screws (if provided) or heavy-duty tape to keep the frame from shifting. A loose frame can let hot air back into the room.
Tip: If your window is drafty, add weather stripping around the frame. This also helps keep bugs and dust out.
Connecting the Exhaust Hose
Now for the main event—attaching the hose:
- Attach the hose to the AC: Most units have a round exhaust port on the back or side. Slide the hose end over it and secure it with a hose clamp or zip tie. Make sure it’s tight—no wiggle room!
- Connect the other end to the vent frame: The hose should fit into a hole or adapter on the frame. Again, use a clamp or tie to prevent leaks.
- Check for kinks: Gently pull the hose straight. Avoid sharp bends or crushing it against the wall. A kinked hose reduces airflow and can damage the fan.
- Insulate if needed: If your hose isn’t insulated, wrap it with an insulated sleeve or foam pipe wrap. This is especially important in hot, humid areas.
Example: My first attempt at ducting was a disaster. I didn’t secure the hose tightly, and within minutes, it popped off—hot air blew into my room, and the AC started beeping. Lesson learned: always double-check the clamps.
Sealing Gaps and Preventing Leaks
Even small gaps can sabotage your cooling. Here’s how to seal them:
- Use foam strips: Cut strips to fit around the window frame and press them into place. They expand slightly to fill gaps.
- Apply insulation tape: Wrap it around hose connections and seams. Avoid regular duct tape—it’s not heat-resistant.
- Check for drafts: Hold your hand near the frame and hose. If you feel air moving, add more foam or tape.
Bonus tip: If your window is unusually shaped (like a triangle or circle), consider a custom-fit vent or a universal adapter. Some brands sell 3D-printed vents for odd windows.
Testing the Setup
Once everything’s connected, turn on the AC and let it run for 10–15 minutes. Then check:
- Is hot air blowing out the window vent? (You should feel it with your hand.)
- Is cool air coming from the front of the unit?
- Are there any unusual noises or vibrations?
- Does the room start cooling down?
If something’s wrong, shut off the AC and recheck the connections. A little troubleshooting now saves hours of frustration later.
Common Mistakes and How to Fix Them
Using the Wrong Ducting Size
One of the biggest mistakes? Using a hose that’s too small or too big. Most portable ACs use 5–6 inch diameter hoses. If your hose is too narrow, it restricts airflow and overworks the fan. Too wide, and it won’t fit the vent frame.
Solution: Check your AC’s manual for the correct hose size. If you need to replace it, buy a model with the same diameter and insulation rating.
Ignoring Insulation
In humid climates, uninsulated hoses can sweat, dripping water on your floor. Worse, heat can escape through the hose walls, reducing efficiency.
Solution: Always use an insulated hose or add a sleeve. If you already have an uninsulated hose, wrap it with foam pipe insulation or a neoprene sleeve.
Overextending the Hose
Stretching the hose beyond its limit (usually 7–8 feet) can cause kinks and reduce airflow. Some units even have a maximum hose length listed in the manual.
Solution: Keep the hose as short and straight as possible. If you need to move the AC farther from the window, use a dual-hose model or a window AC instead.
Leaving Gaps Around the Vent
A loose vent frame lets hot air seep back into the room—defeating the whole purpose of ducting.
Solution: Seal all gaps with foam strips, insulation tape, or weather stripping. For permanent installs, consider silicone caulk (let it dry completely before using the AC).
Forgetting to Clean the Duct
Over time, dust and debris can clog the hose, reducing airflow and creating a fire hazard.
Solution: Disconnect the hose every few months and clean it with a vacuum or damp cloth. For stubborn gunk, use a long brush or compressed air.
Maintenance and Long-Term Care
Monthly Maintenance Checklist
To keep your air conditioner exhaust ducting in top shape, follow this simple routine:
- Inspect the hose: Look for cracks, kinks, or loose connections.
- Clean the vent frame: Remove dust and debris with a damp cloth.
- Check seals: Replace worn-out foam strips or tape.
- Test airflow: Feel for hot air at the vent and cool air from the unit.
Seasonal Tips
When summer ends, don’t just unplug your AC and forget it. Here’s what to do:
- Disconnect and store the hose: Coil it loosely and keep it in a dry place. Don’t leave it in direct sunlight, which can degrade the material.
- Remove the vent frame: Clean it and store it with the hose. If it’s permanent, cover it with a vent cap to keep pests out.
- Inspect the AC: Clean the filter and wipe down the unit. This helps it last longer and work better next season.
When to Replace Your Ducting
Even the best ducting wears out. Replace your hose if you notice:
- Visible cracks, holes, or frayed edges.
- Persistent condensation or water leaks.
- Reduced cooling performance despite proper setup.
- The hose is more than 3–5 years old (check the manufacturer’s recommendations).
Data Table: Ducting Material Comparison
| Material | Pros | Cons | Best For |
|---|---|---|---|
| Insulated vinyl | Lightweight, affordable, easy to install | Can kink if bent sharply, less durable | Short-term use, budget-friendly setups |
| Aluminum foil | Heat-resistant, flexible, long-lasting | More expensive, harder to seal | High-heat areas, frequent use |
| Neoprene sleeve | Excellent insulation, resists condensation | Bulky, not as flexible | Humid climates, energy-efficient setups |
| Dual-wall PVC | Sturdy, leak-proof, weather-resistant | Heavy, not flexible, harder to install | Permanent or semi-permanent installs |
Remember: The right material depends on your climate, AC type, and how long you plan to use the ducting. When in doubt, go for insulated vinyl or aluminum—they’re the most versatile.
Final Thoughts: Cooler Air Starts with Better Ducting
Setting up air conditioner exhaust ducting might seem like a small detail, but it’s one of the most important steps for efficient cooling. A well-installed duct system keeps hot air outside, reduces energy bills, and extends your AC’s lifespan. And the best part? You don’t need to be a DIY expert to do it right.
From choosing the right materials to sealing gaps and maintaining your setup, these instructions give you everything you need for a smooth, frustration-free installation. Whether you’re cooling a small bedroom or a large living room, proper ducting ensures your AC works at its best. So next time you turn on that unit, take a moment to appreciate the quiet, steady flow of hot air escaping outside—thanks to your perfectly set up ducting.
Now go enjoy that crisp, cool air. You’ve earned it!
Frequently Asked Questions
What is the correct way to install air conditioner exhaust ducting?
To install air conditioner exhaust ducting, ensure the duct is securely attached to both the unit and the vent opening using clamps or foil tape. Keep the duct as short and straight as possible to maximize efficiency and avoid kinks or sharp bends that restrict airflow.
Can I extend my air conditioner exhaust ducting for a better fit?
Yes, you can extend the ducting, but avoid exceeding the manufacturer’s recommended length to prevent reduced performance. Always use compatible, insulated duct materials to maintain proper airflow and minimize heat loss.
How do I seal air conditioner exhaust ducting connections properly?
Seal all ducting connections with high-quality foil tape or mastic sealant to prevent air leaks. Ensure joints are tight and insulated, especially in hot climates, to improve efficiency and reduce strain on the AC unit.
What are common mistakes to avoid with air conditioner exhaust ducting?
Avoid sharp bends, loose connections, or using non-insulated ducts, as these reduce efficiency and cause overheating. Never vent exhaust air into enclosed spaces like attics, as this can damage the unit and create safety hazards.
Do portable air conditioners need exterior exhaust ducting?
Yes, portable AC units require exterior exhaust ducting to vent hot air outside; otherwise, they’ll recirculate warm air, reducing cooling efficiency. Follow the manufacturer’s instructions to ensure the ducting is properly routed through a window or wall.
How often should I inspect and clean air conditioner exhaust ducting?
Inspect ducting every 3–6 months for dust, mold, or damage, and clean it annually to maintain airflow. Clogged or dirty ducts can strain your AC unit and increase energy costs.

