
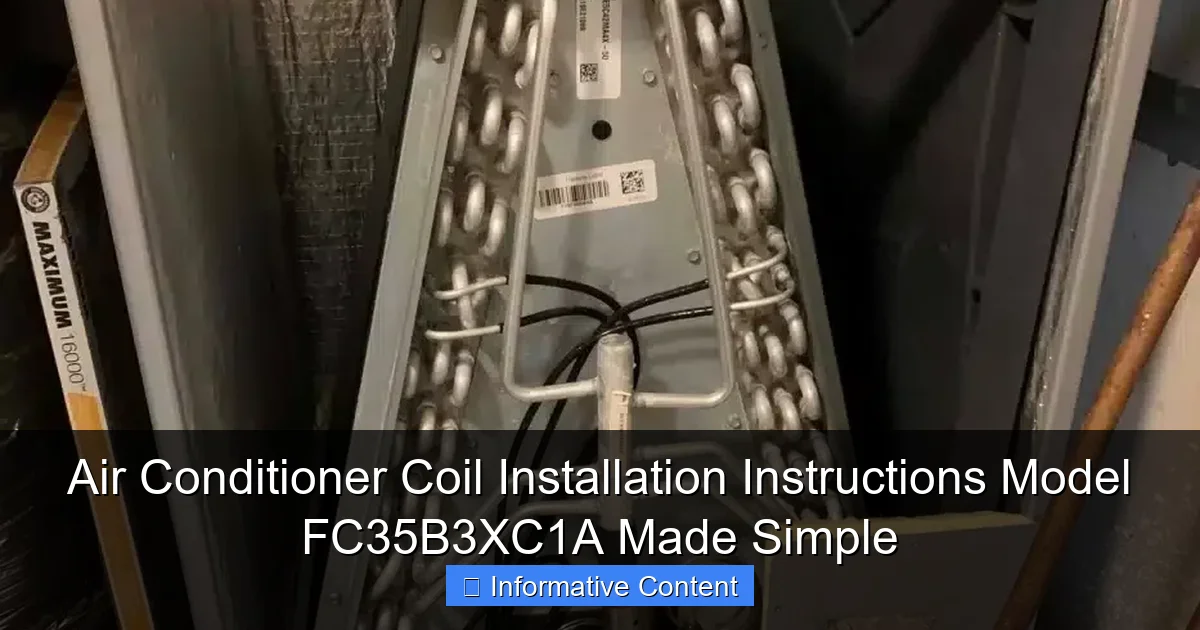
Featured image for air conditioner coil instilation instructions modelfc35b3xc1a
Image source: atlasacrepair.com
Installing the FC35B3XC1A air conditioner coil is a straightforward DIY task with the right guidance and tools. This simplified guide walks you through each critical step—from safely disconnecting power to securing refrigerant lines and verifying airflow—ensuring optimal performance and efficiency. Follow the manufacturer’s instructions carefully to avoid leaks, system damage, or voided warranties.
Key Takeaways
- Turn off power before starting installation to prevent electrical hazards.
- Inspect the coil for damage or debris prior to mounting.
- Align coil correctly with mounting brackets for secure fit.
- Use manufacturer torque specs when tightening connections.
- Seal all joints to prevent refrigerant leaks and ensure efficiency.
- Test system operation after installation to confirm proper function.
📑 Table of Contents
- Air Conditioner Coil Installation Instructions Model FC35B3XC1A Made Simple
- Understanding the FC35B3XC1A Coil: What You Need to Know
- Pre-Installation Checklist: Getting Ready for Success
- Step-by-Step Installation Guide for the FC35B3XC1A Coil
- Post-Installation Testing and System Commissioning
- Common Installation Mistakes and How to Avoid Them
- Maintenance Tips to Keep Your FC35B3XC1A Coil Running Smoothly
- Data Table: FC35B3XC1A Coil Specifications
- Conclusion: Confidence in Every Installation
Air Conditioner Coil Installation Instructions Model FC35B3XC1A Made Simple
So, you’ve got your hands on the FC35B3XC1A air conditioner coil—congratulations! Whether you’re a DIY enthusiast tackling a home cooling upgrade or a technician looking for a reliable replacement part, installing this coil correctly is key to keeping your AC running efficiently. I remember the first time I tried replacing an evaporator coil. I was sweating more from stress than from the summer heat, convinced I’d mess something up. But with the right guidance, it turned out to be smoother than I expected. That’s exactly what this guide aims to do: take the mystery out of installing the FC35B3XC1A coil and turn it into a manageable, even rewarding, task.
The FC35B3XC1A is a high-efficiency evaporator coil designed for specific central air conditioning systems. It’s built to handle refrigerant flow, transfer heat effectively, and last for years—if installed properly. But “properly” is the keyword here. A botched installation can lead to poor cooling, higher energy bills, refrigerant leaks, or even system failure. That’s why understanding the air conditioner coil installation instructions model FC35B3XC1A isn’t just helpful—it’s essential. In this guide, we’ll walk through every step, from prep to final checks, using plain language and real-world tips so you can get it right the first time.
Understanding the FC35B3XC1A Coil: What You Need to Know
What Is the FC35B3XC1A Coil?
The FC35B3XC1A is an evaporator coil, a critical component in your air conditioning system. It’s where the refrigerant absorbs heat from indoor air, turning warm air into cool air before it’s circulated back into your home. This particular model is designed for compatibility with select central AC units and heat pumps. It’s a cased, vertical coil, meaning it’s enclosed in a metal casing and typically installed in the air handler or furnace cabinet.
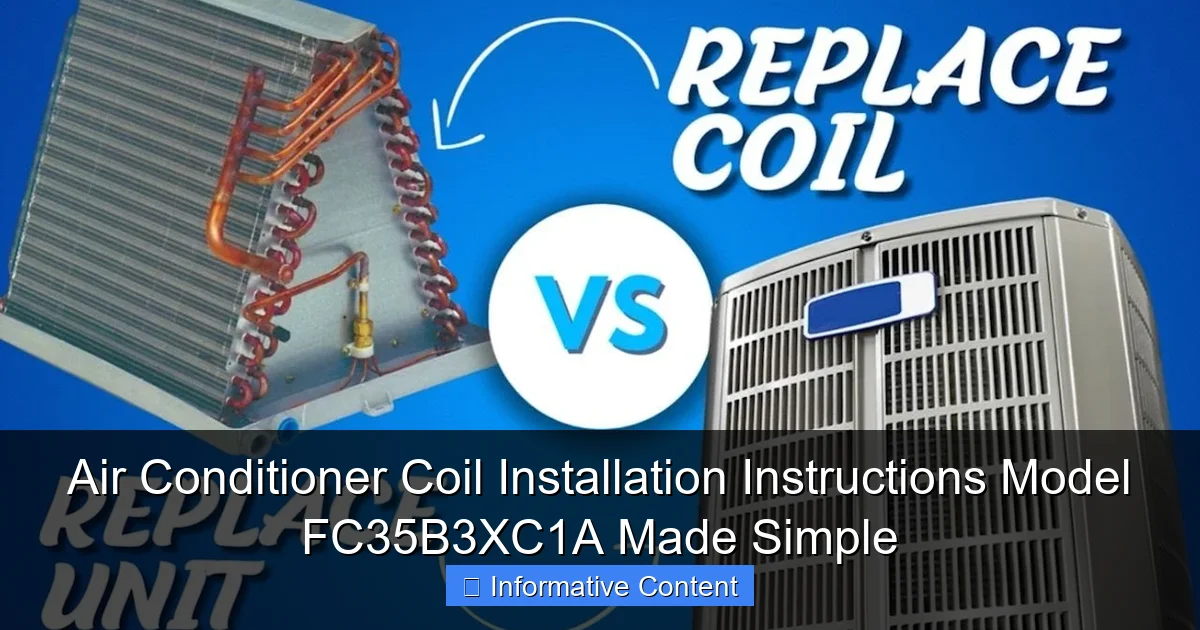
Visual guide about air conditioner coil instilation instructions modelfc35b3xc1a
Image source: i.ytimg.com
One thing I’ve learned over the years is that not all coils are created equal. The FC35B3XC1A is engineered for specific tonnage and refrigerant types—usually R-410A—so matching it to your system is non-negotiable. Using the wrong coil can cause pressure imbalances, reduced efficiency, or even compressor damage. Always double-check your system’s model number and specifications before purchasing or installing.
Key Features and Specifications
The FC35B3XC1A coil boasts several features that make it a solid choice for residential cooling:
- High-efficiency design: Optimized for better heat transfer and lower energy consumption.
- Corrosion-resistant coating: Protects against moisture and extends lifespan.
- Factory-sealed refrigerant lines: Reduces the risk of leaks during installation.
- Compatible with R-410A refrigerant: Environmentally safer and more efficient than older refrigerants.
- 3-ton capacity: Suitable for medium to large homes.
These specs aren’t just marketing fluff—they directly impact performance. For example, the corrosion-resistant coating might seem minor, but in humid climates, it can prevent early coil failure. And the factory-sealed lines? That’s a huge time-saver during installation. No need to braze or flare connections unless you’re replacing damaged lines.
Why Proper Installation Matters
You might be thinking, “It’s just a coil—how hard can it be?” But here’s the thing: the coil is the heart of your AC’s cooling process. If it’s installed incorrectly, the entire system suffers. I once helped a friend whose AC was blowing warm air. After hours of troubleshooting, we discovered the coil was installed backward—yes, really! The airflow direction was reversed, so heat wasn’t being absorbed properly.
Other common issues from poor installation include:
- Refrigerant leaks due to loose or damaged connections
- Reduced airflow from improper sealing or misalignment
- Short cycling or system shutdowns from pressure imbalances
- Increased energy bills from inefficient operation
Bottom line: taking the time to follow the air conditioner coil installation instructions model FC35B3XC1A isn’t just about following rules—it’s about protecting your investment and ensuring comfort all summer long.
Pre-Installation Checklist: Getting Ready for Success
Gather the Right Tools and Materials
Before you even think about opening the air handler, make sure you have everything you need. There’s nothing worse than being halfway through the job and realizing you’re missing a wrench or a vacuum pump. Here’s a quick list of essentials:
- Adjustable wrench set
- Torque wrench (for precise tightening)
- Vacuum pump and manifold gauge set
- Refrigerant scale (if adding refrigerant)
- Leak detection solution or electronic leak detector
- Safety gear: gloves, safety glasses, and a respirator
- Insulation tape and foam sealant
- Replacement gaskets or seals (if needed)
Pro tip: If you’re not experienced with refrigerant systems, consider hiring a licensed HVAC technician. Handling refrigerants requires EPA certification in the U.S., and improper handling can be dangerous and illegal.
Safety First: Turning Off Power and Refrigerant
Safety can’t be overstated. Before touching anything, shut off power to the AC unit at the main breaker panel. Use a voltage tester to confirm the power is off—don’t just trust the switch. Then, if the system still has refrigerant, it must be recovered by a certified technician. Never vent refrigerant into the atmosphere—it’s harmful to the environment and against the law.
I learned this the hard way early in my HVAC career. I thought I could “just release a little” to relieve pressure. Not only was it illegal, but it also caused a small leak that took hours to fix. Always follow EPA guidelines and local regulations.
Inspecting the Installation Area
Once the power is off and the system is safe, inspect the air handler or furnace cabinet where the coil will go. Look for signs of rust, water damage, or mold. These can indicate poor drainage or leaks that need fixing before installing the new coil. Also, check the ductwork connections—make sure they’re clean and properly aligned.
If you’re replacing an old coil, take photos of the existing setup before removing anything. This helps you remember how lines were connected and where seals were placed. Trust me, those photos saved me more than once when reassembling complex systems.
Verify Compatibility and Coil Orientation
Double-check that the FC35B3XC1A is the correct model for your system. Cross-reference the model number with your AC unit’s manual or manufacturer’s website. Also, confirm the coil’s orientation—most evaporator coils are designed to be installed in a specific direction (usually with the refrigerant lines on the bottom or side).
One common mistake is installing the coil upside down or backward. The FC35B3XC1A has labeled inlets and outlets, so follow those markings. If you’re unsure, consult the manufacturer’s installation manual or contact technical support.
Step-by-Step Installation Guide for the FC35B3XC1A Coil
Removing the Old Coil (If Applicable)
If you’re replacing an existing coil, start by carefully removing it. First, disconnect the refrigerant lines using a wrench—don’t force them. If they’re stuck, apply a little penetrating oil and wait a few minutes. Once disconnected, remove any mounting brackets or screws holding the coil in place.
Slide the old coil out slowly. Be gentle—coils are fragile and can bend or crack easily. If it’s stuck, don’t yank it. Check for hidden screws or clips. Once removed, inspect the cabinet for debris or corrosion and clean it thoroughly.
Preparing the New FC35B3XC1A Coil
Unbox the new FC35B3XC1A coil and inspect it for any shipping damage. Look for dents, bent fins, or loose connections. If you see anything suspicious, contact the supplier before proceeding.
Next, check the refrigerant line connections. The FC35B3XC1A typically comes with factory-sealed lines, so you may not need to braze. If your system requires flared connections, make sure the flares are clean and undamaged. Use a deburring tool to smooth any rough edges.
Installing the Coil in the Cabinet
Carefully slide the new coil into the air handler or furnace cabinet. Align it with the mounting brackets and secure it using the provided screws or clips. Make sure it sits level and doesn’t touch any metal edges—vibration can cause wear over time.
Once in place, reconnect the refrigerant lines. Hand-tighten first, then use a torque wrench to tighten to the manufacturer’s specifications (usually listed in the manual). Over-tightening can crack fittings; under-tightening can cause leaks.
Pro tip: Use two wrenches when tightening—one to hold the fitting steady and one to turn the nut. This prevents stress on the lines.
Sealing and Insulating Connections
After connecting the lines, seal any gaps around the coil with foam sealant or insulation tape. This prevents air leaks, which can reduce efficiency and cause moisture buildup. Pay special attention to the area where the coil meets the cabinet—this is a common leak point.
If your system uses a drain pan, make sure it’s clean and properly aligned under the coil. A clogged or misaligned drain pan can lead to water damage and mold growth.
Reconnecting Electrical Components
If your coil has an electric heat strip or other electrical components, reconnect them according to the wiring diagram. Double-check all connections and ensure wires are secure and not pinched. Use wire nuts or terminal blocks as needed.
Once everything is connected, restore power to the system—but don’t turn it on yet. We’re not done!
Post-Installation Testing and System Commissioning
Leak Testing: Ensuring a Tight Seal
Before charging the system with refrigerant, perform a leak test. Use nitrogen to pressurize the system to about 150 psi and hold it for 15–30 minutes. If the pressure drops, there’s a leak. Use a leak detection solution (like soapy water) to find the source—bubbles will form at the leak point.
Common leak areas include flare connections, valve stems, and the coil itself. If you find a leak, depressurize the system, fix the issue, and retest. Never skip this step—refrigerant leaks are dangerous and costly.
Evacuating the System: Removing Moisture and Air
Once the system passes the leak test, it’s time to evacuate it using a vacuum pump. Connect the pump to the service ports and run it for at least 30 minutes—longer if the system was open for a while. The goal is to remove all moisture and non-condensable gases, which can reduce efficiency and damage components.
Use a micron gauge to measure the vacuum level. Aim for 500 microns or lower. If you can’t reach that level, there may still be moisture or a leak. Let the pump run longer or recheck connections.
Charging the System with Refrigerant
After evacuation, it’s time to add refrigerant. The FC35B3XC1A is designed for R-410A, so make sure you’re using the correct type. Refer to your system’s nameplate or manual for the exact charge amount—don’t guess.
Use a refrigerant scale to measure the charge accurately. Add refrigerant slowly, monitoring pressure and temperature. Overcharging or undercharging can both cause problems, so take your time.
System Startup and Performance Check
Once charged, turn on the system and let it run for 15–20 minutes. Check the airflow, temperature drop, and system pressures. The temperature difference between return and supply air should be around 15–20°F. If it’s lower, there may be an airflow issue or low refrigerant.
Listen for unusual noises—banging, hissing, or rattling. These can indicate loose parts, refrigerant leaks, or airflow obstructions. Also, check the condensate drain to ensure it’s flowing properly.
Final Inspection and Documentation
Walk through the entire system one last time. Confirm all connections are tight, seals are intact, and electrical components are secure. Take notes on the installation, including refrigerant charge, pressures, and any issues encountered. This documentation can be helpful for future maintenance or warranty claims.
Common Installation Mistakes and How to Avoid Them
Installing the Coil Backward or Upside Down
As mentioned earlier, coil orientation matters. The FC35B3XC1A has a specific airflow direction and refrigerant flow path. Installing it backward can reduce efficiency or cause system failure. Always check the manufacturer’s markings and diagrams.
Over-Tightening or Under-Tightening Connections
Refrigerant line connections must be tightened to the correct torque. Over-tightening can crack fittings; under-tightening can cause leaks. Use a torque wrench and follow the specs in the manual.
Skipping the Vacuum Process
Some DIYers skip evacuation to save time, but this is a big mistake. Moisture in the system can freeze, block refrigerant flow, or react with oil to form acids that damage components. Always evacuate thoroughly.
Ignoring Drain Pan and Drain Line Maintenance
A clean drain pan and clear drain line are essential for preventing water damage. Flush the drain line with vinegar or a cleaning solution to remove algae or debris. Install a drain pan overflow switch if your system doesn’t have one—it can save your home from flooding.
Not Testing for Leaks
Even small leaks can cause big problems over time. Always perform a leak test before charging the system. Use electronic detectors for hard-to-find leaks, especially in tight spaces.
Maintenance Tips to Keep Your FC35B3XC1A Coil Running Smoothly
Regular Filter Changes
Dirty filters restrict airflow, forcing the coil to work harder and reducing efficiency. Change your air filter every 1–3 months, depending on usage and air quality.
Annual Professional Inspections
Have a licensed HVAC technician inspect your system annually. They can check refrigerant levels, clean the coil, and catch potential issues before they become major problems.
Keep the Area Around the Unit Clean
Ensure the area around your indoor unit is free of dust, debris, and clutter. This improves airflow and reduces strain on the coil.
Monitor for Signs of Trouble
Watch for reduced cooling, higher bills, or strange noises. These can indicate coil issues, refrigerant leaks, or airflow problems. Address them early to avoid costly repairs.
Data Table: FC35B3XC1A Coil Specifications
| Specification | Value |
|---|---|
| Model Number | FC35B3XC1A |
| Type | Evaporator Coil (Cased, Vertical) |
| Capacity | 3 Tons |
| Refrigerant Type | R-410A |
| Dimensions (W x H x D) | 24″ x 20″ x 16″ |
| Weight | 45 lbs |
| Coating | Corrosion-Resistant Epoxy |
| Warranty | 10-Year Limited (Registration Required) |
Conclusion: Confidence in Every Installation
Installing the FC35B3XC1A air conditioner coil doesn’t have to be a nerve-wracking experience. With the right preparation, tools, and attention to detail, it’s a task that even experienced DIYers can tackle successfully. From understanding the coil’s design to following the air conditioner coil installation instructions model FC35B3XC1A step by step, every part of the process contributes to a cooler, more efficient home.
Remember, the key to a successful installation isn’t speed—it’s precision. Take your time, double-check connections, and never skip safety steps. And if you’re ever in doubt, don’t hesitate to call a professional. Your comfort, safety, and peace of mind are worth it. Now, go enjoy that cool, refreshing air—you’ve earned it.
Frequently Asked Questions
What are the key steps for installing the air conditioner coil Model FC35B3XC1A?
Begin by turning off power to the unit, then remove the access panel and old coil (if applicable). Follow the manufacturer’s manual to secure the new FC35B3XC1A coil, reconnect refrigerant lines, and ensure proper insulation before restoring power.
Do I need special tools for the FC35B3XC1A coil installation?
Basic tools like wrenches, a torque screwdriver, and refrigerant gauges are typically required. Always check the air conditioner coil installation instructions for Model FC35B3XC1A to confirm tool compatibility and safety requirements.
Can I install the FC35B3XC1A coil myself, or should I hire a professional?
While DIY installation is possible for those with HVAC experience, improper handling of refrigerant or wiring can be dangerous. If unsure, consult a licensed technician to ensure safe and efficient installation.
How do I ensure the FC35B3XC1A coil is compatible with my AC system?
Verify the model number (FC35B3XC1A) matches your system’s specifications in the user manual or by contacting the manufacturer. Mismatched coils can reduce efficiency or damage your unit.
What safety precautions should I take during air conditioner coil installation?
Always disconnect power before starting work and wear protective gear like gloves and goggles. Leak-check refrigerant lines after installation to prevent hazardous exposure or system malfunctions.
How long does it take to complete the FC35B3XC1A coil installation?
For experienced technicians, installation typically takes 2-4 hours. DIYers should allow extra time for troubleshooting and referencing the air conditioner coil installation instructions for Model FC35B3XC1A.

