
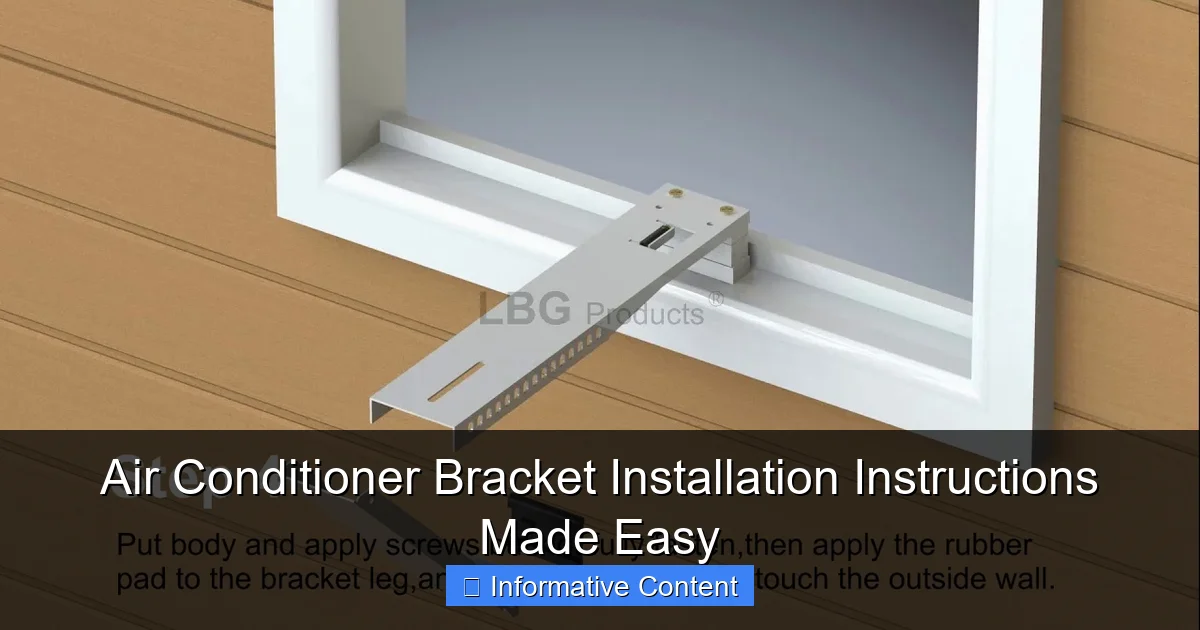
Featured image for air conditioner bracket installation instructions
Image source: i.ytimg.com
Installing an air conditioner bracket has never been simpler with our step-by-step guide designed for safety and precision. From selecting the right wall location to securely mounting the bracket, this easy-to-follow process ensures your AC unit stays firmly in place—no guesswork required. Whether you’re a DIY beginner or a seasoned pro, these clear instructions make air conditioner bracket installation quick, reliable, and stress-free.
Key Takeaways
- Choose the right bracket: Match it to your AC unit’s size and weight.
- Inspect wall strength: Ensure it supports the bracket and AC load safely.
- Use proper tools: Level, drill, and stud finder prevent misalignment and damage.
- Follow instructions: Adhere to manufacturer steps for secure, error-free installation.
- Check stability: Test bracket firmness before placing the AC unit.
- Maintain clearance: Keep AC away from walls for optimal airflow.
📑 Table of Contents
- Why Proper Air Conditioner Bracket Installation Matters
- Understanding Different Types of AC Brackets
- Tools and Materials You’ll Need
- Step-by-Step Installation Guide
- Common Mistakes and How to Avoid Them
- When to Call a Professional
- Data Table: Bracket Comparison by Type
- Final Thoughts: Safety, Simplicity, and Success
Why Proper Air Conditioner Bracket Installation Matters
Installing an air conditioner isn’t just about placing it on a window ledge and calling it a day. A secure, well-mounted AC unit relies heavily on a properly installed bracket. I learned this the hard way when my first AC unit wobbled dangerously during a summer storm—thankfully, it didn’t fall, but the fear of it crashing through the window was enough to send me scrambling for a better solution.
Whether you’re a seasoned DIYer or tackling your first AC installation, the right bracket setup is your first line of defense against accidents, noise, and even damage to your home. A sturdy bracket ensures your AC stays level, reduces vibration, and keeps water drainage efficient. In this guide, I’ll walk you through every step of air conditioner bracket installation, from choosing the right type to securing it safely—so you can enjoy cool air without the worry.
Understanding Different Types of AC Brackets
Not all air conditioner brackets are created equal. The type you need depends on your AC model, window style, and wall material. Picking the wrong one can lead to instability, leaks, or even a costly fall. Let’s break down the most common types and when to use them.
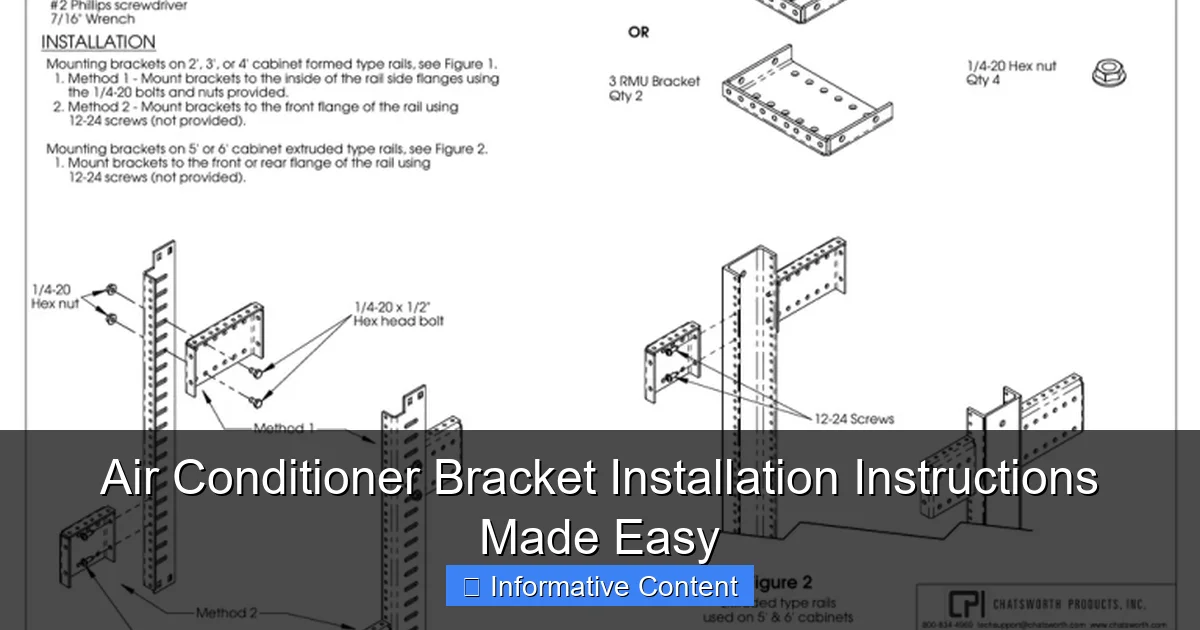
Visual guide about air conditioner bracket installation instructions
Image source: s2.studylib.net
Standard Window AC Brackets
These are the go-to for most horizontal sliding or double-hung windows. They typically consist of a metal L-shaped frame with adjustable arms that extend from the window sill to the outer wall. Most come with rubber pads to protect the sill and screws for anchoring.
- Best for: Single or double-hung windows in wood or vinyl frames
- Weight capacity: Usually 100–150 lbs, ideal for units up to 12,000 BTUs
- Pros: Easy to install, affordable, widely available
- Cons: Not ideal for heavy units or uneven surfaces
Tip: Always check your AC’s manual for weight and clearance requirements before buying. A 10,000 BTU unit might need a bracket rated for at least 125 lbs.
Support Leg Brackets (for Casement or Awning Windows)
If your window opens outward or sideways, a standard L-bracket won’t work. Support leg brackets use a vertical pole that props the AC from below, often with a footplate that rests on the ground or balcony.
- Best for: Casement, awning, or sliding glass doors
- Weight capacity: Up to 200 lbs, depending on design
- Pros: Great for non-traditional windows; distributes weight evenly
- Cons: Requires floor or balcony space; may block outdoor access
My neighbor used one of these for his casement window AC. It worked great—until his dog knocked it over during a heatwave. Lesson: secure the footplate with anti-slip pads or tie-downs if pets or kids are around.
Through-the-Wall Brackets (for Permanent Installations)
These are built into the wall during construction or retrofitted for long-term use. They’re common in apartments or offices where AC units stay year-round.
- Best for: Pre-cut wall sleeves or custom openings
- Weight capacity: 200+ lbs, often with built-in drainage
- Pros: Extremely stable; weatherproof; no window obstruction
- Cons: Requires professional help or advanced DIY skills; not removable
These are overkill for most homeowners, but worth considering if you’re remodeling or want a permanent cooling solution.
Universal Adjustable Brackets
These are the “Swiss Army knives” of AC mounts. They use extendable arms, multiple mounting points, and often include leveling screws to fit nearly any window or wall type.
- Best for: Older homes with uneven sills or mixed window styles
- Weight capacity: Varies (usually 100–180 lbs)
- Pros: Adaptable; often includes anti-vibration pads
- Cons: Bulkier; may require more tools to assemble
I used a universal bracket for my grandmother’s 1950s cottage. The sill was slanted, and the window frame was warped, but the adjustable arms saved the day. Just make sure to tighten all bolts—vibration can loosen them over time.
Tools and Materials You’ll Need
Before you start, gather everything you’ll need. Nothing’s worse than getting halfway through and realizing you’re missing a critical tool. Here’s my tried-and-true checklist:
Essential Tools
- Tape measure: For precise bracket and AC dimensions
- Level: A must-have to ensure your AC drains properly (more on that later)
- Power drill: For driving screws into wood, vinyl, or metal
- Drill bits: Match the screw size and wall material (e.g., wood, masonry, metal)
- Wrench or socket set: For tightening bolts
- Stud finder (optional but recommended): Helps locate wall studs for extra support
Pro tip: If you’re drilling into brick or concrete, use a hammer drill with masonry bits. Regular drills will overheat or break.
Materials and Safety Gear
- AC bracket kit: Includes screws, washers, and mounting hardware
- Rubber or foam pads: To protect window sills and reduce vibration
- Silicone caulk: For sealing gaps to prevent leaks
- Safety goggles and gloves: Protect your eyes and hands during drilling
- Helper (strongly recommended): AC units are heavy and awkward to lift alone
I once tried installing my AC solo—big mistake. The unit slipped, and I ended up with a bruised forearm and a scratched sill. Now I always recruit a friend or family member. It’s safer and twice as fast.
Optional Upgrades for Longevity
- Galvanized or stainless steel hardware: Resists rust in humid climates
- Anti-theft brackets: Locks the AC in place (great for apartments)
- Drain pan: Catches condensation to protect your window sill
These extras aren’t mandatory but can save you headaches down the road. For example, my friend in Florida used stainless screws—after three years of salt air, they still look brand new.
Step-by-Step Installation Guide
Now for the main event: installing your bracket. Follow these steps carefully, and you’ll have a secure, wobble-free setup.
Step 1: Measure and Plan
Measure your window width, sill depth, and AC unit dimensions. Most brackets need 2–4 inches of sill depth. If your sill is too short, use a support leg bracket instead.
- Check your AC manual for clearance requirements (usually 12–18 inches on each side)
- Ensure the window opens fully for emergency access
- Mark where the bracket arms will sit (avoid window tracks or latches)
Example: My 8,000 BTU unit needed 14 inches of clearance. I measured the window at 30 inches, so I centered the bracket at 15 inches—perfect.
Step 2: Assemble the Bracket
Lay out all parts and follow the manufacturer’s instructions. Most brackets have:
- A base rail that sits on the sill
- Adjustable arms that extend to the wall
- Support bars or legs (if included)
Tighten all bolts finger-tight for now—you’ll adjust later.
Step 3: Position and Level
Place the bracket on the sill, extending the arms to the wall. Use your level to ensure it’s perfectly horizontal. Even a 1/4-inch tilt can cause drainage issues.
- If the sill is uneven, use shims (included or homemade) under the bracket base
- For support leg brackets, ensure the footplate is stable on the ground
I once skipped this step and spent a week mopping up condensation. Learn from my mistake—level is everything!
Step 4: Secure the Bracket
Drill pilot holes through the bracket’s mounting points into the wall or window frame. This prevents splitting wood or cracking vinyl.
- Use screws provided (or upgrade to stainless if in a humid area)
- Tighten gradually—don’t over-torque, or you’ll strip the holes
- For brick or concrete, use wall anchors or toggle bolts
Pro tip: If drilling into vinyl, pre-drill with a small bit to avoid cracking.
Step 5: Install the AC Unit
With a helper, lift the AC onto the bracket. Slide it back until it’s fully seated, then:
- Attach any included safety straps or brackets
- Ensure the unit slopes slightly outward (1/4 inch per foot) for drainage
- Close and lock the window sash
My AC had a built-in locking tab that clicked into the bracket—a nice safety feature I didn’t expect.
Step 6: Seal and Test
Apply silicone caulk around the window sash and bracket edges to block drafts and leaks. Let it cure for 24 hours.
- Run the AC for 10–15 minutes to check for vibration or noise
- Inspect for water pooling on the sill
- Recheck all screws after 24 hours—vibration can loosen them
Common Mistakes and How to Avoid Them
Even experienced DIYers slip up. Here are the top pitfalls I’ve seen (and made myself).
Ignoring the Weight Limit
Brackets have weight ratings for a reason. Overloading can cause sagging or collapse. Always:
- Weigh your AC (check the manual or use a bathroom scale)
- Choose a bracket rated for at least 20% above your AC’s weight
My cousin used a 100-lb bracket for a 120-lb AC. It held for two weeks—then the arm bent. He upgraded to a 150-lb model and never looked back.
Skipping the Level
An unlevel AC won’t drain properly. Condensation will pool, leading to:
- Mold growth
- Water damage to walls and sills
- Reduced efficiency
Use a 4-foot level for accuracy. If the bracket is slightly off, adjust the arms or add shims.
Forgetting to Seal Gaps
Drafts and leaks are common when the window isn’t sealed. Use:
- Silicone caulk for permanent seals
- Weatherstripping for removable setups
I once skipped sealing and lost 20% cooling efficiency. A $5 tube of caulk fixed it in 10 minutes.
Neglecting Maintenance
Brackets need checkups too:
- Tighten screws every 3–6 months
- Inspect for rust or cracks (especially in coastal areas)
- Clean drainage channels annually
My neighbor’s bracket rusted through after five years because he never checked it. A $20 inspection could’ve saved a $500 repair.
When to Call a Professional
DIY is great, but some situations demand expert help.
Complex Wall Materials
Brick, stucco, or concrete require special tools and anchors. If you’re not confident, hire a handyman. A pro can:
- Use a rotary hammer for clean holes
- Install heavy-duty anchors
- Ensure the bracket meets building codes
I once tried drilling into stucco with a regular drill—it took 30 minutes and ruined the bit. A pro did it in 5 minutes with the right tool.
Structural Concerns
If your wall is cracked, rotted, or load-bearing, don’t risk it. A professional can:
- Reinforce the wall
- Use a through-the-wall sleeve
- Obtain permits if needed
Warranty and Safety
Some AC manufacturers void warranties if installed improperly. If your unit is expensive or under warranty, consider hiring an HVAC tech. It’s better to pay $100 now than $500 later.
Data Table: Bracket Comparison by Type
| Bracket Type | Best For | Weight Capacity | Ease of Install | Cost Range |
|---|---|---|---|---|
| Standard L-Bracket | Double-hung windows | 100–150 lbs | Easy | $20–$40 |
| Support Leg | Casement/awning windows | 120–200 lbs | Moderate | $40–$70 |
| Through-the-Wall | Wall sleeves | 200+ lbs | Difficult | $100–$300 |
| Universal Adjustable | Uneven surfaces | 100–180 lbs | Moderate | $50–$90 |
Note: Prices are approximate and vary by region and retailer.
Final Thoughts: Safety, Simplicity, and Success
Installing an air conditioner bracket might seem daunting, but it’s one of the most rewarding DIY projects you’ll tackle. A secure mount means peace of mind, better performance, and longer AC life. Remember: measure twice, level once, and never skip the safety checks.
From my early wobbles to my current wobble-free setups, I’ve learned that patience and preparation are key. Whether you’re using a basic L-bracket or a high-tech adjustable model, the principles are the same: stability, drainage, and attention to detail. Now go forth, install with confidence, and enjoy that sweet, cool air—safely.
Frequently Asked Questions
What do I need to install an air conditioner bracket?
You’ll need a drill, level, measuring tape, screws, wall anchors, and a stud finder to securely install an air conditioner bracket. Make sure to check your AC unit’s weight and size to choose the right bracket.
Can I install an air conditioner bracket on any wall?
Not all walls are suitable—brick, concrete, or wood-framed walls with studs are ideal for air conditioner bracket installation. Avoid drywall alone, as it may not support the unit’s weight over time.
How do I ensure the air conditioner bracket is level?
Use a spirit level during installation to keep the bracket perfectly horizontal. A level bracket prevents strain on the AC unit and ensures proper drainage.
Do I need professional help for air conditioner bracket installation?
If you’re unsure about locating studs or drilling into masonry, hiring a professional is recommended. Proper installation is crucial for safety and unit performance.
What’s the best height to install an air conditioner bracket?
Install the bracket at least 7 feet above the ground to allow proper airflow and prevent obstructions. Always follow the manufacturer’s guidelines for optimal placement.
Can I reuse an old air conditioner bracket?
It’s not recommended—old brackets may be corroded or weakened. For safety and stability, use a new bracket designed for your specific AC model and weight.