Installing an air conditioner can be a game-changer for your home comfort. This guide will walk you through the process, step by step.
Why Install an Air Conditioner?
An air conditioner helps keep your home cool during hot summer days. It also improves air quality by filtering out dust and allergens.
Benefits Of Air Conditioning
- Comfort: Enjoy a cool and comfortable home environment.
- Health: Better air quality reduces allergies and asthma symptoms.
- Productivity: Stay focused and productive in a cool space.
Types of Air Conditioners
There are several types of air conditioners to choose from. Each type has its own benefits and installation process.
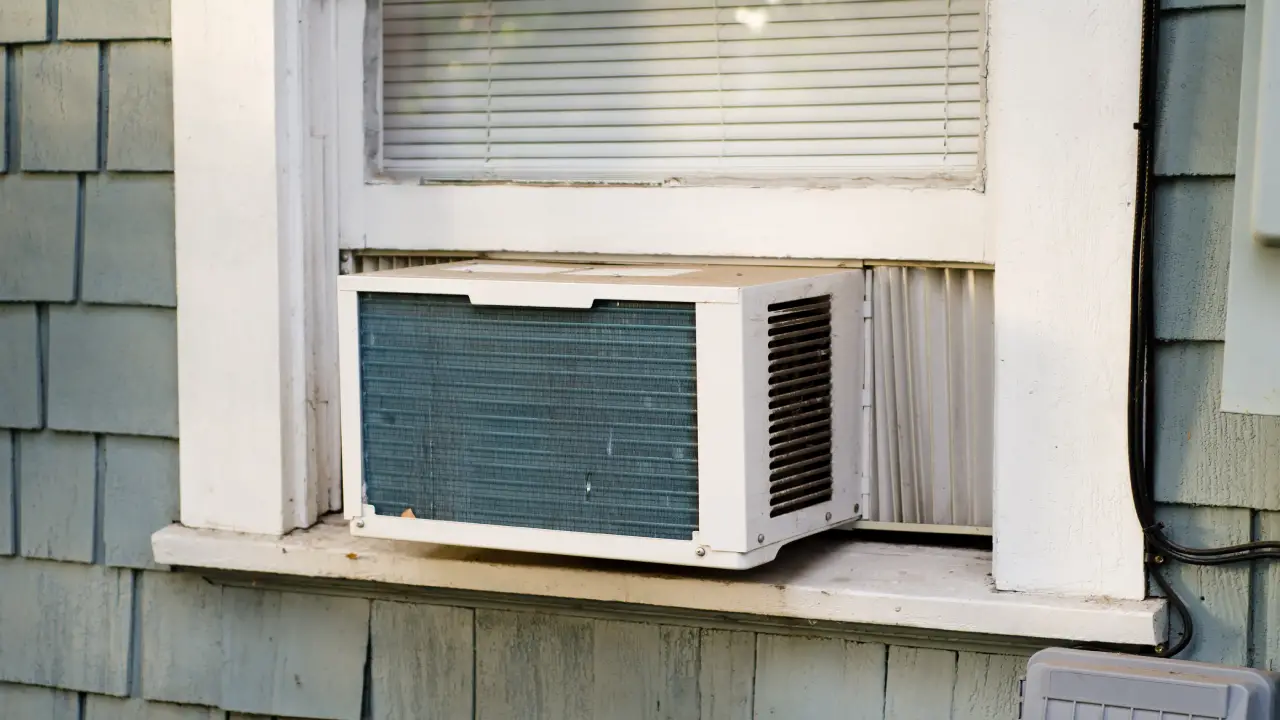
Window Air Conditioners
These are installed in a window. They are easy to install and affordable.
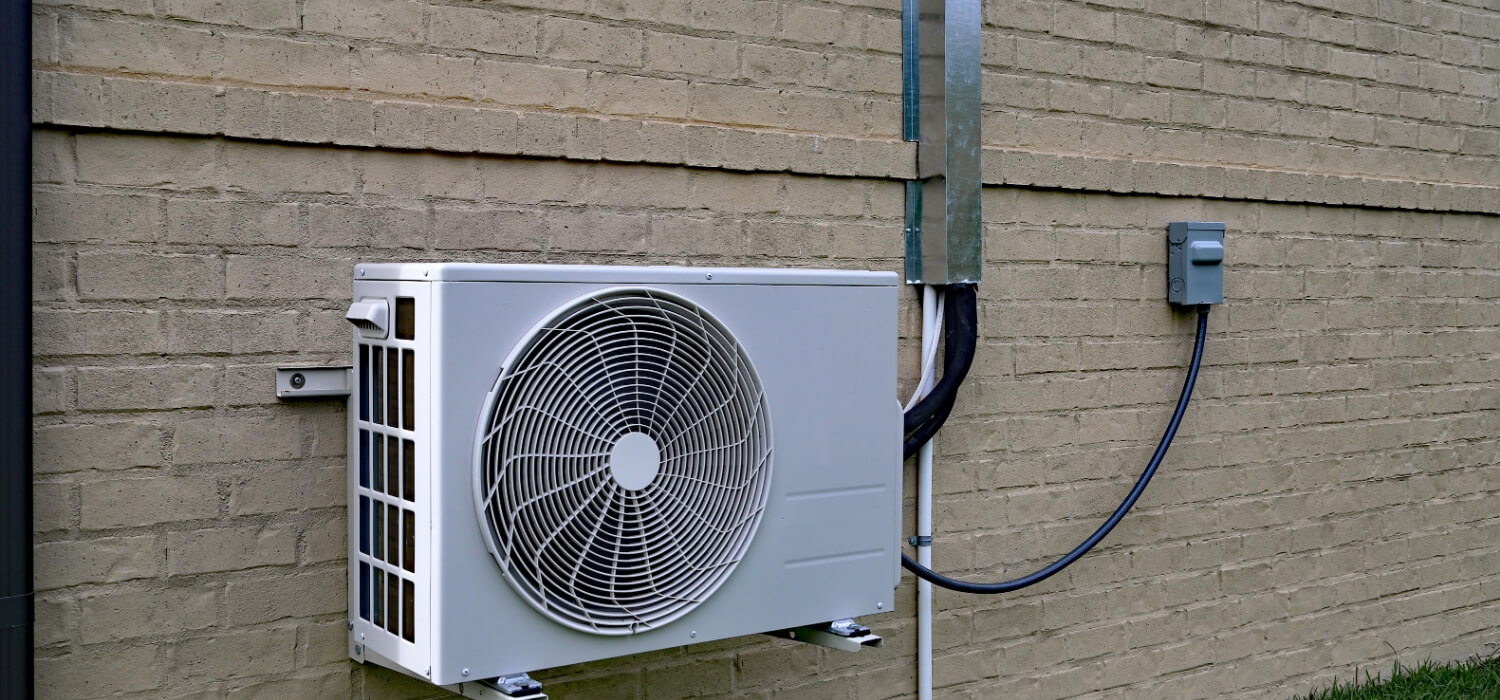
Split Air Conditioners
These have two units: one inside and one outside. They are more efficient and quieter.
Portable Air Conditioners
These can be moved from room to room. They are easy to set up but less powerful.

Tools You Will Need
Before you start, gather these tools:
| Tool | Purpose |
|---|---|
| Drill | To make holes for screws |
| Screwdriver | To tighten screws |
| Measuring Tape | To measure dimensions |
| Level | To ensure the unit is straight |
Step-by-Step Guide to Install a Window Air Conditioner
Step 1: Choose The Right Window
Pick a window that is near an electrical outlet. Ensure the window can support the weight of the unit.
Step 2: Measure The Window
Measure the width and height of the window. Compare it with the size of your air conditioner.
Step 3: Install The Mounting Brackets
Follow the manufacturer’s instructions to install the mounting brackets. Use a level to ensure they are straight.
Step 4: Place The Air Conditioner
Carefully lift the air conditioner and place it on the brackets. Secure it with screws.
Step 5: Seal The Gaps
Use foam strips to seal any gaps around the unit. This prevents air leaks.
Step 6: Plug It In
Plug the air conditioner into the electrical outlet. Turn it on and enjoy the cool air.

Step-by-Step Guide to Install a Split Air Conditioner
Step 1: Choose The Right Location
Pick a spot on the wall for the indoor unit. Ensure it is away from direct sunlight.
Step 2: Install The Indoor Unit
Mount the indoor unit on the wall bracket. Ensure it is level and secure.
Step 3: Install The Outdoor Unit
Place the outdoor unit on a flat surface. Ensure it has enough ventilation.
Step 4: Connect The Pipes
Connect the refrigerant pipes between the indoor and outdoor units. Ensure there are no leaks.
Step 5: Connect The Electrical Wires
Connect the electrical wires following the manufacturer’s instructions. Ensure all connections are secure.
Step 6: Test The Unit
Turn on the air conditioner and test its functions. Ensure it is cooling properly.
Common Mistakes to Avoid
Avoid these mistakes to ensure a successful installation:
- Not measuring the window or wall space correctly.
- Ignoring the manufacturer’s instructions.
- Not sealing gaps around the unit.
- Placing the outdoor unit in a poorly ventilated area.
Maintenance Tips
Keep your air conditioner running smoothly with these tips:
- Clean the filters regularly.
- Check for any leaks in the pipes.
- Ensure the outdoor unit is free from debris.
- Schedule annual maintenance with a professional.
Frequently Asked Questions
What Is The Best Air Conditioner Type?
The best type depends on your needs. Central ACs are efficient for whole-house cooling; window units are perfect for single rooms.
How Much Does Ac Installation Cost?
Installation costs vary. On average, expect to pay between $3,000 to $7,000, depending on the system and complexity.
How Long Does Ac Installation Take?
Installation usually takes 4-8 hours. The time depends on the system type and home layout.
Can I Install Ac Myself?
Professional installation is recommended. Proper installation ensures efficiency, safety, and warranty validity.
Conclusion
Installing an air conditioner improves your home comfort and air quality. Follow this guide to ensure a successful installation. Enjoy a cool and comfortable home all year round!

