
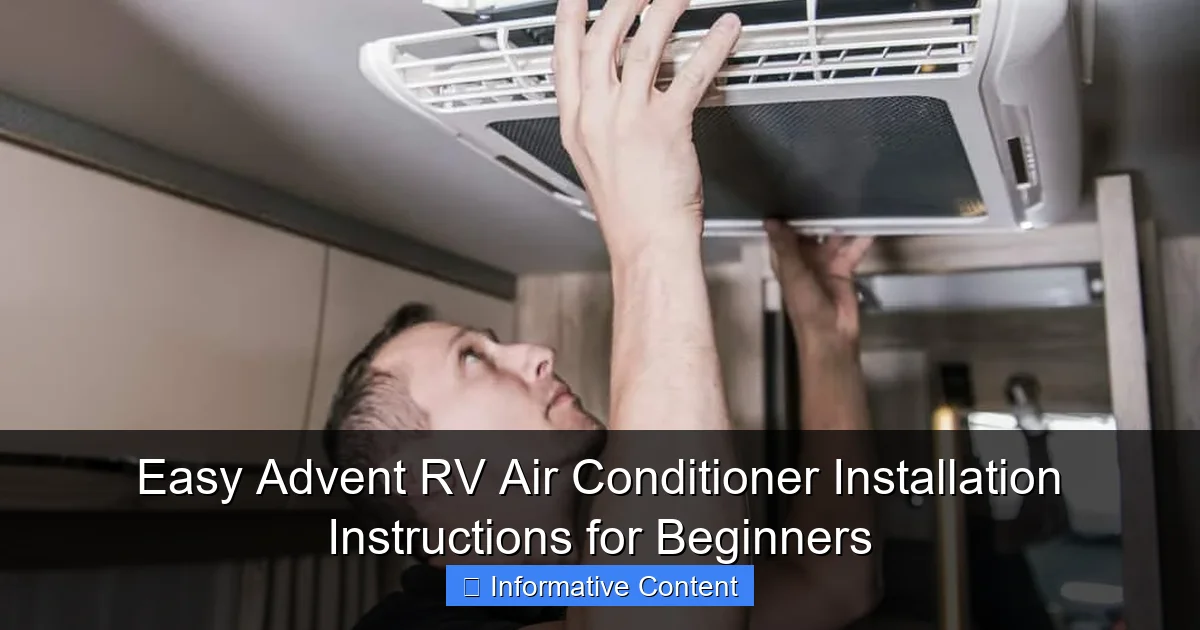
Featured image for advent rv air conditioner installation instructions
Image source: camperupgrade.com
Installing an Advent RV air conditioner is simpler than you think—even for beginners—with clear, step-by-step instructions that guide you from start to finish. This beginner-friendly guide covers essential tools, safety tips, and common pitfalls to avoid, ensuring a smooth and successful installation. Get your RV cool and comfortable fast with these easy-to-follow Advent RV air conditioner installation instructions.
Key Takeaways
- Read the manual first: Always review manufacturer instructions before starting installation.
- Turn off power: Ensure RV’s electrical supply is off to prevent accidents.
- Use proper tools: Have a torque wrench, sealant, and screwdrivers ready.
- Check roof compatibility: Confirm your RV’s roof can support the unit.
- Seal thoroughly: Apply weatherproof sealant to avoid leaks and drafts.
- Test operation: Run the AC after install to verify performance and cooling.
📑 Table of Contents
- Easy Advent RV Air Conditioner Installation Instructions for Beginners
- Why Choose an Advent RV Air Conditioner?
- Tools and Materials You’ll Need
- Pre-Installation Preparation
- Step-by-Step Installation Guide
- Troubleshooting Common Installation Issues
- Maintenance Tips to Keep Your Advent AC Running Smoothly
- Advent RV Air Conditioner Model Comparison
- Final Thoughts: You’ve Got This!
Easy Advent RV Air Conditioner Installation Instructions for Beginners
So, you’ve decided to upgrade your RV with an Advent air conditioner—congratulations! Whether you’re a weekend warrior heading out for a lakeside getaway or a full-time RVer chasing sunsets across the country, a reliable AC unit can make all the difference in comfort. I remember my first RV trip during a sweltering July in Arizona. The heat was relentless, and my old, underpowered AC unit sounded like a lawnmower fighting a losing battle. That’s when I knew it was time for an upgrade—and Advent came highly recommended by fellow travelers at the campground.
Advent RV air conditioners are known for their durability, energy efficiency, and quiet operation, making them a favorite among RV enthusiasts. But here’s the thing: installing one yourself might seem intimidating at first. You’re probably thinking, “Do I need special tools? What if I mess up the wiring?” I get it. I’ve been there. But the good news? With the right guidance, patience, and a little elbow grease, installing an Advent RV air conditioner is absolutely doable—even for beginners. In this guide, I’ll walk you through every step, share real-life tips from my own installation experience, and help you avoid common pitfalls. By the end, you’ll feel confident tackling this project and enjoying cool, comfortable air on your next adventure.
Why Choose an Advent RV Air Conditioner?
Before we dive into the installation process, let’s talk about why Advent is a smart choice for your RV. When I started researching air conditioners, I was overwhelmed by the options. Some were cheap but flimsy; others were powerful but noisy. Advent struck the perfect balance. Their units are designed specifically for RVs, meaning they’re built to handle the vibrations, temperature swings, and space constraints that come with life on the road.
Visual guide about advent rv air conditioner installation instructions
Image source: unchartedusa.com
Energy Efficiency That Saves You Money
One of the standout features of Advent RV air conditioners is their energy efficiency. Most models come with a high EER (Energy Efficiency Ratio), which means they cool your space effectively without guzzling power. This is crucial when you’re boondocking or relying on a generator. I’ve seen RVers run their Advent units for hours on end without draining their batteries—something my old unit could never manage. Plus, many Advent models are compatible with solar setups, making them ideal for off-grid adventures.
Quiet Operation for Peaceful Nights
Let’s be honest: nobody wants to fall asleep to the sound of a roaring compressor. Advent units are engineered with noise reduction in mind. The fan blades are balanced, the motors are insulated, and the airflow is optimized to minimize sound. On my last trip to the mountains, I was able to sleep soundly while the AC hummed quietly in the background—no earplugs needed. If you’re someone who values peace and quiet, this is a major win.
Durability Built for the Road
RVs take a beating. Bumps, potholes, sudden stops—your AC unit has to withstand it all. Advent builds their units with rugged materials and secure mounting systems to handle the rigors of travel. I’ve driven thousands of miles with my Advent AC, and it’s held up perfectly. No rattling, no leaks, no unexpected breakdowns. It’s peace of mind you can’t put a price on.
Easy Integration with Existing Systems
Another reason I chose Advent is compatibility. Their units are designed to work seamlessly with most RV electrical systems and roof configurations. Whether you’re replacing an old unit or installing one for the first time, Advent provides clear instructions and compatible mounting hardware. Plus, many models come with digital thermostats and remote controls, making temperature management a breeze.
Tools and Materials You’ll Need
Before you start, it’s important to gather all the tools and materials you’ll need. Trust me, there’s nothing worse than getting halfway through the installation only to realize you’re missing a crucial screw or tool. I learned this the hard way when I had to make an emergency trip to the hardware store in the middle of a rainy afternoon.
Essential Tools
- Drill with drill bits – For making holes in the roof and securing the unit
- Screwdrivers (Phillips and flathead) – For tightening screws and accessing panels
- Socket wrench set – Useful for tightening bolts on the mounting bracket
- Measuring tape – To ensure proper alignment and spacing
- Level – To make sure the unit is installed evenly
- Utility knife – For trimming insulation or cutting sealant
- Caulking gun – For applying roof sealant
- Safety gear – Gloves, safety glasses, and non-slip shoes
Materials and Supplies
- Advent RV air conditioner unit – Make sure it’s the right size for your RV
- Roof mounting kit – Usually included with the unit, but double-check
- Roof sealant (like Dicor self-leveling lap sealant) – To prevent leaks
- Electrical wire (12-gauge or as recommended) – For connecting to your RV’s power system
- Wire nuts and electrical tape – For secure connections
- Insulation foam or tape – To seal gaps around the unit
- Replacement roof vent cover (if needed) – Some installations require removing the old vent
Optional but Helpful
- Second person – Air conditioners are heavy; having a helper makes lifting and positioning much easier
- Foam board or plywood – To protect the roof while working
- Vacuum cleaner – To clean dust and debris from the roof before sealing
Pro tip: Lay out all your tools and materials before you begin. This saves time and reduces frustration. I like to organize everything on a small table or tarp near the work area so I can grab what I need quickly.
Pre-Installation Preparation
Now that you’ve got your tools ready, it’s time to prepare your RV for installation. This step is often overlooked, but it’s just as important as the actual installation. Skipping prep work can lead to leaks, misalignment, or even damage to your roof.
Choose the Right Location
The first decision is where to install the AC unit. Most RVs have a pre-cut opening on the roof, usually where the old air conditioner or roof vent was. If you’re replacing an existing unit, this makes things easier. But if you’re installing from scratch, you’ll need to locate a spot that’s structurally sound and close to your electrical panel.
Here’s what to look for:
- Structural support – Avoid areas with weak spots, seams, or previous repairs
- Clearance – Make sure there’s enough space around the unit for airflow and maintenance
- Proximity to power source – The closer to your breaker panel, the shorter the wire run
- Weight distribution – Don’t install too far forward or back; balance is key
I once helped a friend install an AC unit too far toward the rear of his RV. It caused a noticeable sag and affected handling. Lesson learned: always check your RV’s weight distribution guidelines.
Remove the Old Unit (If Applicable)
If you’re replacing an old air conditioner, you’ll need to remove it first. Start by turning off the power at the breaker panel—safety first! Then, disconnect the electrical wires (take a photo for reference) and remove the mounting bolts. Most units are held in place by four bolts on the roof.
Carefully lift the old unit off the roof. This is where a second person really helps. Once it’s off, inspect the opening. You may need to clean out old sealant, debris, or insulation. Use a putty knife or scraper to remove any residue, and vacuum the area thoroughly.
Inspect and Prepare the Roof
Before installing the new unit, inspect the roof for damage. Look for cracks, soft spots, or signs of water intrusion. If you find any issues, address them before proceeding. A compromised roof can lead to leaks and costly repairs down the road.
Next, clean the area around the installation site. Remove dirt, leaves, and old sealant. I like to wipe the surface with a damp cloth and let it dry completely. This ensures the new sealant adheres properly.
Check Electrical Requirements
Advent RV air conditioners typically require a 120V AC power source and a dedicated 20-amp circuit. Check your RV’s electrical panel to make sure you have an available breaker. If not, you may need to install one—this is best left to a professional if you’re not experienced with RV electrical systems.
Also, verify the wire gauge. Most installations use 12-gauge wire, but larger units may require 10-gauge. Using the wrong wire can cause overheating or voltage drop. When in doubt, consult the Advent installation manual or a licensed electrician.
Step-by-Step Installation Guide
Alright, now for the main event: installing your Advent RV air conditioner. I’ll walk you through each step as if we’re working on it together. Take your time, follow the instructions, and don’t rush. A careful installation now means fewer problems later.
Step 1: Position the Mounting Bracket
Start by placing the mounting bracket over the roof opening. Make sure it’s centered and aligned with the edges of the opening. Use a level to ensure it’s perfectly horizontal. Once it’s in position, mark the screw holes with a pencil or marker.
Remove the bracket and drill pilot holes into the roof. This prevents the screws from splitting the material. Then, apply a generous bead of roof sealant around the edges of the bracket and screw it into place. Tighten the screws evenly to avoid warping the bracket.
Step 2: Install the Air Conditioner Unit
Now it’s time to lift the AC unit onto the roof. This is the heaviest part of the job, so enlist help if possible. Carefully position the unit over the mounting bracket, aligning the bolt holes. Lower it slowly and gently—don’t force it.
Once the unit is seated, insert the mounting bolts through the bracket and into the unit’s base. Tighten them gradually and evenly. Over-tightening can crack the housing, so use a torque wrench if you have one. Most Advent units recommend 25-30 inch-pounds of torque.
Step 3: Seal the Roof
Leaks are the enemy of any roof installation. To prevent them, apply a thick bead of self-leveling roof sealant around the entire perimeter of the unit and mounting bracket. Use a caulking gun for even application. Make sure the sealant fills all gaps and covers the screw heads.
I like to go around the unit twice—once for the initial seal and again after a few minutes to catch any settling. Let the sealant cure for at least 24 hours before exposing it to rain or moisture.
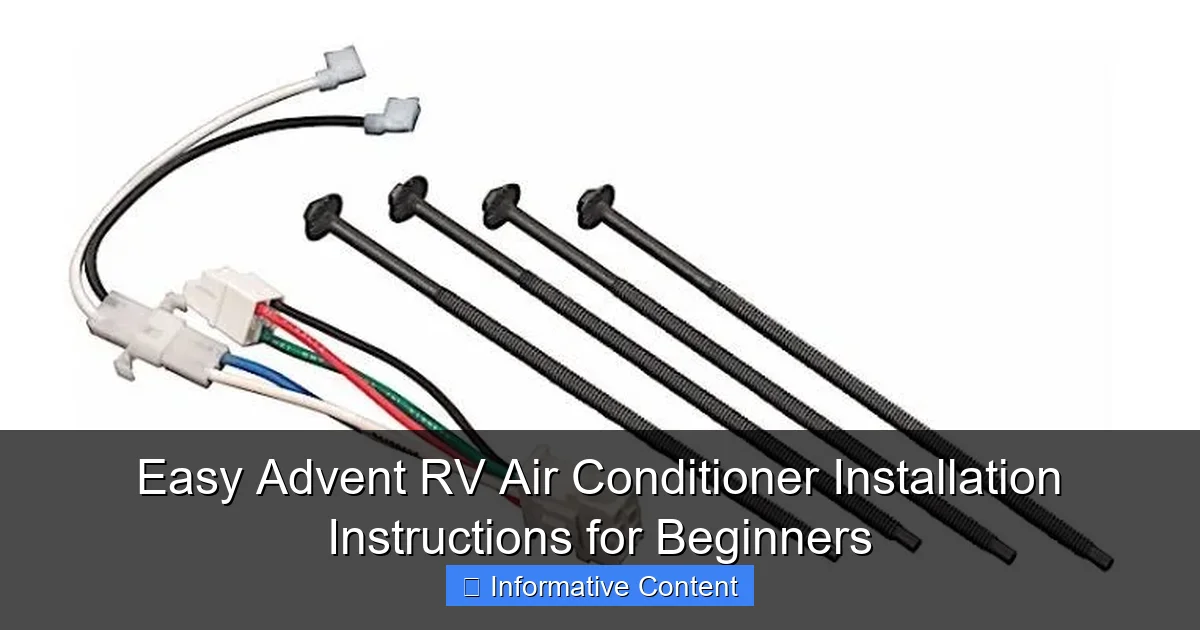
Step 4: Connect the Electrical Wiring
With the unit securely mounted, it’s time to wire it up. Turn off the power at the breaker panel and double-check with a voltage tester. Remove the access panel on the AC unit to expose the wiring compartment.
Run the electrical wire from your breaker panel to the unit. Strip the ends of the wires and connect them according to the color code: black (hot), white (neutral), and green or bare (ground). Use wire nuts to secure the connections and wrap them with electrical tape for extra protection.
Secure the wire with cable clamps to prevent strain on the connections. Replace the access panel and turn the power back on. Test the unit by setting the thermostat and turning it on. Listen for unusual noises and check for proper airflow.
Step 5: Install the Interior Cover and Thermostat
Most Advent units come with an interior cover that fits over the ceiling opening. This piece not only looks nice but also helps with insulation and airflow. Simply snap or screw it into place, depending on the model.
If your unit includes a digital thermostat, mount it on the wall near the sleeping area. Follow the wiring instructions carefully—some thermostats require low-voltage connections. Once installed, program the thermostat and test all settings.
Step 6: Final Inspection and Testing
Before you call it a day, do a thorough inspection. Check all bolts, seals, and electrical connections. Make sure the unit is level and secure. Turn on the AC and let it run for 15-20 minutes. Monitor the temperature, listen for odd sounds, and check for leaks around the roof.
If everything looks good, you’re all set! Pack up your tools, clean the area, and enjoy the cool air.
Troubleshooting Common Installation Issues
Even with careful planning, things don’t always go perfectly. Here are some common issues I’ve encountered—and how to fix them.
Unit Won’t Turn On
If your AC doesn’t power up, check the breaker first. It may have tripped during installation. Also, verify the wiring connections and ensure the thermostat is set correctly. If the problem persists, consult the Advent troubleshooting guide or contact customer support.
Water Leaks on the Roof
Leaks usually mean the sealant wasn’t applied properly or the unit isn’t level. Inspect the roof for gaps or cracks. Reapply sealant if needed and make sure the unit is sitting flat. A slight tilt can cause water to pool and seep underneath.
Weak Airflow
Poor airflow can be caused by a clogged filter, blocked vents, or incorrect thermostat settings. Check and clean the air filter regularly. Also, ensure nothing is blocking the interior or exterior vents.
Excessive Noise
If your unit is louder than expected, check for loose bolts or unbalanced fan blades. Tighten all mounting hardware and inspect the fan for damage. Sometimes, a simple adjustment can make a big difference.
Maintenance Tips to Keep Your Advent AC Running Smoothly
Once your Advent RV air conditioner is installed, regular maintenance will keep it running efficiently for years. Here’s my go-to maintenance routine:
- Clean the air filter monthly – A dirty filter restricts airflow and reduces efficiency
- Inspect the roof sealant annually – Reapply if you notice cracks or gaps
- Check electrical connections – Look for corrosion or loose wires
- Lubricate moving parts – Some models require occasional lubrication of the fan motor
- Cover the unit when not in use – A breathable cover protects it from debris and UV damage
Advent RV Air Conditioner Model Comparison
| Model | BTU Rating | EER | Weight (lbs) | Special Features |
|---|---|---|---|---|
| Advent 13,500 BTU | 13,500 | 11.0 | 78 | Quiet operation, digital thermostat |
| Advent 15,000 BTU | 15,000 | 11.5 | 85 | High efficiency, remote control |
| Advent 10,000 BTU | 10,000 | 10.8 | 65 | Compact design, ideal for small RVs |
Final Thoughts: You’ve Got This!
Installing an Advent RV air conditioner might seem like a big task, but with the right preparation and a steady hand, it’s completely within reach—even for beginners. I’ll admit, I was nervous the first time I did it. But after taking it step by step, double-checking my work, and asking for help when I needed it, I felt a real sense of accomplishment. And the best part? The first time I turned it on and felt that cool, refreshing air, I knew it was worth every minute.
Remember, this isn’t just about staying cool—it’s about enhancing your RV experience. Whether you’re parked at a national park, a beachside campground, or a remote desert spot, a reliable air conditioner lets you relax, sleep well, and enjoy the journey. So gather your tools, follow these instructions, and get ready to beat the heat in style. Your next adventure is waiting—and now, so is your comfort.
Frequently Asked Questions
How do I install an Advent RV air conditioner for the first time?
Start by turning off all power sources and removing the old AC unit (if applicable). Follow the Advent RV air conditioner installation instructions to mount the new unit, secure the gasket, and connect the wiring and thermostat. Always double-check the roof opening dimensions before installation.
What tools do I need for Advent RV air conditioner installation?
You’ll need a screwdriver, adjustable wrench, drill, sealant, and a voltage tester. Having a helper is recommended for lifting and aligning the unit safely during the installation process.
Can I install an Advent RV air conditioner without professional help?
Yes, the Advent RV air conditioner installation instructions are designed for DIY beginners. Just ensure you follow safety steps, like disconnecting power and using proper roof support, to avoid damage or injury.
Where should the thermostat be placed during installation?
Mount the thermostat inside the RV on an interior wall, away from direct sunlight or airflow. This ensures accurate temperature readings and optimal performance of your air conditioner.
Why is my Advent RV AC not cooling after installation?
Check if the unit is securely sealed to the roof and all electrical connections are tight. Refer to the installation guide to confirm the thermostat settings and power supply meet the unit’s requirements.
Do I need to add sealant during Advent RV AC installation?
Yes, apply butyl tape or RV-specific sealant around the roof opening before placing the unit. This prevents leaks and ensures a weatherproof seal, as outlined in the installation instructions.

