
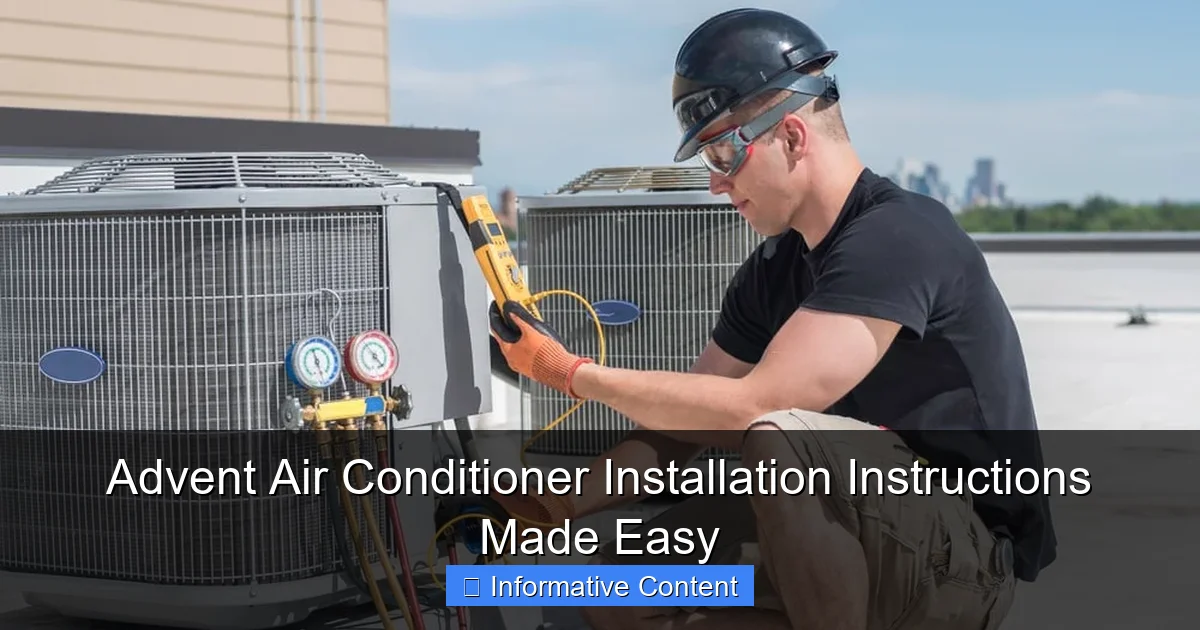
Featured image for advent air conditioner installation instructions
Image source: camperupgrade.com
Installing your Advent air conditioner is simple and stress-free with our clear, step-by-step guide designed for both DIYers and first-time installers. From mounting the unit to connecting refrigerant lines and wiring, every critical step is explained to ensure a safe, efficient setup and optimal cooling performance.
Key Takeaways
- Read the manual first: Always review Advent AC instructions before starting installation.
- Gather tools early: Ensure all necessary tools are ready to avoid delays.
- Check compatibility: Confirm your RV’s specs match the AC unit requirements.
- Secure power off: Disconnect electricity before handling any electrical components.
- Seal properly: Use weatherproof sealant to prevent leaks and drafts.
- Test after install: Run a quick test to verify cooling and airflow.
📑 Table of Contents
Why Proper Installation Matters for Your Advent Air Conditioner
Imagine this: you’re excited to install your brand-new Advent air conditioner to beat the summer heat. You open the box, lay out all the parts, and realize—where do you even start? I’ve been there. That first moment of hesitation is completely normal. Whether you’re upgrading your RV’s cooling system or installing a unit in a mobile home, the installation process can feel overwhelming. But here’s the good news: with the right guidance, installing your Advent air conditioner can be a smooth, stress-free experience.
Proper installation isn’t just about getting the unit up and running—it’s about safety, efficiency, and longevity. A poorly installed air conditioner can lead to water leaks, electrical hazards, or even premature breakdowns. That’s why understanding the Advent air conditioner installation instructions is crucial. This guide will walk you through every step, from unpacking to testing, with real-world tips and practical advice to make the process as easy as possible.
Getting Started: Unboxing and Pre-Installation Prep
Unboxing Your Advent Air Conditioner
First things first—unboxing. I remember my first unboxing like it was yesterday. The unit was heavier than I expected, and I worried about dropping it. Here’s what to expect:
Visual guide about advent air conditioner installation instructions
Image source: i1.wp.com
- The main air conditioner unit (typically 13,500 to 15,000 BTUs)
- Ceiling assembly (with thermostat and air vents)
- Mounting hardware (screws, brackets, gaskets)
- Electrical wiring harness
- User manual and installation guide
Pro tip: Lay everything out on a clean, flat surface. Take photos of the parts and labels—this can help if you need to reference them later or contact customer support.
Tools You’ll Need
Before you begin, gather these tools. Trust me, you don’t want to stop halfway to run to the hardware store:
- Drill with 1/8-inch and 1/4-inch drill bits
- Jigsaw or hole saw (for ceiling cutout)
- Wrench set (metric and standard)
- Voltage tester
- Silicone sealant (high-temperature, RV-grade)
- Measuring tape
- Utility knife
- Ladder (for ceiling access)
Real-world tip: I once skipped the voltage tester and ended up frying a circuit board. Learn from my mistake—always verify power is off before working with wiring!
Pre-Installation Checklist
Before you even think about cutting a hole in your roof, run through this checklist:
- Confirm your RV or mobile home roof can support the unit’s weight (check manufacturer specs)
- Ensure you have the correct voltage supply (120V AC, 60 Hz)
- Check for existing roof penetrations—avoid cutting near water lines or electrical conduits
- Verify the ceiling opening size matches your Advent model (most are 14″ x 14″)
Why this matters: A friend of mine once cut a hole too close to a water line. The result? A costly repair. Always double-check your measurements and layout.
Step-by-Step Installation Guide
Step 1: Preparing the Roof and Ceiling Opening
This is where many DIYers get nervous—cutting into the roof. But with patience, it’s manageable.
- Measure and mark the 14″ x 14″ opening on the roof using a template (often included with the kit)
- Drill pilot holes at each corner of the marked area
- Use a jigsaw to carefully cut along the lines
- Remove the cut-out section and clean any debris
Tip: If you’re working alone, tie a string to the cut-out piece before removing it. This prevents it from falling into the RV and causing damage.
For the ceiling opening:
- Remove the interior ceiling panel (usually held by screws or clips)
- Cut a 14″ x 14″ hole in the ceiling, aligning it directly under the roof hole
- Use a level to ensure the opening is perfectly square
Common mistake: Misaligning the roof and ceiling holes. This can cause the unit to sit unevenly and lead to leaks. Take your time with measurements.
Step 2: Installing the Mounting Bracket and Gasket
Now it’s time to secure the base of your Advent air conditioner.
- Place the mounting bracket over the roof opening
- Secure it with the provided screws (don’t overtighten—this can warp the roof)
- Apply a generous bead of silicone sealant around the edges of the bracket
- Install the rubber gasket over the bracket—this creates a watertight seal
Pro tip: Use a high-quality, UV-resistant silicone. I prefer Dicor or Geocel for RV applications. Cheap sealants degrade quickly under sun exposure.
Why the gasket matters: A poor seal is the #1 cause of water leaks in RV air conditioners. Don’t skip this step!
Step 3: Mounting the Air Conditioner Unit
This is the heavy lifting part—literally. Advent units weigh between 60-80 lbs.
- With a helper, carefully lift the unit onto the roof
- Align the unit’s base with the mounting bracket
- Lower it into place—don’t force it; it should slide in smoothly
- Secure the unit to the bracket with the provided hardware
Safety note: Always use a spotter when lifting the unit. I once tried to do it solo and nearly dropped it—not fun!
Extra tip: Check that the unit sits level. Use shims if needed to avoid stress on the roof or unit housing.
Step 4: Connecting the Ceiling Assembly
Now it’s time to bring the unit inside—literally.
- Lower the ceiling assembly through the ceiling opening
- Connect the wiring harness from the AC unit to the ceiling assembly
- Secure the ceiling assembly to the unit with screws
- Reattach the interior ceiling panel
Wiring tip: Match the wire colors exactly. Most kits use standard color coding (black to black, white to white, green to green). If colors don’t match, consult the manual.
Common issue: Loose connections can cause the thermostat to malfunction. Double-check all plugs and screws.
Electrical and Ducting Considerations
Wiring the Air Conditioner
Electricity can be intimidating, but this step is straightforward if you follow the instructions.
- Turn off power at the main breaker
- Route the AC’s power cord to your RV’s electrical panel
- Connect to a dedicated 20-amp breaker (most Advent units require this)
- Use a voltage tester to confirm no power is flowing
Real-world example: My first install, I connected to a 15-amp breaker. The unit kept tripping the breaker. Upgrading to 20 amps solved the issue.
Critical reminder: Never use an undersized breaker or extension cords. This can cause overheating and fire hazards.
Ducting and Ventilation
Proper airflow is essential for efficiency and comfort.
- Connect the AC’s ducting to your RV’s existing air ducts (if applicable)
- Seal all duct joints with aluminum tape (not duct tape—it degrades)
- Ensure the return air path is unobstructed
- Check that ceiling vents open and close smoothly
Tip: If your RV doesn’t have ducts, use the included ceiling vents to direct airflow. Position them to avoid blowing directly on sleeping areas.
Why ducts matter: Poor ducting can reduce efficiency by up to 30%. Take the time to seal every joint.
Condensate Drain Installation
Don’t overlook the drain tube—this prevents water from pooling inside your RV.
- Locate the drain tube on the AC unit’s base
- Route it to an exterior drain hole (often pre-drilled in RVs)
- Use a small clamp to secure the tube
- Test by pouring water into the drain pan—it should flow freely
Pro tip: Add a small piece of wire mesh to the drain outlet to prevent bugs from nesting inside.
Testing and Troubleshooting
Initial Power-On Test
The moment of truth—does it work?
- Turn on the main breaker
- Set the thermostat to “Cool” and lower the temperature setting
- Wait 5-10 minutes—you should feel cool air from the vents
- Listen for unusual noises (grinding, squealing)
What to listen for: A faint hum is normal. Loud banging or screeching means something’s loose or obstructed.
First-test checklist:
- Cool air output: ≥ 55°F lower than return air temperature
- No water leaks (check the roof and ceiling)
- Thermostat responds to changes
Common Issues and Fixes
Even with perfect installation, issues can arise. Here’s how to handle the most common ones:
| Issue | Possible Cause | Solution |
|---|---|---|
| No cool air | Low refrigerant, dirty filter | Check filter; contact a pro for refrigerant issues |
| Water leaks inside | Loose gasket, clogged drain | Re-seal gasket; clear drain tube |
| Unit trips breaker | Undersized wiring, short circuit | Verify breaker size; inspect wiring |
| Thermostat not responding | Loose wire, faulty thermostat | Check connections; replace thermostat if needed |
Personal story: My first install, the unit kept tripping the breaker. Turns out, I had a pinched wire under the ceiling assembly. A simple fix, but it took me an hour to find!
Seasonal Maintenance Tips
Keep your Advent air conditioner running smoothly year-round:
- Clean the filter monthly (use a soft brush and mild soap)
- Inspect the roof sealant every 3 months
- Clear leaves and debris from the condenser coils
- Store with a breathable cover in winter
Why maintenance matters: A well-maintained unit can last 10+ years. Neglect can shorten its lifespan by half.
Advanced Tips for DIYers and Pros
Upgrading an Existing Unit
Replacing an old AC? Here’s how to make it easier:
- Remove the old unit first—this gives you a clean slate
- Inspect the roof for damage and repair before installing the new unit
- Reuse the existing electrical connection (if it’s 20-amp)
- Consider adding a soft start kit to reduce power draw
Pro insight: Soft start kits are a game-changer for RVs on limited power (e.g., 30-amp service). They reduce startup surge by up to 70%.
Working in Challenging Conditions
Not all installs happen on a sunny, flat roof. Here’s how to adapt:
- Sloped roofs: Use a ladder stabilizer and wear non-slip shoes
- Hot weather: Install early morning or late evening to avoid heat stress
- Wind: Secure the unit with straps until fully mounted
Personal experience: I once installed an AC in 95°F heat. I took frequent breaks and drank plenty of water—safety first!
When to Call a Professional
Some tasks are best left to the experts:
- Roof damage repairs (especially on fiberglass roofs)
- Electrical panel upgrades (e.g., adding a 20-amp circuit)
- Refrigerant leaks (requires EPA certification)
Bottom line: There’s no shame in asking for help. A professional can save you time, money, and potential hazards.
Final Thoughts: Enjoy Your Cool, Comfortable Space
Installing your Advent air conditioner doesn’t have to be a daunting task. With the right preparation, tools, and a step-by-step approach, you can have a fully functional, efficient cooling system in just a few hours. Remember, every expert was once a beginner—don’t rush, take breaks when needed, and celebrate small wins along the way.
From unboxing to troubleshooting, this guide has covered everything you need to know. Whether you’re a DIY enthusiast or a first-time installer, the key is patience and attention to detail. A properly installed air conditioner not only keeps you cool but also protects your RV or mobile home from water damage and electrical issues.
Now, sit back, relax, and enjoy that cool, refreshing air. You’ve earned it! And if you ever hit a snag, don’t hesitate to revisit these Advent air conditioner installation instructions—they’re your roadmap to success.
Frequently Asked Questions
How do I find the correct Advent air conditioner installation instructions for my model?
Check the user manual that came with your unit or visit the manufacturer’s website and search using your model number. Always verify compatibility with your RV or space before starting installation.
Can I install an Advent air conditioner myself, or do I need a professional?
DIY installation is possible if you’re comfortable with electrical and roof work, but hiring a certified technician ensures safety and warranty compliance. Follow the Advent air conditioner installation instructions carefully if doing it yourself.
What tools are required for installing an Advent RV air conditioner?
Common tools include a drill, screwdrivers, wire strippers, sealant, and a roof mounting kit. Refer to your model’s manual for a complete list of required tools and materials.
How do I ensure proper sealing during installation to prevent leaks?
Apply high-quality butyl or EPDM sealant around the mounting brackets and roof gasket. Over-tightening screws can damage the unit, so follow torque specifications in the instructions.
Are there any electrical requirements I should know before installation?
Advent air conditioners typically require a 115V AC power source with a dedicated 20-30 amp circuit. Always disconnect power during installation and verify voltage stability.
What should I do if the unit doesn’t power on after installation?
Check the circuit breaker, wiring connections, and thermostat settings. If issues persist, consult the troubleshooting section of the Advent air conditioner installation instructions or contact customer support.