
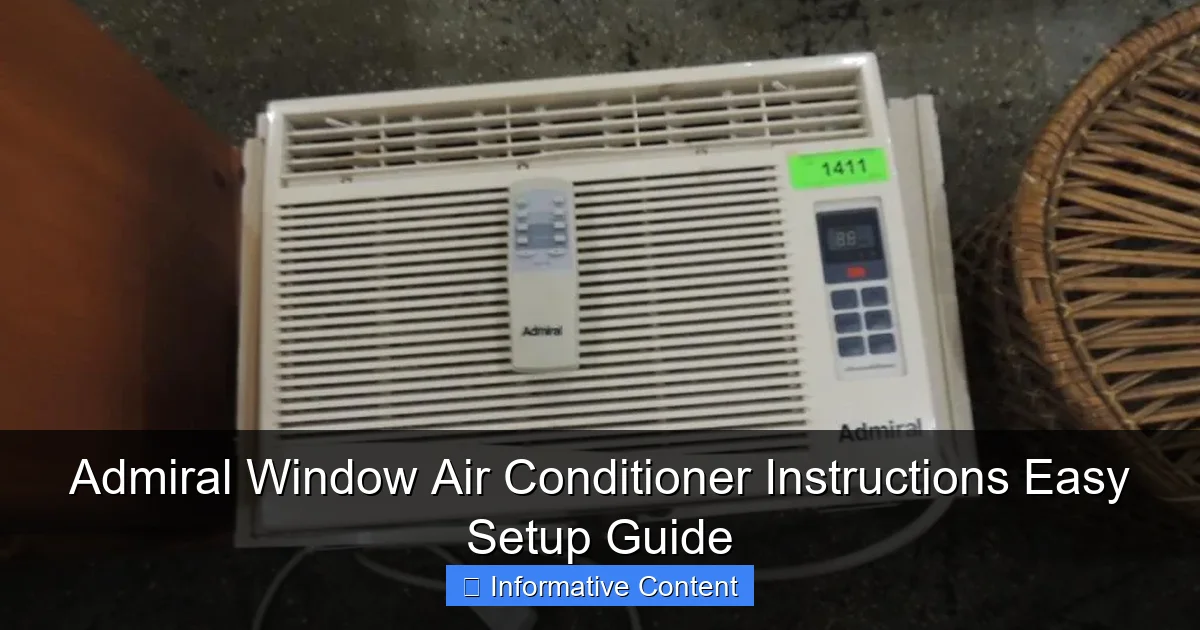
Featured image for admiral window air conditioner instructions
Image source: dygtyjqp7pi0m.cloudfront.net
Master your Admiral window air conditioner in minutes with our clear, step-by-step setup guide designed for hassle-free installation and optimal performance. From secure mounting to efficient cooling settings, follow these expert instructions to beat the heat safely and effectively—no technician required.
Key Takeaways
- Read the manual first: Always start with the manufacturer’s instructions for safe and correct setup.
- Measure your window: Ensure the AC unit fits properly to avoid gaps and inefficiency.
- Secure the unit firmly: Use support brackets and braces to prevent accidents and vibrations.
- Check electrical requirements: Verify outlet compatibility to avoid overloading circuits.
- Seal gaps with insulation: Use weather stripping to improve cooling and reduce energy loss.
- Test before full use: Run a short cycle to confirm proper operation and cooling.
📑 Table of Contents
- Why Admiral Window Air Conditioners Are a Summer Lifesaver
- Getting Started: Unboxing and Preparing Your Admiral Window AC
- Step-by-Step Installation Guide
- Operating Your Admiral Window AC: Controls and Features
- Maintenance and Troubleshooting
- Seasonal Care: Storing Your AC for Winter
- Final Thoughts: Why Admiral Stands Out
Why Admiral Window Air Conditioners Are a Summer Lifesaver
Ah, summer. The time of year when the sun feels like it’s giving you a high-five, and your sweat is doing its best to keep up. If you’re anything like me, you’ve probably spent more than one afternoon sprawled out on the couch, dreaming of a cool breeze that doesn’t come from your ceiling fan. That’s where the Admiral window air conditioner comes in—a reliable, no-nonsense solution that’s been keeping homes cool for decades. I remember my first Admiral unit; it was a hand-me-down from my dad, and it kept my tiny apartment livable during a brutal heatwave. It wasn’t fancy, but it got the job done.
But here’s the thing: setting up an Admiral window AC isn’t always as straightforward as it seems. Maybe you’ve pulled yours out of storage and forgotten the steps, or perhaps you’re a first-time buyer staring at a manual that feels like it’s written in another language. Don’t worry—I’ve been there, too. Over the years, I’ve learned the ins and outs of these units, from the quirks of installation to the best ways to keep them running smoothly. In this guide, I’ll walk you through everything you need to know to set up, use, and maintain your Admiral window air conditioner with confidence. No jargon, no fluff—just practical, easy-to-follow advice to help you beat the heat.
Getting Started: Unboxing and Preparing Your Admiral Window AC
What’s in the Box?
Before you dive into installation, take a moment to unpack your Admiral window air conditioner and make sure everything’s there. Here’s what you should find:

Visual guide about admiral window air conditioner instructions
Image source: acpartsuae.com
- The main AC unit (this is the big guy)
- Window mounting kit (usually includes side panels, brackets, and screws)
- Foam weatherstripping (to seal gaps and keep cool air in)
- Remote control (if your model includes one)
- User manual (keep this handy!)
- Optional: Drain hose or drip pan (for units with a drainage feature)
Pro tip: Lay everything out on the floor before you start. It’s way easier to check for missing parts now than halfway through installation when you realize you’re short a screw. I once spent 20 minutes digging through a hardware drawer looking for a bracket—don’t be like me.
Tools and Supplies You’ll Need
You don’t need a full toolbox, but having these basics on hand will make the process smoother:
- Screwdriver (Phillips and flathead)
- Measuring tape
- Scissors or utility knife (for trimming foam strips)
- Level (to ensure your unit is balanced)
- Drill (optional, but helpful for securing brackets)
If you’re renting or don’t own these tools, most hardware stores have rental programs or affordable starter kits. And hey, if you’re not confident with tools, ask a friend or neighbor—many people are happy to help (and might even appreciate a cold drink in return).
Choosing the Right Window
Not all windows are created equal when it comes to AC installation. Here’s what to look for:
- Double-hung or sliding windows: These are ideal. Avoid casement or awning windows unless your manual specifies compatibility.
- Sturdy frame: The window should open smoothly and have no cracks or rot.
- Clear space: Make sure there’s nothing blocking the window (like a bush or AC unit outside).
For example, my old apartment had a beautiful bay window, but the AC manual specifically said not to install in angled windows—so I stuck with the standard double-hung in my bedroom. When in doubt, consult your manual or Admiral’s website for window requirements.
Step-by-Step Installation Guide
Step 1: Measure and Prepare the Window
First, measure your window opening (height and width). Your Admiral unit’s manual will list the required window dimensions, but as a rule of thumb:
- Most units fit windows 22–36 inches wide and 13–16 inches high.
- Leave at least 4 inches of clearance on each side for the side panels.
Next, open the window and remove the screen (if possible). Clean the sill—dirt and debris can make installation tricky. If the sill is uneven, use a shim or small piece of wood to level it. I once skipped this step and ended up with a unit that leaned like the Tower of Pisa. Not ideal.
Step 2: Install the Side Panels
Most Admiral units come with expandable side panels that fill the gaps between the AC and window frame. Here’s how to fit them:
- Attach the side panels to the AC unit using the provided screws (don’t tighten fully yet).
- Slide the AC into the window, then adjust the panels to fit snugly against the frame.
- Secure the panels with screws, but leave them loose enough to make final adjustments.
Pro tip: If the panels are too long, trim them with scissors. Too short? Use foam weatherstripping to fill gaps. I once used pool noodles (yes, really) as a last-minute fix when my panels were too short—it worked, but I wouldn’t recommend it long-term.
Step 3: Secure the Unit
This is the most critical step—safety first! Here’s how to lock your AC in place:
- Lower the window sash so it rests on top of the AC unit.
- Use the provided brackets or screws to secure the window sash to the frame (this prevents the window from being opened from outside).
- For sliding windows, install the horizontal bracket to keep the window from moving.
Warning: Never rely on the window alone to hold the AC. Even a small gust of wind can send an unsecured unit crashing. I’ve heard horror stories of ACs falling onto patios—don’t let it happen to you.
Step 4: Seal the Gaps
To keep cool air in and hot air out, seal all gaps with foam weatherstripping:
- Cut strips to fit around the side panels and top of the unit.
- Press firmly to ensure a tight seal.
- For extra insulation, use a foam tape roll (available at hardware stores).
Bonus: Sealing gaps also reduces noise. My neighbor’s AC used to rattle like a drum until I helped him seal the gaps—now it’s whisper-quiet.
Operating Your Admiral Window AC: Controls and Features
Understanding the Control Panel
Admiral units typically have a straightforward control panel with these common settings:
- Power: Turns the unit on/off.
- Mode: Cool, Fan, Dry, or Auto (varies by model).
- Temperature: Adjust with up/down arrows (usually 60–86°F).
- Fan Speed: Low, Medium, High, or Auto.
- Timer: Set for automatic on/off.
- Sleep Mode: Gradually adjusts temperature for nighttime comfort.
Example: If you’re using the unit in a bedroom, try setting it to “Cool” mode at 72°F with “Medium” fan speed. At night, switch to “Sleep Mode” to save energy while staying comfortable.
Using the Remote Control
If your Admiral AC includes a remote, here’s how to make the most of it:
- Replace the batteries if the remote isn’t responding (common issue!).
- Use the remote’s “Timer” feature to turn the AC off after you fall asleep.
- Keep the remote in a designated spot—don’t let it vanish into the couch cushions like mine did last summer.
Tip: Some remotes have a “Follow Me” function that uses the remote’s temperature sensor instead of the AC’s. This is great for cooling specific areas (like a bed or desk).
Energy-Saving Tips
ACs can be power-hungry, but these tricks help cut costs:
- Use a programmable timer to turn the AC off when you’re away.
- Set the temperature to 78°F when you’re home and 82°F when you’re out (every degree lower can increase energy use by 6–8%).
- Close curtains during the day to block sunlight.
Real-world example: My energy bill dropped $15/month when I started using the timer to shut off the AC during work hours. Small changes add up!
Maintenance and Troubleshooting
Cleaning the Filters
Dirty filters reduce efficiency and can cause the AC to freeze up. Here’s how to clean them:
- Turn off and unplug the unit.
- Remove the front panel (usually snaps off).
- Pull out the filter and rinse with warm water (no soap!).
- Let it dry completely before reinserting.
How often? Every 2–4 weeks during heavy use. I set a phone reminder for the first of every month—it’s saved me from dealing with a frozen unit more than once.
Clearing the Drainage System
Condensation builds up inside the AC and needs to drain. Here’s what to do:
- Check the drain pan (located at the bottom of the unit) for standing water.
- If water is pooling, clean the drain hole with a paperclip or pipe cleaner.
- For units with a drain hose, ensure it’s positioned to direct water outside.
Warning: A clogged drain can lead to water damage or mold. I once ignored a slow drip, and my floor ended up with a small puddle. Lesson learned.
Common Issues and Fixes
Even the best ACs have hiccups. Here’s how to tackle common problems:
- AC won’t turn on: Check the power outlet (try a lamp to test). Reset the circuit breaker if needed.
- Not cooling: Clean the filter, check for obstructions, and ensure the temperature is set below the room’s current temp.
- Strange noises: Rattling? Tighten loose screws. Gurgling? Clear the drain.
- Frozen unit: Turn it off, let it thaw for 24 hours, then clean the filter and check airflow.
When to call a pro: If the unit still isn’t cooling after troubleshooting, or you hear loud grinding noises, contact Admiral support or an HVAC technician.
Seasonal Care: Storing Your AC for Winter
Preparing for Storage
Before you stash your AC for the season, follow these steps:
- Turn off and unplug the unit.
- Clean the filters and exterior with a damp cloth.
- Drain any remaining water from the pan.
- Cover the unit with a breathable cloth or plastic bag (to prevent dust).
Pro tip: Store the unit indoors if possible. Extreme cold can damage internal components. My garage isn’t temperature-controlled, so I keep mine in my basement.
Reinstalling in Spring
When summer rolls around:
- Inspect the unit for dust, pests, or damage.
- Clean the filters and exterior again.
- Check the seals and side panels for wear (replace if cracked or brittle).
- Test the unit for 10 minutes before full use.
Bonus: If you’re short on storage space, consider a portable AC for the off-season. I use mine in the garage during winter—best of both worlds.
Final Thoughts: Why Admiral Stands Out
After years of using Admiral window air conditioners, I can confidently say they’re a solid choice for anyone who wants reliable cooling without breaking the bank. They’re not the flashiest units on the market, but they’re built to last, easy to install, and—most importantly—they get the job done. Sure, they might not have all the smart features of newer models, but sometimes simplicity is a strength, not a weakness.
The key to getting the most out of your Admiral AC is following these instructions to the letter. Take your time with installation, keep up with maintenance, and don’t ignore small issues before they become big ones. And remember: a little effort now saves you a lot of frustration (and sweat) later. Whether you’re a first-time user or a seasoned pro, this guide should give you everything you need to stay cool all summer long. Now go enjoy that crisp, refreshing air—you’ve earned it.
| Task | Frequency | Notes |
|---|---|---|
| Clean filters | Every 2–4 weeks | More often in dusty environments |
| Check drainage | Monthly | Prevent water damage |
| Seal inspection | Seasonally | Replace cracked foam |
| Full cleaning | Before storage | Include exterior and coils |
Frequently Asked Questions
How do I install my Admiral window air conditioner?
To install your Admiral window air conditioner, first secure the unit in the window opening using the included side panels and mounting brackets. Follow the step-by-step instructions in the manual to ensure proper sealing and drainage, which prevents air leaks and water damage.
Where can I find the model-specific Admiral window air conditioner instructions?
The model-specific Admiral window air conditioner instructions are included in the user manual provided with your unit. You can also download a PDF version from the official Admiral support website using your model number.
Why is my Admiral AC not cooling properly after setup?
Improper installation or incorrect settings could cause cooling issues. Double-check that the unit is level, the filter is clean, and the temperature is set lower than the room’s current temperature per the instructions.
How often should I clean the filter on my Admiral window air conditioner?
Clean the air filter every 2–4 weeks during heavy use to maintain efficiency. Refer to the Admiral window air conditioner instructions for removal and cleaning steps—usually just a rinse with mild soap and water.
Can I leave my Admiral window AC installed during winter?
It’s not recommended to leave your Admiral AC in the window during winter. Remove and store it in a dry place to prevent damage from freezing temperatures and moisture, as noted in the manual.
How do I use the timer function on my Admiral AC?
The timer function lets you schedule when the unit turns on or off. Press the “Timer” button, then use the up/down arrows to set the desired hours, as outlined in your Admiral window air conditioner instructions.