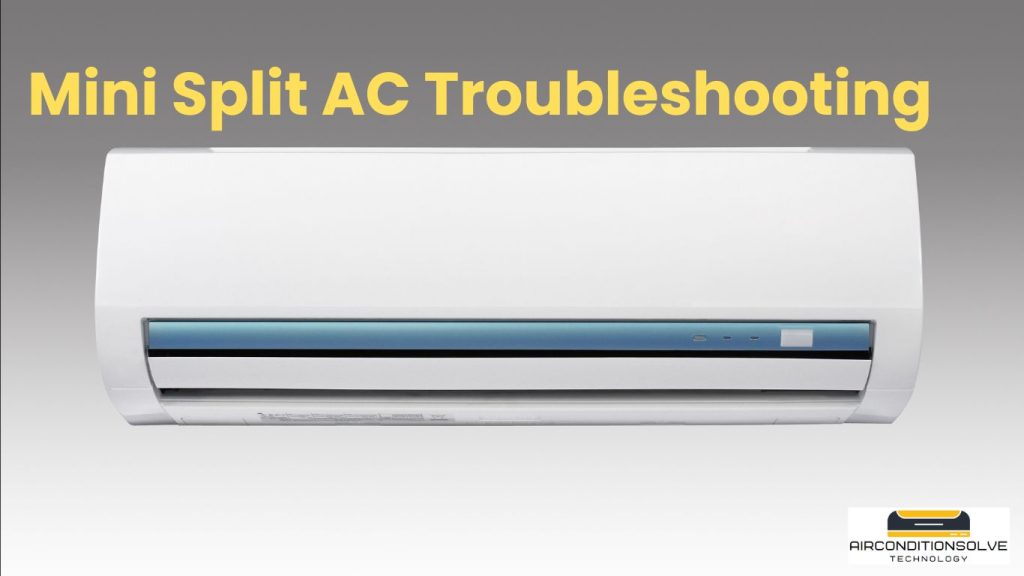
Mini Split AC troubleshooting can be done by checking the thermostat settings and power supply. It is essential to ensure the thermostat is set to the correct temperature and the power supply is uninterrupted and functioning correctly.
Additionally, examining the air filters, outdoor unit, and indoor unit can help identify any issues and resolve them effectively.
Common Issues And Solutions
Solve common issues with mini split AC units by troubleshooting their performance. Find solutions for heating or cooling problems, inadequate airflow, and sensor malfunctions to ensure optimal comfort in your space.
Common Issues And Solutions
Mini split air conditioners provide efficient cooling and heating solutions for homes and small spaces. However, like any other appliance, they can encounter issues over time. It is important to be aware of the common problems that may arise with mini split ACs, along with their solutions, so that you can troubleshoot them effectively. In this section, we will discuss some of the most common issues and their respective solutions.
Leaking Refrigerant
A common issue with mini split ACs is refrigerant leakage. This can result in reduced cooling or heating efficiency, as well as potential damage to the system. If you notice that your mini split AC is not cooling or heating as it should, it is possible that it has a refrigerant leak. To address this issue, it is recommended to contact a professional technician who can locate and repair the leak. They will also recharge the refrigerant to ensure optimal performance.
Clogged Air Filters
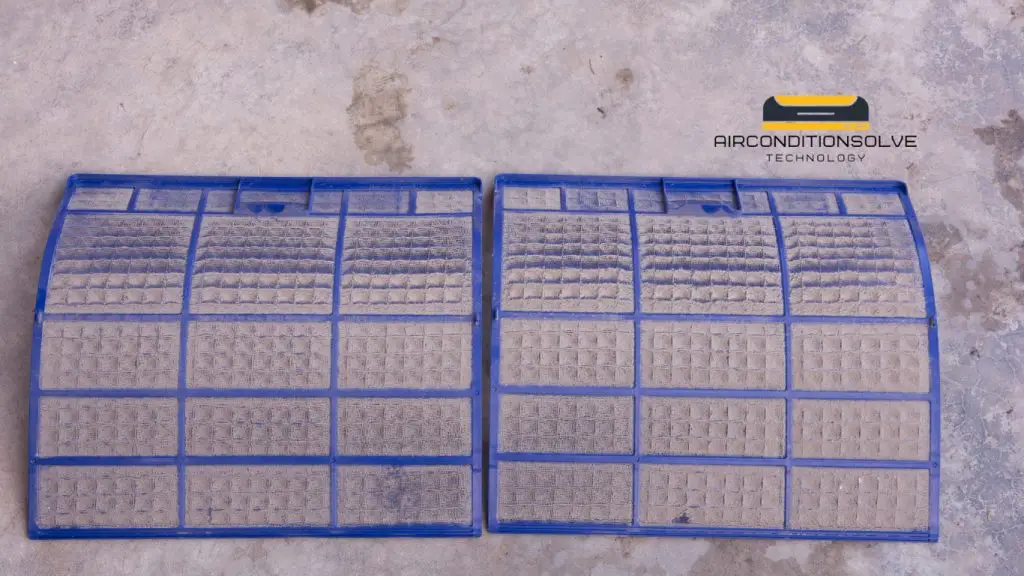
Clogged air filters can restrict airflow, leading to decreased cooling or heating performance. Regularly cleaning or replacing the air filters is essential to maintain the efficiency of your mini split AC. To clean the filters, follow the manufacturer’s instructions. It is generally recommended to clean them once every month or as required. If the filters are too damaged or dirty to be cleaned, it is advisable to replace them with new ones. Keeping the air filters clean and unclogged will improve the overall performance of your mini split AC.
Faulty Thermostat
A faulty thermostat can cause temperature inconsistencies and improper operation of your mini split AC. If you find that the temperature is not being regulated correctly, it is possible that the thermostat is malfunctioning. Before assuming the worst, first, make sure that the thermostat settings are correct. If the issue persists, consider replacing the thermostat or contacting a professional technician for further diagnosis and repair.
Poor Air Circulation
Poor air circulation can result in inadequate cooling or heating in specific areas of your space. This can be caused by blockages in the vents or registers, obstructions around the indoor or outdoor unit, or even improper installation. To address poor air circulation, ensure that the vents and registers are not blocked by furniture or other objects. Additionally, keep the area around the indoor and outdoor units clear of debris or obstructions. If the issue persists, it is advisable to consult a professional technician who can identify and rectify the underlying cause.
Dirty Condenser Coils
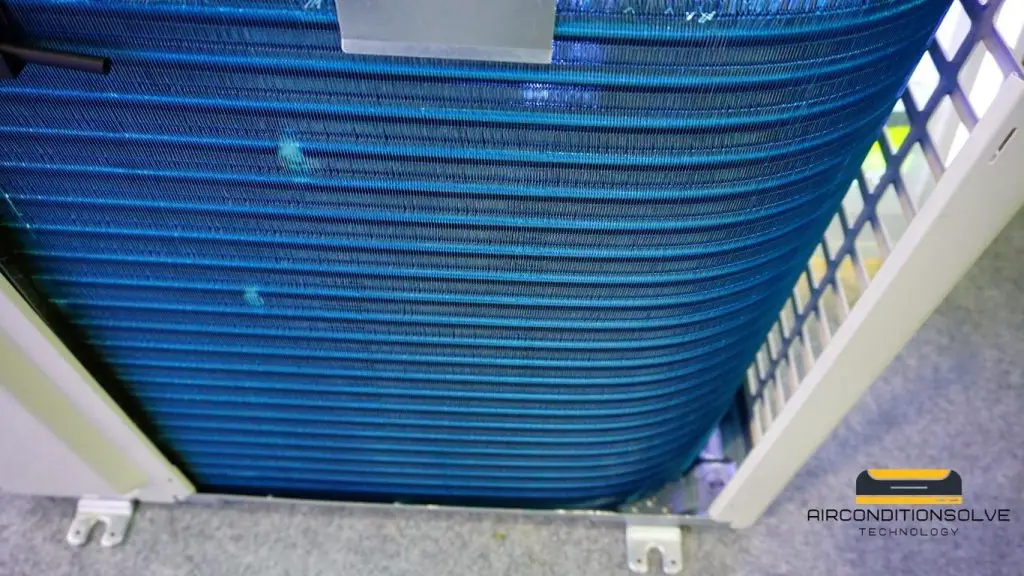
Over time, dust and debris can accumulate on the condenser coils of your mini split AC, reducing its cooling or heating efficiency. Regular cleaning of the condenser coils is crucial to maintain optimal performance. Follow the manufacturer’s instructions to safely clean the coils. Typically, this involves using a soft brush to remove any debris and gently washing the coils with mild detergent and water. By keeping the condenser coils clean, you can ensure that your mini split AC operates efficiently and effectively.
Fixing Leaking Refrigerant
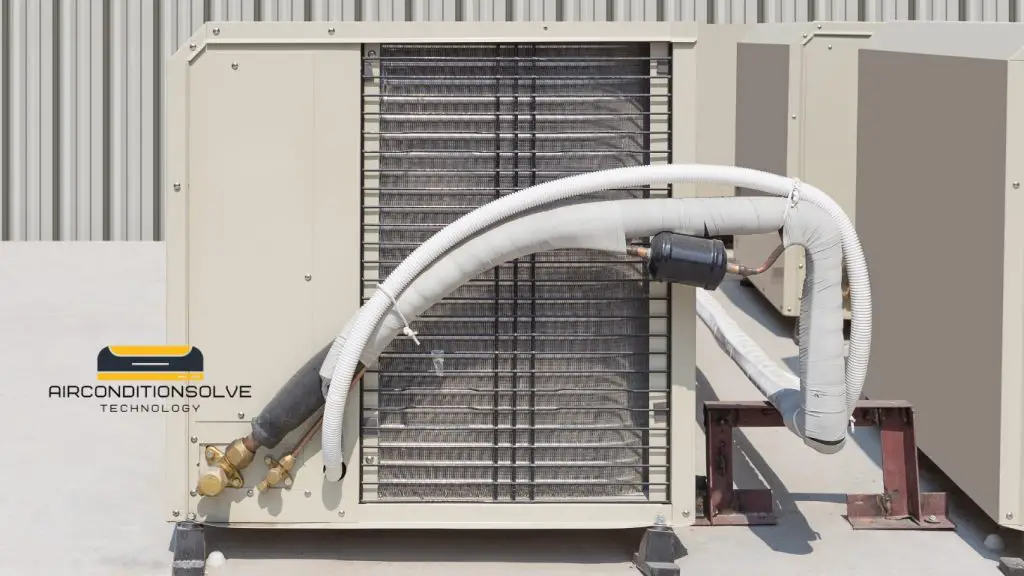
One common issue that homeowners may encounter with their mini-split AC system is a leaking refrigerant. A refrigerant leak can not only affect the cooling efficiency of the system but also pose potential health risks. In this section, we will discuss the signs to look out for, how to locate the leak, seal it, and recharge the system to ensure it continues to function optimally.
Signs Of A Refrigerant Leak
Identifying the signs of a refrigerant leak is crucial in addressing the issue promptly. Here are some indicators that could indicate a leak in your mini-split AC system:
- Low cooling performance despite the thermostat set at the appropriate temperature.
- Airflow from the unit feels warmer than usual.
- Hissing or bubbling sounds near the indoor or outdoor unit.
- Frost or ice buildup on the refrigerant lines or evaporator coil.
- An increase in your energy bills without any obvious reason.
Locating The Leak
To effectively fix a refrigerant leak, it is crucial to locate its source. Here are some methods to help you locate the leak:
- Visual inspection: Examine the refrigerant lines, fittings, and connections for any visible signs of leakage, such as oil stains or pools of refrigerant.
- Electronic leak detector: Use an electronic leak detector, specifically designed for detecting refrigerant leaks. Move the detector along the refrigerant lines while keeping an eye on the device’s indicator.
- UV leak detection: Alternatively, you can use UV dye in the system. The dye will circulate with the refrigerant and escape through the leak. By using a UV light, you can identify the source of the leak where the dye accumulates.
Sealing The Leak
Once you have identified the source of the refrigerant leak, it is essential to seal it properly to prevent further leakage. Here are steps to help you seal the leak:
- Switch off the mini-split AC system to avoid any potential hazards during the sealing process.
- Clean the area around the leak using a mild detergent or cleaner to remove any dirt or debris.
- Apply a high-quality refrigerant leak sealant or epoxy resin specifically designed for HVAC systems to the source of the leak. Ensure to follow the manufacturer’s instructions for best results.
- Allow the sealant or epoxy to dry and cure as recommended by the manufacturer before proceeding to the next step.
Recharging The System
After successfully sealing the refrigerant leak, it is crucial to recharge the mini-split AC system for optimal performance. Here’s how to recharge the system:
- Contact a licensed HVAC professional to ensure the proper handling and recharging of the refrigerant.
- The professional will evacuate any remaining refrigerant from the system using specialized equipment.
- Once the system is completely evacuated, the technician will recharge it with the appropriate amount of refrigerant specified by the manufacturer.
- After the recharge, the HVAC professional will test the system to ensure it is cooling effectively and free from any further leaks.
Resolving Clogged Air Filters
One of the most common issues homeowners face with their mini-split air conditioners is clogged air filters. Air filters play a crucial role in the proper functioning of your AC system. When they become dirty or clogged, it can negatively impact the performance and efficiency of your unit. In this section, we will discuss the importance of clean air filters, how to check and replace them, as well as how to clean reusable filters.
Importance Of Clean Air Filters
Having clean air filters is vital to the optimal performance of your mini-split AC system. Air filters help trap dust, dirt, pollen, and other contaminants, preventing them from entering your indoor space. When filters are clogged, the airflow is restricted, causing your AC unit to work harder and consume more energy. This not only leads to higher energy bills but also puts additional strain on the components, potentially shortening the lifespan of your system. Regularly cleaning or replacing your air filters ensures that your mini-split AC operates efficiently, maintains good indoor air quality, and prolongs its lifespan.
Checking And Replacing Air Filters
Checking your air filters regularly and replacing them as needed is crucial to the proper functioning of your mini-split AC. Here’s a step-by-step guide:
- To begin, locate the air filter access panel on your mini-split AC unit. This panel is typically found on the indoor unit.
- Open the panel carefully and remove the air filter.
- Inspect the filter for any visible dirt, dust, or damage. If the filter appears dirty or clogged, it’s time for a replacement.
- If your mini-split AC uses disposable filters, remove the dirty filter and replace it with a new one of the same size and type. Ensure the filter is installed correctly, following the manufacturer’s instructions.
- If your unit is equipped with reusable filters, you can clean them instead of replacing them. Rinse the filter under running water to remove accumulated dirt and debris. Allow it to dry thoroughly before reinstalling it.
- Close the air filter access panel securely.
Cleaning Reusable Filters
If your mini-split AC system has reusable air filters, cleaning them regularly is essential for optimal performance. Here’s how you can clean reusable filters:
- Remove the filter from the air filter access panel as mentioned in the previous section.
- Rinse the filter under running water to remove loose dirt and debris.
- Prepare a solution of mild detergent or cleaner and water.
- Submerge the filter into the solution and gently scrub it using a soft brush. Pay close attention to heavily soiled areas.
- Rinse the filter thoroughly with clean water to remove any remaining soap residue.
- Allow the filter to dry completely before reinstalling it into the air filter access panel.
By regularly checking and cleaning or replacing your mini-split AC’s air filters, you can ensure optimum performance and efficiency, improve indoor air quality, and extend the lifespan of your system. Implementing these simple maintenance tasks will not only save you money on energy bills but also contribute to a cooler and healthier living environment.
Addressing Faulty Thermostat
If your Mini Split AC is not cooling or heating properly, a potential culprit could be a faulty thermostat. Check for any malfunctions or issues with the thermostat and troubleshoot them accordingly to restore proper functionality to your AC unit.
Addressing Faulty Thermostat
A faulty thermostat can be a common culprit when it comes to Mini Split AC issues. If your Mini Split AC is not functioning properly or experiencing temperature variations, it’s essential to check the thermostat. In this section, we will explore the indications of a faulty thermostat, as well as how to reset and calibrate it to ensure optimal performance of your Mini Split AC.
Indications Of A Faulty Thermostat
Identifying the signs of a faulty thermostat is the first step towards resolving the issue. Here are some indicators that your thermostat might be causing problems with your Mini Split AC:
1. Temperature inconsistencies: If you notice that the temperature in your room is different from what is set on the thermostat, it could be a sign of a malfunctioning thermostat. This could lead to discomfort and inefficient cooling or heating.
2. Unresponsive controls: When the thermostat fails to respond to your adjustments or commands, it could indicate a faulty thermostat. In such cases, the Mini Split AC might not turn on or respond to changes in temperature settings.
3. Rapid cycling: If your Mini Split AC turns on and off frequently, it could be due to a faulty thermostat. Rapid cycling not only affects the comfort level but also puts unnecessary strain on the system, potentially leading to increased energy consumption and reduced efficiency.
4. No display or incorrect reading: A malfunctioning thermostat may not display any information or provide incorrect temperature readings. This can make it challenging to set the desired temperature accurately.
Resetting The Thermostat
Resetting the thermostat is a simple and effective troubleshooting step that can help resolve minor issues related to a faulty thermostat. Here’s how you can reset the thermostat:
1. Turn off the Mini Split AC: Ensure that the Mini Split AC is completely powered off before proceeding with the reset.
2. Locate the thermostat controls: Identify the power button or switch on the thermostat and switch it off. If your thermostat is battery-powered, remove the batteries.
3. Wait for a few minutes: Allow the thermostat to remain in the off position for at least five minutes. This duration helps discharge any residual power and ensures a complete reset.
4. Turn on the Mini Split AC: After the waiting period, switch on the Mini Split AC and monitor its performance to see if the reset has resolved the thermostat issue.
Calibrating The Thermostat
If resetting the thermostat doesn’t fix the problem, calibrating it might be necessary. Calibrating the thermostat ensures that it accurately senses and controls the temperature. Here’s a step-by-step guide to calibrating your Mini Split AC’s thermostat:
1. Consult the user manual: Refer to the user manual or manufacturer’s instructions for specific guidelines on thermostat calibration. Different models may require different calibration methods.
2. Access the calibration menu: Most thermostats have a calibration menu that allows adjustments to be made. Typically, this menu can be accessed by pressing a combination of buttons or through navigation on a digital display.
3. Evaluate the temperature accuracy: Use an independent thermometer to measure the ambient temperature of the room. Compare this reading to the temperature displayed on the thermostat to identify any discrepancies.
4. Adjust the calibration settings: Follow the instructions in the user manual to adjust the calibration settings on your thermostat. This may involve increasing or decreasing the displayed temperature by a certain offset value to ensure accuracy.
5. Check the thermostat performance: After making the calibration adjustments, monitor the Mini Split AC’s performance to ensure that the temperature control is accurate and consistent.
By following these troubleshooting steps, you can effectively address any issues related to a faulty thermostat in your Mini Split AC system. Remember to consult the user manual or seek professional assistance if you encounter any difficulties during the troubleshooting process.
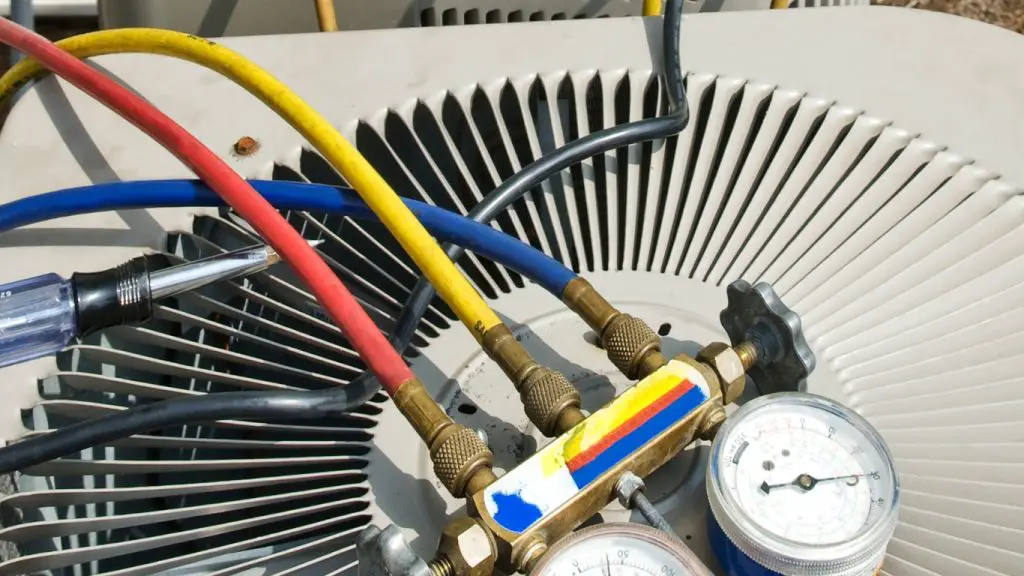
Improving Air Circulation
Proper air circulation is essential for maintaining a comfortable and healthy indoor environment. When your mini split AC is not providing adequate airflow, it can lead to a range of issues, including uneven cooling, increased energy consumption, and potential strain on the system. In this section, we will explore some common obstacles that can block air circulation and offer practical solutions to improve the overall efficiency of your mini split AC.
Obstacles Blocking Air Circulation
Identifying and removing obstacles that hinder the proper flow of air is crucial for optimizing your mini split AC’s performance. Here are some common culprits:
| Obstacle | Solution |
|---|---|
| Blocked air vents | Regularly check and clear any obstructions, such as furniture, curtains, or rugs, from covering the air vents. This allows unrestricted airflow and ensures that cool air can circulate effectively throughout the room. |
| Clogged air filters | Dirty or clogged air filters can significantly restrict air circulation. Clean or replace air filters regularly according to the manufacturer’s guidelines to prevent blockages and enhance the system’s efficiency. |
| Cluttered surroundings | Keep the area around your mini split AC unit free from clutter. Avoid placing objects such as boxes, plants, or large pieces of furniture near the unit, as they can impede the airflow and disrupt the cooling process. |
Properly Positioning Furniture And Objects
The placement of furniture and objects in a room can have a significant impact on air circulation. To ensure proper airflow, consider the following recommendations:
- Avoid blocking the return air grille: Position furniture in a way that does not obstruct the return air grille, which allows air to flow back into the unit for cooling.
- Maintain sufficient clearance around the unit: Leave enough space around the mini split AC unit to allow sufficient airflow. This helps prevent the recirculation of warm air and contributes to a more efficient cooling process.
- Use furniture strategically: Arrange furniture in a way that promotes air circulation. For example, placing a bookshelf or a sofa against an exterior wall can help redirect cool air into the room.
Ensuring Proper Ventilation
In addition to addressing obstacles and positioning furniture appropriately, ensuring proper ventilation is essential for maintaining optimal air circulation. Here are a few tips to enhance ventilation:
- Open windows and doors: When weather conditions allow, opening windows and doors can help create natural cross ventilation, facilitating the movement of fresh air and aiding the cooling process.
- Use ceiling fans or portable fans: Installing ceiling fans or using portable fans can help improve air circulation within a room and assist in distributing cool air more effectively.
- Consider additional ventilation solutions: If the airflow in your space remains inadequate, you may want to explore supplementary ventilation options, such as installing an exhaust fan or investing in a whole-house ventilation system.
Cleaning Dirty Condenser Coils
A mini split AC system is a great investment for keeping your home cool and comfortable. However, over time, the condenser coils can become dirty and affect the cooling efficiency of your unit. In this section, we will discuss the impact of dirty condenser coils on cooling efficiency, the steps to clean condenser coils, and maintenance tips to ensure optimal performance.
Impact Of Dirty Condenser Coils On Cooling Efficiency
Dirty condenser coils can significantly impact the cooling efficiency of your mini split AC system. When the coils are caked with dirt, dust, and debris, it creates a barrier that hinders the transfer of heat. As a result, the air conditioner may struggle to cool your home effectively and efficiently.
The condenser coils play a crucial role in releasing heat from the refrigerant, allowing it to cool down and flow into your home. When they are dirty, the heat transfer process becomes less efficient, leading to longer cooling cycles and increased energy consumption. Not only does this result in higher utility bills, but it also puts unnecessary strain on the system, potentially leading to premature wear and tear.
Steps To Clean Condenser Coils
Cleaning the condenser coils of your mini split AC system is a relatively simple task that can be done at home. Here are the steps you can follow:
- Start by turning off the power to your mini split AC system. This ensures your safety while working on the unit.
- Locate the condenser unit, which is typically installed outside your home. Remove any debris, leaves, or obstructions that may be blocking the airflow around the unit.
- Using a soft brush or a vacuum cleaner, gently remove any dirt, dust, or debris from the surface of the condenser coils. Avoid using excessive force or sharp objects that may damage the fins.
- If the coils are heavily clogged, you can spray them with a coil cleaning solution or a mixture of water and mild detergent. Allow the solution to sit for a few minutes to loosen the dirt before rinsing it off with a hose.
- After cleaning, allow the condenser coils to dry completely before restoring power to the mini split AC system.
By regularly cleaning the condenser coils, you can maintain the efficiency of your mini split AC system and extend its lifespan.
Maintenance Tips For Condenser Coils
Preventing the buildup of dirt and debris on your condenser coils is essential to ensure optimal cooling efficiency. Here are a few maintenance tips to keep in mind:
- Trim any vegetation or overhanging branches near the condenser unit to prevent leaves and debris from falling into the coils.
- Regularly check and replace air filters as needed. Clean filters help improve airflow and reduce the strain on the condenser coils.
- Inspect the condenser unit regularly for signs of damage or wear. If you notice bent fins or any other issues, consider contacting a professional for repair.
- Schedule annual maintenance with a qualified HVAC technician to ensure that your mini split AC system is running smoothly and efficiently.
Following these maintenance tips will help keep your condenser coils clean and your mini split AC system in optimal condition, providing you with reliable cooling throughout the year.
Frequently Asked Questions For Mini Split Ac Troubleshooting
What Are The Common Problems With Mini Split Ac Units?
Mini split AC units commonly experience issues such as refrigerant leaks, electrical problems, frozen coils, and poor airflow. These issues can result in inadequate cooling or heating performance, increased energy consumption, and decreased system lifespan. Regular maintenance and professional troubleshooting are necessary to address these problems effectively.
How Do I Fix A Mini Split Ac That Is Not Cooling?
If your mini split AC is not cooling, check if the thermostat is set to the correct temperature, ensure that the air filters are clean, make sure the outdoor unit is not obstructed, and confirm that there are no refrigerant leaks.
If these steps do not solve the issue, it is recommended to contact a professional HVAC technician for further diagnosis and repair.
Why Is My Mini Split Ac Unit Making Strange Noises?
Strange noises from a mini split AC unit can indicate various issues such as loose components, worn-out bearings, damaged fan blades, or refrigerant leaks. It is advisable to turn off the unit and contact a professional technician to inspect and rectify the problem.
Ignoring these noises may lead to further damage and costly repairs in the future.
Conclusion
Troubleshooting your mini split AC system doesn’t have to be a daunting task. By following these simple steps and utilizing the tips mentioned, you can identify and resolve common issues with ease. Regular maintenance and being proactive in addressing problems will ensure your AC unit operates efficiently and keeps you comfortable all year round.
Remember, a little troubleshooting can go a long way in extending the lifespan of your mini split AC. Stay cool!

