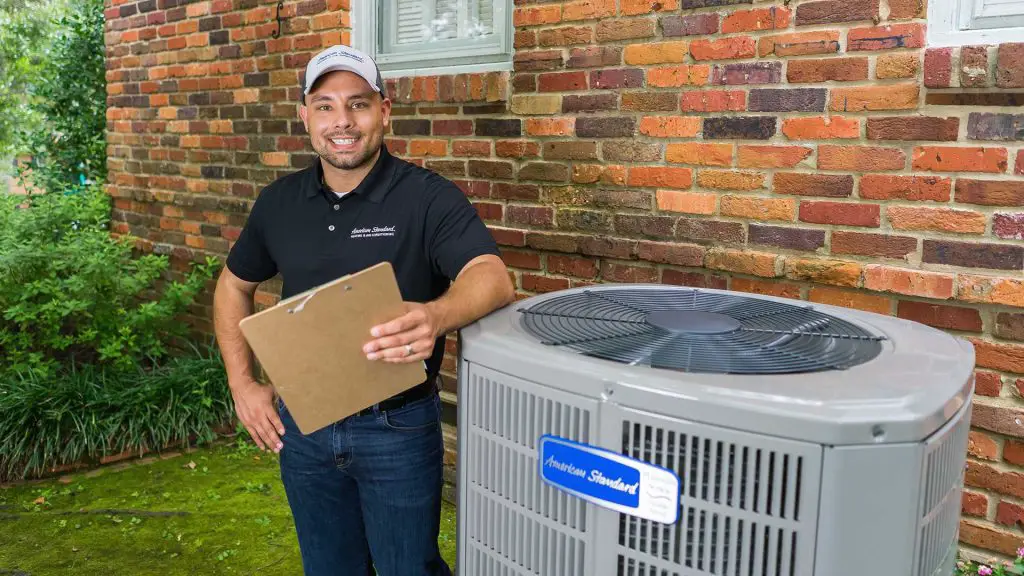
AC Troubleshooting Flowchart provides a step-by-step guide to identify and solve common air conditioning issues. Is your air conditioning system not working properly?
Don’t worry, the AC Troubleshooting Flowchart can help you diagnose and fix the problem efficiently. This comprehensive guide provides a systematic approach to troubleshooting common AC issues, allowing you to save time and money by avoiding unnecessary repairs or professional help.
Whether your AC is not cooling, producing strange noises, or experiencing electrical problems, this flowchart will guide you through the process of eliminating potential causes and finding the appropriate solutions. By using this troubleshooting tool, you can regain the comfort of a properly functioning air conditioning system without the hassle of guesswork. Let’s dive into the flowchart and get your AC running smoothly again.
Credit: www.alliancecc.com.au
Understanding Common Ac Problems
Experiencing common AC problems? This AC troubleshooting flowchart can help identify and resolve issues to keep your system running smoothly.
Common Ac Problems
Importance Of Troubleshooting
When it comes to maintaining a cool and comfortable home, your AC system plays a vital role. However, air conditioning units can sometimes run into issues that hinder their performance. Understanding common AC problems can help you troubleshoot and address them efficiently, ensuring your system operates at its best. Let’s explore some of the most common AC problems and the importance of troubleshooting them without delay.
Common Ac Problems
When your AC starts acting up, it can be frustrating and inconvenient. However, by recognizing and addressing these issues promptly, you can prevent further damage and maintain optimal functionality. Here are some common air conditioning problems:
1. Failure to cool: If your AC is blowing warm air or isn’t cooling the room as it should, it may indicate a refrigerant leak, a faulty compressor, or a problem with the thermostat.
2. Low airflow: Insufficient airflow can be caused by a clogged air filter, dirty evaporator coil, or a malfunctioning blower motor. This can lead to poor cooling performance and decreased efficiency.
3. Strange noises: Unusual sounds such as buzzing, clanking, or grinding can indicate a mechanical issue with your AC system. It could be a loose fan blade, worn-out belts, or a damaged motor.
4. Water leaks: If you notice puddles or water dripping from your AC unit, it could be a sign of a condensate drain blockage or a broken condensate pump.
5. Faulty electrical components:
Importance Of Troubleshooting
Timely troubleshooting of AC problems is crucial to ensure the longevity and efficiency of your cooling system. Here are three reasons why troubleshooting is important:
1. Cost-effective: By identifying and resolving issues early on, you can prevent major breakdowns that could potentially cost you a significant amount in repairs or a complete system replacement.
2. Energy efficiency: When AC problems are left unattended, your system may have to work harder to compensate, resulting in increased energy consumption. By troubleshooting and resolving issues, you can maintain optimal energy efficiency.
3. Extended lifespan: Regular troubleshooting and maintenance can help extend the lifespan of your AC unit. By addressing minor issues promptly, you can prevent them from escalating into major problems that could shorten the lifespan of your system.
In conclusion, understanding common AC problems and the importance of troubleshooting them is essential for efficient and reliable cooling in your home. By addressing these issues promptly, you can save on repair costs, improve energy efficiency, and extend the lifespan of your air conditioning system. Stay proactive and keep your AC in optimal condition with regular troubleshooting.
Step 1: Assessing Power Supply
When your air conditioning unit suddenly stops working, it can be frustrating and uncomfortable. However, before calling a professional technician, you can try a few troubleshooting steps yourself. The first and most crucial step in the AC troubleshooting process is assessing the power supply. Many AC issues can be resolved by checking the power source and ensuring that all electrical connections are secure.
Checking Power Source
The first thing to do is to check the power source. Ensure that the AC unit is properly plugged in and that the power outlet is functioning. Sometimes, a simple power outlet reset can solve the problem. If the outlet is working fine, you can test it by plugging in another electrical device to verify if it is receiving power.
If the outlet is working correctly, but your AC unit is still not powering on, it might be a problem with the circuit breaker. Head over to your circuit breaker box and check for any tripped breakers. If you find any, flip the breaker back on and try turning on the AC unit again. This reset might resolve the power supply issue.
Verifying Electrical Connections
If checking the power source doesn’t resolve the problem, the next step is to verify the electrical connections. Sometimes, loose or faulty connections can prevent the AC unit from receiving power. Start by examining the electrical panel of the AC unit and checking for any loose wires or visible damage.
If you are not familiar with electrical work, it’s best to avoid touching any wires. However, you can visually inspect for any loose connections or signs of burning or melting. If you notice any issues, it’s best to contact a professional technician to handle the repairs.
Additionally, make sure that the control panel or thermostat of the AC unit is functioning correctly. Check the batteries if it’s a wireless device or make sure it is receiving power from the electrical panel. If necessary, replace the batteries or test the voltage on the control panel to ensure it is operating properly.
By carefully assessing the power supply, you can easily troubleshoot some common AC problems. Remember to always prioritize your safety and contact a professional technician for complex electrical issues.
Step 2: Examining The Thermostat
When troubleshooting air conditioning issues, the thermostat is an important component to examine. The thermostat acts as the control center, regulating the temperature and turning the AC unit on and off accordingly. By understanding the different thermostat settings and knowing how to troubleshoot potential issues, you can quickly identify and resolve problems with your AC system.
Understanding Thermostat Settings
Before delving into troubleshooting, it’s essential to have a clear understanding of the different thermostat settings:
| Setting | Description |
|---|---|
| Cool Mode | This setting is used to lower the temperature and activate the air conditioning system to provide cool air. |
| Heat Mode | This setting is utilized to raise the temperature and activate the heating system to provide warmth. |
| Fan Mode | When set to “On,” the fan continuously runs, circulating air throughout the space. When set to “Auto,” the fan operates only when the cooling or heating system is actively running. |
| Programmable Mode | This mode allows you to set schedules to automatically adjust the temperature at specific times of the day. |
By familiarizing yourself with these settings, you can better troubleshoot any potential issues that may arise.
Troubleshooting Thermostat Issues
When it comes to troubleshooting thermostat issues, it’s important to consider the following:
- Check if the thermostat is properly powered. Ensure it has batteries or is connected to a power source.
- Inspect the thermostat’s display. If it’s blank, dim, or showing incorrect information, there may be a wiring issue or a need for a battery replacement.
- Verify if the thermostat is level and securely mounted on the wall. A misaligned or loose thermostat can affect its functionality.
- Test the thermostat by adjusting the temperature settings. Listen for a clicking sound, indicating that the thermostat is sending the signal to the AC unit.
- Clean the thermostat’s sensors. Dust and debris can interfere with accurate temperature readings, leading to improper cooling or heating.
By troubleshooting these common thermostat issues, you can potentially diagnose and resolve problems before seeking professional assistance.
Step 3: Inspecting Filters And Airflow
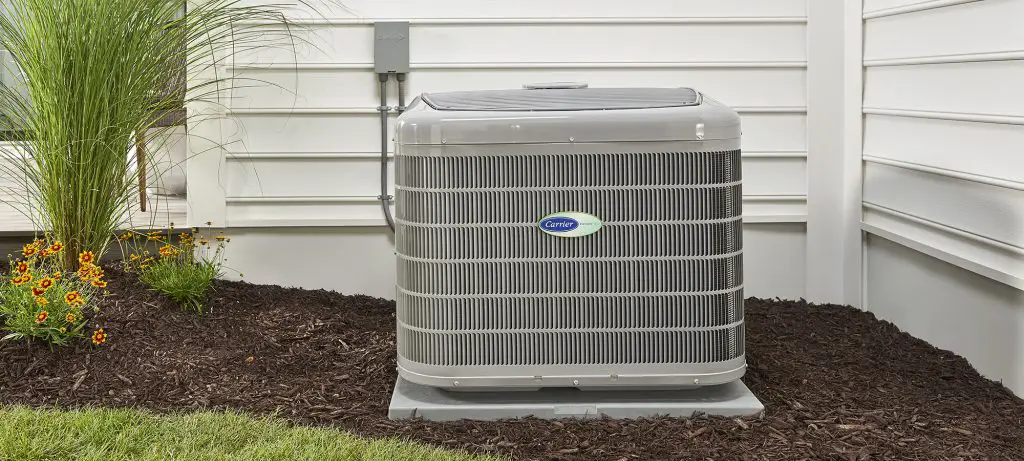
Inspecting filters and airflow in step 3 of the AC troubleshooting flowchart is crucial. This process helps identify any issues with clogged filters or restricted airflow that may affect the cooling performance of the unit.
When it comes to troubleshooting your AC unit, it is important to pay close attention to the filters and airflow. A dirty or clogged filter can restrict airflow, making your AC system work harder and less efficiently. In this step, we will discuss the importance of clean filters and how to check for airflow restrictions.
Importance Of Clean Filters
A clean filter is crucial for the proper functioning of your AC unit. It not only improves the quality of air you breathe but also ensures an efficient cooling process. Dirty filters can restrict the airflow, causing your AC system to strain to pull air through the unit. This strain not only increases energy consumption but also puts unnecessary stress on the equipment, potentially leading to malfunction or breakdown.
Regularly inspecting and replacing your AC filters is a simple yet effective way to maintain the efficiency and longevity of your AC unit. Clean filters allow for proper airflow, allowing the system to cool your home effectively and efficiently. Moreover, clean filters also help remove dust, debris, and allergens from the air, improving the overall air quality in your home.
Checking For Airflow Restrictions
Once you understand the importance of clean filters, it is essential to ensure that there are no airflow restrictions in your AC system. Here are a few steps to check for airflow restrictions:
- Inspect the filters: Start by removing the filters and examining them for dirt, dust, and debris. If the filters are dirty or clogged, it is time to clean or replace them. Follow the manufacturer’s instructions for proper cleaning or replacement procedures.
- Check vents and registers: Ensure that all vents and registers in your home are open and unobstructed. Closed or blocked vents can impede the airflow, resulting in uneven cooling or an overworked AC system. Remove any furniture, drapes, or other objects that may be blocking the vents.
- Inspect ductwork: Examine the ductwork for any signs of damage, leaks, or blockages. Damaged or poorly insulated ducts can lead to air leaks or restricted airflow. Consider contacting a professional HVAC technician to inspect and repair any issues with your ductwork.
By checking for airflow restrictions and ensuring clean filters, you can significantly improve the performance and efficiency of your AC system. Remember to perform these checks regularly to avoid any potential issues and keep your home cool and comfortable throughout the year.
Step 4: Evaluating The Condenser Unit
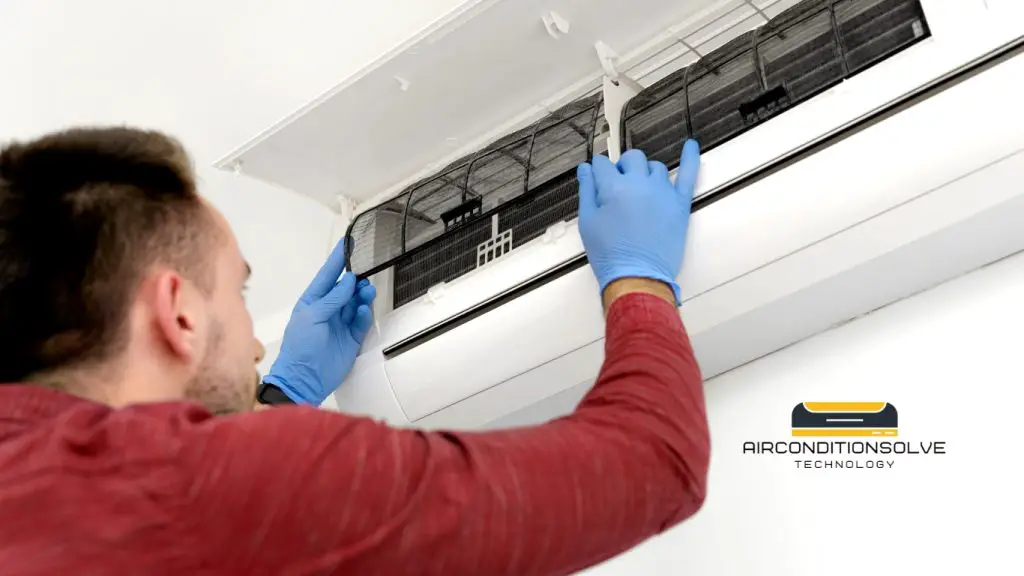
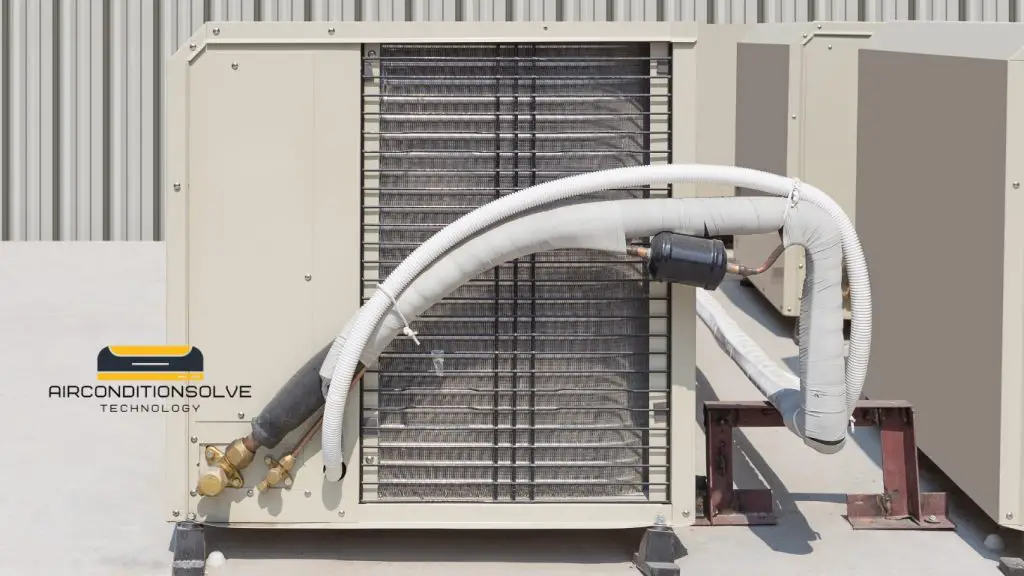
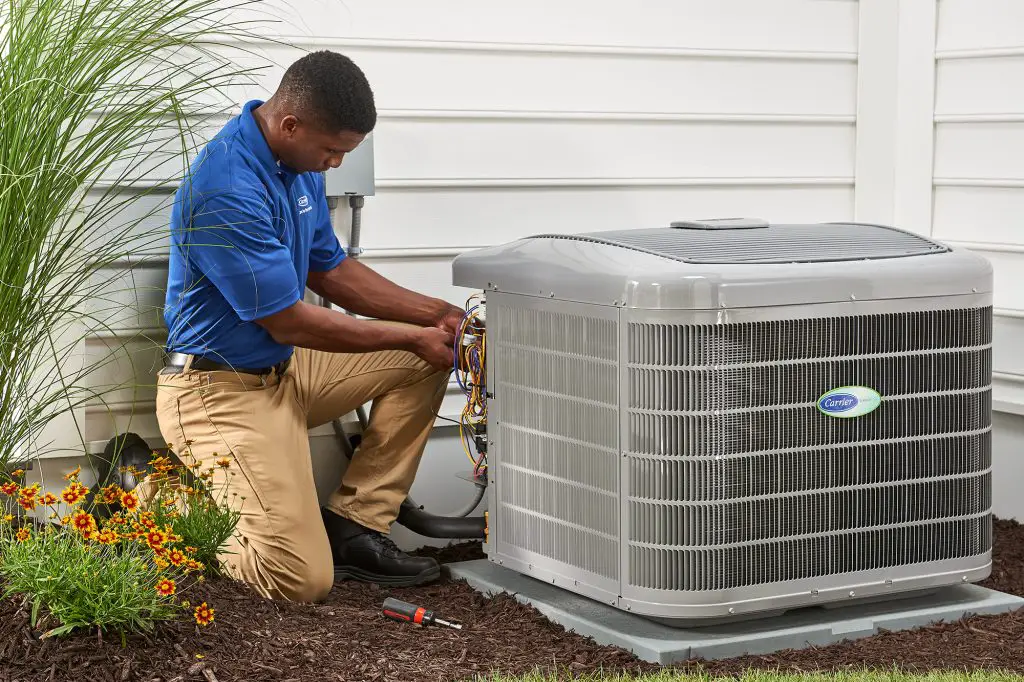
The outdoor unit of your air conditioning system, also known as the condenser unit, plays a vital role in ensuring the cooling efficiency of your AC system. In this step, we will guide you through the process of evaluating the condenser unit to identify any potential issues or malfunctions.
Inspecting The Outdoor Unit
Begin by visually inspecting the outdoor unit for any signs of damage or obstruction. Take note of any noticeable dents, leaks, or bent fins on the unit. It is essential to ensure that the condenser unit is not blocked by debris, vegetation, or other objects.
An obstructed condenser unit can restrict airflow, leading to reduced cooling performance and potential damage to the system. Clear any obstructions and ensure that there is sufficient clearance around the unit. This will allow for proper air circulation and prevent any overheating issues.
| Tasks | Actions |
|---|---|
| Check for any physical damage | Inspect for dents, leaks, or bent fins on the unit |
| Clear any obstructions | Remove debris or vegetation blocking the unit |
| Ensure sufficient clearance | Provide adequate space for proper air circulation |
Cleaning Condenser Coils
The condenser coils in the outdoor unit play a crucial role in releasing heat absorbed from inside your home. Over time, these coils can accumulate dirt, dust, and debris, which impairs their efficiency and affects the overall cooling performance.
To clean the condenser coils, follow these steps:
- Turn off the power to the AC system.
- Use a soft brush or a vacuum cleaner with a brush attachment to gently remove loose dirt and debris from the coils.
- Apply a mild detergent solution to a soft cloth and wipe down the coils. Be careful not to apply excessive pressure or use any abrasive materials that could damage the coils.
- Rinse the coils with water to remove any remaining detergent residue.
- Allow the coils to dry completely before turning the power back on.
Regularly cleaning the condenser coils not only improves the efficiency of your AC system but also helps prolong its lifespan. It is recommended to perform this maintenance task at least once a year or as needed.
Step 5: Troubleshooting Air Ducts
When your AC system isn’t cooling your home as efficiently as it should, it’s time to turn your attention to the air ducts. A flawed or damaged ductwork can hinder the flow of conditioned air, resulting in an inefficient cooling process. In this step, we will guide you through two essential aspects of troubleshooting air ducts: assessing for leaks and improving insulation.
Assessing Ductwork For Leaks
One common issue with air ducts is the presence of leaks, which can cause significant energy loss and reduce the overall performance of your AC system. It’s essential to assess your ductwork for any leaks and address them promptly. Here are some steps to follow:
- Start by visually inspecting the ducts for any visible signs of damage or loose connections. Look for any gaps, holes, or disconnected sections that may lead to air leakage.
- During your inspection, pay close attention to the joints and seams of the ductwork. These areas are prone to leaks and should be thoroughly examined.
- If you suspect there may be leaks but are unable to identify them visually, consider conducting a duct leakage test. This test involves pressurizing the ducts and using a smoke generator or thermal imaging to detect any escaping air.
- When you find leaks, seal them immediately using mastic sealant or metal tape. Avoid using duct tape as it tends to deteriorate over time, which can lead to recurring leaks.
By assessing your ductwork for leaks and sealing them properly, you can optimize the efficiency of your AC system and reduce unnecessary energy wastage.
Improving Air Duct Insulation
Poor insulation is another factor that can affect the performance of your air ducts. Insufficient or damaged insulation can lead to heat gain or loss, reducing the efficiency of your cooling system. To improve air duct insulation, consider the following:
- Inspect the existing insulation on your air ducts. Look for signs of damage, such as tears, gaps, or compressed areas. Damaged insulation should be replaced or reinforced.
- Consider adding insulation to uninsulated or poorly insulated sections of your ductwork. This will help prevent heat transfer and maintain the temperature of the conditioned air.
- Ensure that the insulation material used is suitable for your climate and complies with local building codes. Proper insulation will help maximize energy efficiency and improve overall comfort in your home.
Improving the insulation of your air ducts can significantly enhance the performance and efficiency of your AC system, resulting in better cooling and lower energy bills.
Frequently Asked Questions Of Ac Troubleshooting Flowchart
Can A Clogged Air Filter Cause Ac To Not Cool?
Yes, a clogged air filter restricts airflow, reducing cooling efficiency. It can cause poor cooling or even complete failure of the AC system. Regularly changing the air filter improves AC performance and helps maintain indoor air quality.
What Causes The Ac Compressor To Stop Working?
Several factors can cause an AC compressor to stop working, including low refrigerant levels, electrical issues, or a faulty compressor clutch. It’s important to have a professional technician diagnose the problem to ensure proper repairs and prevent further damage.
Why Is My Ac Unit Freezing Up?
An AC unit may freeze up due to low refrigerant levels, restricted airflow, or a malfunctioning blower fan. Freezing can lead to reduced cooling performance and potential damage to the AC system. Consult an HVAC professional to identify and fix the underlying cause.
Conclusion
Troubleshooting your AC system can be a daunting task, but with the help of this flowchart, you can easily identify and resolve common issues. By following the step-by-step guide and considering the various factors that could be affecting your unit, you’ll be able to restore your AC’s functionality and ensure a comfortable living space.
Remember, regular maintenance is key to preventing future problems. Take advantage of this troubleshooting flowchart to keep your AC running smoothly and efficiently. Happy troubleshooting!

