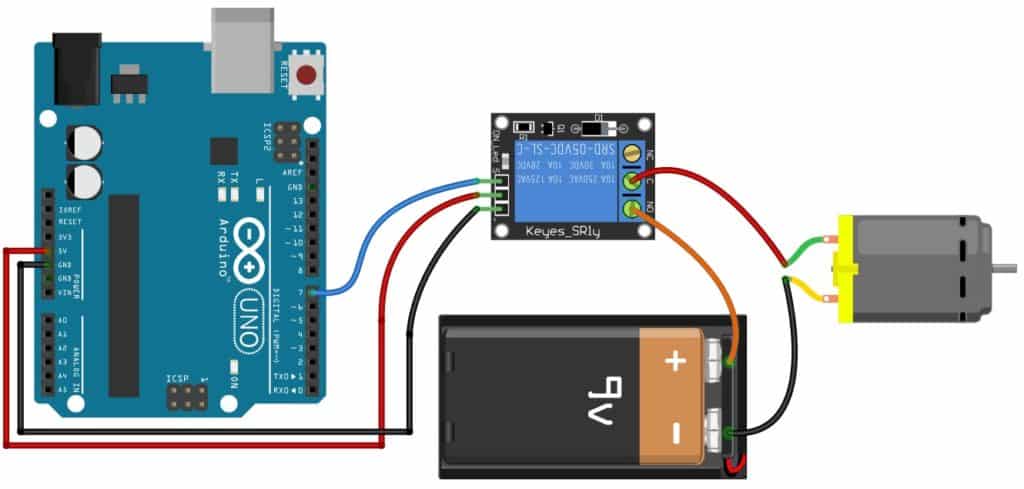
A 24V HVAC relay wiring diagram shows the connections for controlling the HVAC system using a relay. The diagram illustrates the specific wiring arrangement for efficient operation.
When setting up an HVAC system, understanding the relay wiring diagram is crucial for proper installation. By following the wiring instructions accurately, you can ensure the relay functions correctly to regulate the HVAC components. This guide will provide a clear explanation of the components involved and how they interact in the wiring diagram for a 24V HVAC relay system.
Understanding these details is essential for both professionals and DIY enthusiasts looking to set up or troubleshoot their HVAC systems effectively.
Understanding 24v Hvac Relay Wiring
24V HVAC relay wiring is crucial for the proper functioning of heating, ventilation, and air conditioning systems. It involves connecting different components to ensure efficient operation. Let’s delve into the details of 24V HVAC relay wiring.
Basic Components Of 24v Hvac Relay
- Coil: The coil is the electromagnet that activates the relay when powered.
- Contacts: Contacts are the switch components that open and close based on the coil’s activation.
- Enclosure: The enclosure protects the relay components from environmental factors.
Importance Of Proper Wiring For Hvac Relays
- Efficiency: Proper wiring ensures the HVAC system operates efficiently.
- Safety: Correct wiring reduces the risk of malfunctions and potential hazards.
- Durability: A well-wired relay system can prolong the lifespan of HVAC components.
Understanding 24V HVAC relay wiring is essential for maintaining a well-functioning HVAC system. By grasping the basic components and importance of proper wiring, you can ensure optimal performance and longevity of your heating and cooling systems.
Step-by-step Wiring Process
When it comes to setting up the 24V HVAC relay wiring diagram, it’s essential to follow a detailed step-by-step process. Let’s walk through the key steps from identifying the power source to connecting the thermostat and relay, and finally wiring the relay to the HVAC system.
Identifying The 24v Power Source
Locate the 24V power source from the HVAC system – often found at the control board.
Ensure the power is turned off before proceeding with any wiring work.
Label the power source correctly to avoid confusion during the wiring process.
Connecting The Thermostat And Relay
Match the thermostat wiring with the corresponding terminals on the relay.
Use wire nuts to securely connect the wires from the thermostat to the relay.
Double-check the connections to guarantee proper alignment.
Wiring The Relay To The Hvac System
- Identify the appropriate ports on the HVAC system where the relay needs to be connected.
- Detach the existing wires and connect the relay wires securely.
- Test the connections to ensure the relay is functioning as intended.
By following this step-by-step wiring process for the 24V HVAC relay, you can effectively set up a reliable and efficient system.
Troubleshooting Common Wiring Issues
When dealing with 24V HVAC relay wiring, it’s essential to troubleshoot common wiring issues to ensure optimal functionality. Identifying and fixing loose connections, dealing with incorrect wiring, and addressing power supply problems are crucial steps in troubleshooting these issues.
Identifying And Fixing Loose Connections
Loose connections can lead to intermittent or failed operation of the HVAC relay system. To address this issue:
- Visually inspect all wiring connections for any signs of looseness or corrosion.
- Ensure all terminal screws are tightened securely to maintain a proper electrical connection.
- Using a multimeter, verify the continuity of the connections to ensure they are secure.
Dealing With Incorrect Wiring
Incorrect wiring can cause malfunctions or damage to the HVAC relay system. Here’s how to address this issue:
- Consult the wiring diagram for your specific HVAC relay to ensure each wire is connected to the correct terminal.
- If any incorrect wiring is found, reconfigure the connections according to the specified diagram.
- Double-check the polarity and ensure the wires are connected to the appropriate terminals.
Addressing Power Supply Problems
Power supply problems can impede the proper functioning of the HVAC relay system. Here are steps to address this issue:
- Check the voltage of the power supply to ensure it meets the specified requirements for the HVAC relay.
- Inspect the integrity of the wiring from the power source to the relay to identify any potential breaks or damage.
- Ensure the power supply is stable and free from fluctuations that may affect the relay’s operation.

Credit: www.electricaltechnology.org
Advanced Tips For Enhancing Relay Performance
In order to maximize the efficiency and effectiveness of your HVAC system, it is vital to pay attention to the wiring diagram and ensure that the relay is properly installed. However, simply connecting the wires is not enough. Implementing advanced techniques for enhancing relay performance can significantly improve the overall functionality and reliability of your system. Here are two essential tips to consider:
Implementing Proper Wire Management Techniques
One of the key factors to ensure smooth relay operation is implementing proper wire management techniques. This involves organizing and securing the wires in a systematic manner to minimize the risk of interference, short circuits, or accidental damage. By following these wire management best practices, you can enhance the performance of your HVAC relay:
- Labeling: Properly label each wire to easily identify them during installation and troubleshooting.
- Bundling: Group the wires together using zip ties or cable clamps, keeping them organized and free from tangling.
- Routing: Route the wires away from sources of electromagnetic interference (such as power cables or motors) to prevent signal disruptions.
- Protection: Ensure that the wires are protected from sharp edges or excessive heat, using wire loom or heat-resistant sleeves.
Utilizing Relay Protection Devices
Relays are exposed to various external factors that can potentially impact their performance. To mitigate the risks, it is essential to utilize relay protection devices that safeguard them from potential damage. By employing these protective measures, you can increase the longevity and reliability of your HVAC relay:
- Fuse or Circuit Breaker: Incorporate a fuse or circuit breaker in the power supply line to the relay to prevent overcurrent situations that can damage the switch contacts or cause a malfunction.
- Transient Voltage Suppressor (TVS) Diode: Install a TVS diode across the coil of the relay to suppress high-voltage spikes that could result from lightning strikes or power surges. This helps protect the relay’s electronics from damage.
- Snubber Network: Utilize a snubber network, consisting of a resistor and capacitor, to dampen voltage spikes and reduce stress on the relay contacts caused by inductive loads.
- Electromagnetic Interference (EMI) Filter: Incorporate an EMI filter to minimize electromagnetic interference that may destabilize relay performance, particularly in environments with high-frequency electronic equipment.
By implementing proper wire management techniques and utilizing relay protection devices, you can significantly enhance the performance and longevity of your HVAC relay. These advanced tips not only boost the efficiency of your system but also contribute to a more reliable and durable HVAC setup.
Final Checks And Safety Measures
Before completing the wiring process for your 24V HVAC relay, it is crucial to perform several final checks to ensure the system functions properly and to prioritize safety. This subheading will cover two essential aspects: performing functionality testing and ensuring proper insulation and grounding. We will also outline some safety precautions you should keep in mind during the wiring process.
Performing Functionality Testing
Once you have completed the wiring connections according to the diagram, it is important to test the functionality of the 24V HVAC relay. This will help you identify any potential issues before the system is in operation. To perform functionality testing, follow these steps:
- Double-check all the connections: Make sure that each wire is securely connected and that there are no loose or damaged wires.
- Verify the relay’s operation: Activate the 24V HVAC relay and observe if it switches on and off as expected. This confirms that the relay is functioning correctly and responding to the control signal.
- Test the control signals: Apply the appropriate control signals to the relay and ensure it responds accordingly, either by activating or deactivating the connected HVAC equipment.
By performing these functionality tests, you can catch any wiring errors or faulty components before they cause any problems down the line.
Ensuring Proper Insulation And Grounding
In order to ensure the safety and efficiency of your 24V HVAC relay wiring, proper insulation and grounding are paramount. Follow these guidelines to guarantee a reliable electrical connection:
- Insulate all exposed wires: Make sure all the wires are properly insulated using electrical tape or heat shrink tubing. This prevents short circuits and electrical shocks.
- Secure cable and wire connections: Fasten cables and wire connections using cable ties or appropriate clamps. This prevents unnecessary strain on the wires and ensures they remain intact during operation.
- Ensure proper grounding: Connect the relay’s grounding wire securely to a designated grounding point, typically provided in the HVAC equipment or control panel. Grounding is essential to protect against electrical faults and ensure a safe operating environment.
Safety Precautions During Wiring
While undertaking the wiring process, it is important to prioritize your safety and take the necessary precautions to prevent accidents. Here are some safety measures to keep in mind:
- Always turn off the power: Before starting any wiring work, ensure the power supply to the HVAC system is shut off. This eliminates the risk of electrical shocks.
- Use proper tools and equipment: Utilize insulated tools and wear appropriate safety gear, such as gloves and safety glasses, to protect yourself from potential hazards.
- Avoid working in wet conditions: If possible, conduct the wiring process in a dry environment to reduce the risk of electrical accidents.
- Follow electrical codes and regulations: Adhere to the local electrical codes and regulations during the wiring process to ensure compliance and safety.
By following these safety precautions, you can ensure a secure and trouble-free installation of your 24V HVAC relay wiring diagram.

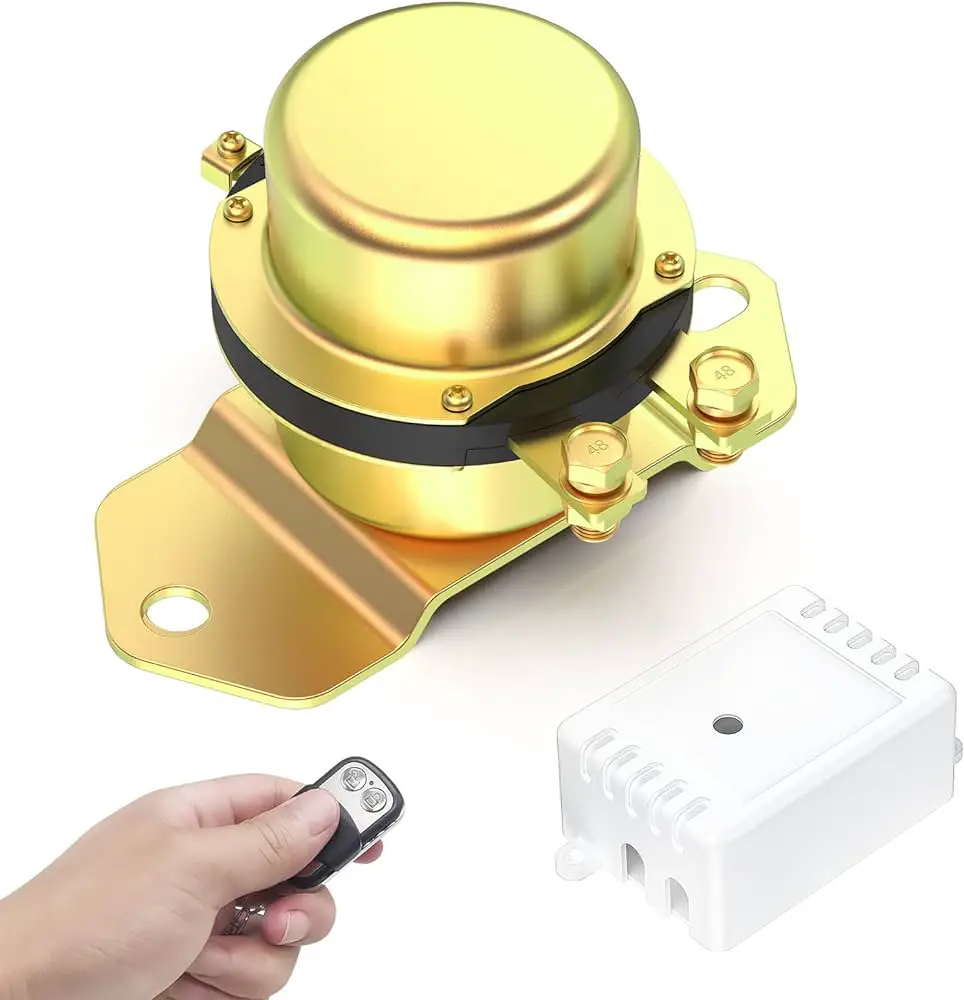
Credit: www.amazon.com

Credit: www.makerguides.com
Frequently Asked Questions On 24v Hvac Relay Wiring Diagram
How Does A 24v Ac Relay Work?
A 24V AC relay operates by using a low-voltage control circuit to switch a higher-voltage circuit on or off. When the control coil is energized, it creates a magnetic field that pulls the switch contacts together, allowing current to flow through the higher-voltage circuit.
What Is The Voltage Of A Hvac Relay?
The voltage of a HVAC relay typically ranges from 24 to 240 volts. It varies based on the specific model and application.
Which Terminals On A Relay Are The Control Connections?
The control connections on a relay are typically the coil terminals. These terminals activate the relay when power is applied.
How Do You Test An Hvac Relay?
To test an HVAC relay, use a multimeter to check for continuity and voltage. First, disconnect the power, then remove the relay. Use the multimeter to test the coil and contacts for proper functionality. If there are any issues, replace the relay as needed.
Conclusion
To sum up, understanding the 24V HVAC relay wiring diagram is crucial for ensuring a successful HVAC system operation. By following the correct wiring guidelines, you can avoid potential issues and ensure the proper functioning of the system. Keep in mind the importance of professional installation and regular maintenance for optimal performance.

