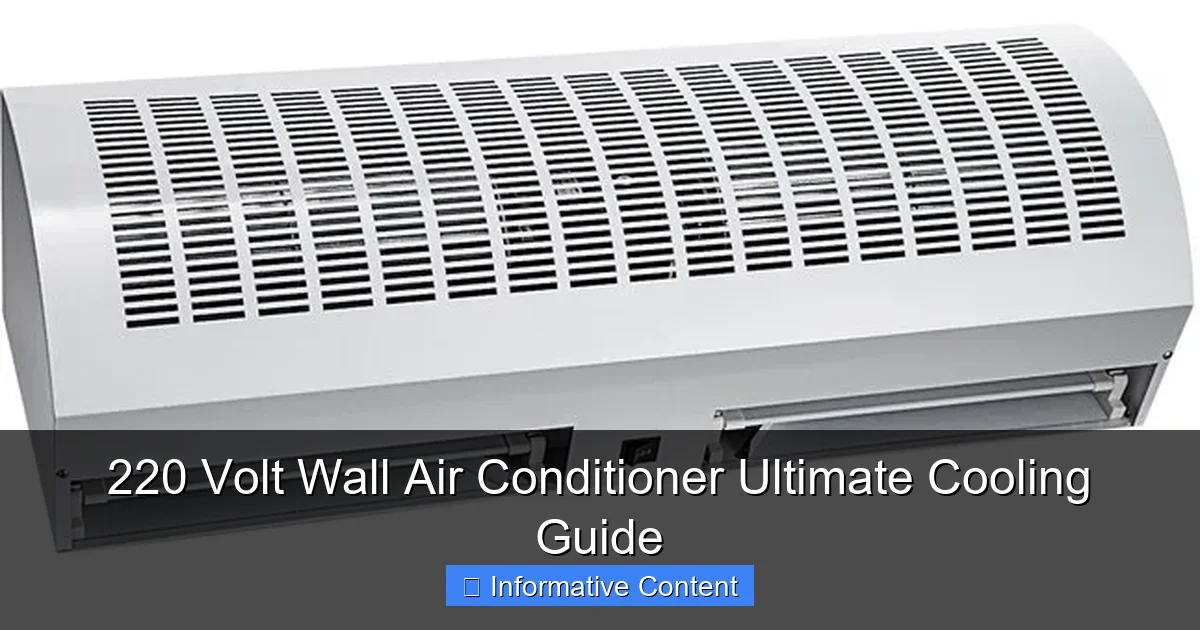
Featured image for 220 volt wall air conditioner
Image source: mobileimages.lowes.com
The 220 volt wall air conditioner delivers powerful, energy-efficient cooling ideal for larger rooms and high-heat environments. Designed for permanent installation, these units offer superior performance, quieter operation, and greater efficiency compared to standard 110V models. With easy wall-mount setup and compatibility with most modern electrical systems, they’re the ultimate solution for consistent, long-term comfort.
Key Takeaways
- Choose the right size: Match BTU capacity to room square footage for efficient cooling.
- Ensure 220V compatibility: Verify your electrical system supports 220-volt power before purchase.
- Prioritize energy efficiency: Look for high EER ratings to reduce long-term electricity costs.
- Professional installation is key: Hire a licensed electrician for safe and code-compliant setup.
- Maintain regularly: Clean filters and coils monthly to sustain performance and air quality.
- Consider smart features: Opt for models with remote control or Wi-Fi for convenience and savings.
📑 Table of Contents
- The Heat Is On: Why Your Summer Survival Depends on the Right Air Conditioner
- What Makes 220 Volt Wall Units Different from Regular ACs
- Choosing the Right 220 Volt Wall Unit for Your Space
- Installation: DIY or Hire a Pro?
- Maintenance: Keeping Your Unit Running Smoothly
- Cost Analysis: Upfront vs. Long-Term Value
- The Bottom Line: Is a 220 Volt Wall AC Right for You?
The Heat Is On: Why Your Summer Survival Depends on the Right Air Conditioner
Remember that time you tried to nap during a heatwave, only to wake up in a puddle of your own sweat? Or when your home office turned into a sauna, making your laptop overheat right before a big presentation? If you’ve been there (and let’s face it, we all have), you know that a regular AC unit just won’t cut it when temperatures start climbing. That’s where the 220 volt wall air conditioner comes in – your secret weapon against the summer scorch.
Unlike those flimsy window units that barely keep one room cool, 220 volt wall air conditioners are built differently. They’re the quiet professionals of the cooling world, installed directly into your wall and connected to the same type of heavy-duty electrical circuit that powers your dryer or oven. This extra power means they can handle larger spaces, maintain consistent temperatures, and even help with humidity control – all while being less obtrusive than their window-mounted cousins. Whether you’re trying to keep a home gym comfortable, cool down a converted garage workshop, or just maintain sanity in a sun-baked living room, these units deliver serious cooling power where you need it most.
What Makes 220 Volt Wall Units Different from Regular ACs
Before we dive into the nitty-gritty details, let’s clear up a common confusion: 220 volt wall air conditioners aren’t just “stronger” versions of regular ACs. They’re an entirely different breed, designed from the ground up for more demanding cooling tasks. The difference starts with that electrical connection – while most household appliances run on 110-120 volts, these units need the extra juice of a 220-240 volt circuit to perform at their best.
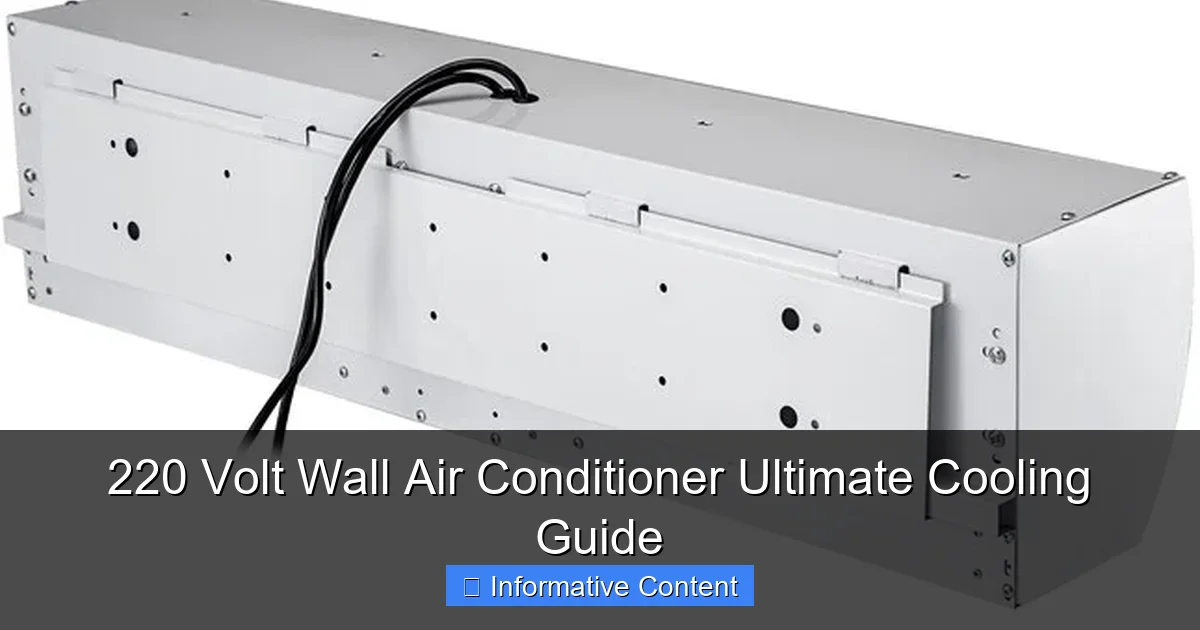
Visual guide about 220 volt wall air conditioner
Image source: mobileimages.lowes.com
Power Requirements: Why Voltage Matters
Think of voltage like the width of a water pipe. A 110-volt system is like a garden hose – it works fine for small jobs, but if you try to push too much through it, you’ll get weak pressure and poor performance. A 220 volt circuit? That’s the fire hydrant connection – built for heavy-duty flow. In air conditioning terms, this means:
- Faster cooling of larger spaces (up to 1,000 sq ft in some models)
- Better temperature consistency throughout the day
- More efficient operation at peak performance
- Ability to handle higher BTU outputs without straining
<
<
For example, my neighbor installed a 12,000 BTU 220 volt unit in his 600 sq ft basement home theater. While his friend with a similar space struggled with a 15,000 BTU 110-volt window unit (which kept tripping breakers), my neighbor’s system runs smoothly, even during heatwaves.
Installation: Permanent vs. Portable
Here’s where things get interesting. Unlike portable units that you can wheel around or window ACs that you can (theoretically) move seasonally, 220 volt wall air conditioners are permanent installations. This isn’t necessarily a drawback – in fact, it’s often a benefit:
- No seasonal removal: Once installed, it’s there year-round, ready to go when you need it.
- Better insulation: The wall sleeve creates a tighter seal than window units, reducing energy loss.
- Space-saving: No bulky window units blocking your view or taking up floor space.
- Professional look: They blend into your home’s architecture rather than being an obvious add-on.
The catch? You’ll need an electrician to install the proper 220-volt circuit if you don’t already have one. This adds to the upfront cost, but pays off in long-term performance and reliability.
Energy Efficiency: The Long-Term Payoff
Many people assume that higher voltage means higher energy bills. Not necessarily true! While these units draw more power at peak operation, their efficiency often makes up for it. Here’s why:
- Better SEER ratings: Most quality 220 volt units have SEER (Seasonal Energy Efficiency Ratio) ratings of 12-16, compared to 10-13 for many window units.
- Consistent performance: They maintain efficiency across different temperature ranges, unlike window units that lose efficiency when overworked.
- Smart features: Many models include programmable thermostats, sleep modes, and energy-saving settings.
My own 8,000 BTU 220 volt unit in a 400 sq ft sunroom costs about $0.30 per hour to run at full power – less than the old 6,000 BTU window unit I had before, despite cooling a larger space more effectively.
Choosing the Right 220 Volt Wall Unit for Your Space
Not all 220 volt wall air conditioners are created equal, and picking the right one for your specific needs is crucial. The wrong choice can mean wasted money, inadequate cooling, or even electrical issues. Let’s break down what you need to consider.
BTU Size: Matching Power to Space
The most common mistake people make is either under- or over-sizing their AC unit. Too small, and it’ll run constantly without keeping you cool. Too large, and it’ll cycle on and off too quickly (short-cycling), reducing efficiency and comfort. Here’s a general guideline for 220 volt units:
- 8,000-10,000 BTU: 300-500 sq ft (small to medium rooms, sunrooms, home offices)
- 12,000-14,000 BTU: 500-700 sq ft (large rooms, open concept spaces, converted garages)
- 18,000-24,000 BTU: 700-1,000 sq ft (great rooms, basements, small apartments)
But don’t just rely on square footage! Other factors matter too:
- Ceiling height: For every foot over 8 ft, add 1,000 BTU
- Sun exposure: South/west-facing rooms need 10-15% more cooling
- Insulation: Poorly insulated spaces need 20-30% more power
- Occupancy: Add 600 BTU per person beyond two
For example, my friend needed a 14,000 BTU unit for his 650 sq ft workshop (with 10 ft ceilings and poor insulation), while my 550 sq ft living room with good insulation works perfectly with a 10,000 BTU model.
Key Features to Look For
Beyond size, these features make a real difference in day-to-day use:
- Variable speed compressor: Instead of just on/off, these adjust output for more precise temperature control and better humidity management.
- Smart thermostat compatibility: Lets you control the unit remotely and integrate with home automation systems.
- Quiet operation: Look for models with 50-55 dB or less on low setting – crucial for bedrooms.
- Dehumidification mode: Helps in muggy climates without overcooling the space.
- Energy Star rating: Ensures the unit meets strict efficiency guidelines.
- Air filter quality: Washable or HEPA filters improve indoor air quality.
One feature that surprised me? My unit has a “dry mode” that runs the fan without cooling, which is perfect for those days when it’s not hot but the air feels sticky.
Brand Reliability and Support
When you’re making a semi-permanent installation, you want a brand you can trust. Based on my research and personal experience:
- LG: Great reliability and smart features, but higher price point
- Frigidaire: Good balance of price and performance, excellent customer service
- GE: Solid units with good warranties, but some older models had noise issues
- Mitsubishi: Premium quality with excellent efficiency, but requires professional installation
- Whynter: Good budget options, but limited service network
Always check the warranty – I’d recommend at least a 5-year compressor warranty for peace of mind. And if you’re in a humid climate, look for brands that offer good support for mold prevention in the unit.
Installation: DIY or Hire a Pro?
Installing a 220 volt wall air conditioner isn’t like setting up a window unit. The electrical requirements alone mean this is a job where you really need to think twice about DIY. Let’s break down what’s involved.
Electrical Requirements: The Non-Negotiable Part
First and foremost – you need a proper 220-240 volt electrical circuit. This isn’t something you can jury-rig with adapters or extension cords. Here’s what you need to know:
- Dedicated circuit: The AC needs its own circuit, not shared with other appliances
- Correct gauge wiring: Usually 10-2 or 12-2 NM-B cable, depending on amperage
- Proper breaker: Typically a double-pole 20-30 amp breaker in your panel
- Grounded outlet: NEMA 6-15R or 6-20R depending on the unit
I learned this the hard way when I tried to save money by having a friend help me install my first unit. We got the wall sleeve in place, but when we realized we needed a $300 electrical upgrade (new breaker, running cable from the panel), we called in an electrician. In the end, we spent more than if we’d hired one from the start.
Wall Sleeve and Mounting: The Physical Installation
If you’re handy with tools, this part you might be able to handle yourself – but it’s still a two-person job. Key steps include:
- Measuring and cutting: The opening needs to be precise to fit the wall sleeve
- Weatherproofing: Proper flashing and sealing is crucial to prevent leaks
- Supporting the weight: These units are heavy (50-100 lbs) and need solid framing behind the wall
- Drainage setup: Most units need a condensate drain line installed
Pro tip: If you’re replacing an old unit, reuse the existing wall sleeve if possible. Installing a new sleeve properly (with proper flashing and insulation) is one of the trickiest parts and where many DIY jobs fail, leading to water damage.
When to Definitely Hire a Professional
Here are the situations where I’d strongly recommend calling in a pro:
- You don’t already have a 220 volt circuit in the right location
- Your home has stucco, brick, or other challenging exterior walls
- You’re not comfortable working with electrical panels or high-voltage wiring
- Your home has historic or unusual construction (plaster walls, etc.)
- You need structural modifications (reinforcing framing, etc.)
The cost? Typically $500-1,500 for full professional installation (including electrical work), but this includes proper permits, inspections, and peace of mind. For a complex job in a historic home with knob-and-tube wiring, my cousin paid $2,200 – but it was worth every penny to avoid electrical hazards or water damage.
Maintenance: Keeping Your Unit Running Smoothly
Unlike window units that you can easily remove and clean, 220 volt wall air conditioners require a more thoughtful maintenance approach. The good news? With proper care, they can last 15-20 years or more. The bad news? Neglect can lead to expensive repairs or premature replacement.
Monthly and Seasonal Tasks
Here’s the maintenance schedule I follow (and recommend to anyone with a 220 volt wall air conditioner):
- Monthly (during cooling season):
- Rinse the air filter with water (or vacuum if it’s a mesh type)
- Wipe down the indoor unit with a damp cloth
- Check that the condensate drain isn’t clogged
- Every 3 months:
- Inspect the outdoor unit (if accessible) for debris
- Clean the indoor coil with coil cleaner (if you can access it)
- Check that the unit is level (shim if necessary)
- Annually (before cooling season):
- Deep clean the entire unit (more on this below)
- Inspect the wall sleeve for cracks or gaps
- Check refrigerant lines for leaks or damage
- Test all functions (cooling, heating if applicable, fan speeds)
One mistake I made early on? Not cleaning the filter regularly. After three months of neglect, my unit started blowing warm air. The repair guy said the dirty filter had caused the evaporator coil to freeze, which damaged the compressor. A $300 repair that could have been avoided with $5 worth of filter cleaning!
Deep Cleaning: What Most People Skip
Beyond the basic filter cleaning, there are parts of the unit that need attention but are often overlooked:
- Evaporator coil: Located behind the front panel, this collects dust and can develop mold if not cleaned annually with a no-rinse coil cleaner.
- Condensate drain: Algae can grow in the drain pan and line, causing clogs. Flush with a 50/50 mix of water and vinegar annually.
- Outdoor fins (if accessible): Use a fin comb to straighten bent aluminum fins and spray with coil cleaner to remove grime.
- Drain pan: Remove and scrub with soapy water to prevent mold and odors.
For units with accessible outdoor sections, I use a garden sprayer with coil cleaner, then rinse with a low-pressure hose. Never use high-pressure washing – it can damage the delicate fins.
Professional Service: When to Call the Experts
Some maintenance tasks require specialized knowledge and tools. Call a professional when you need:
- Refrigerant recharge: If your unit is low on refrigerant (indicated by ice buildup or reduced cooling), this requires EPA certification to handle.
- Electrical diagnostics: If the unit trips breakers or has intermittent power issues.
- Compressor issues: Strange noises, failure to start, or reduced efficiency over time.
- Condensate pump replacement: If your unit has a pump to remove water and it fails.
I budget $150-200 annually for a professional tune-up. It’s cheaper than a major repair, and the tech often catches small issues before they become big problems. Last year, mine found a failing capacitor – a $50 part that would have cost $400+ to replace if it had completely failed.
Cost Analysis: Upfront vs. Long-Term Value
Let’s talk money. 220 volt wall air conditioners have higher upfront costs than other types, but the long-term value often justifies the investment. Here’s what you need to consider when budgeting.
Initial Investment Breakdown
Here’s what you can expect to pay for a quality 220 volt wall air conditioner and installation:
- Unit cost: $400-1,200 (depending on size, brand, and features)
- Electrical work: $200-800 (if new circuit needed)
- Professional installation: $300-1,000 (varies by complexity)
- Permits/inspections: $50-200 (required in most areas)
Total initial investment: $950-3,200. Compare this to a window unit ($150-400) or portable AC ($300-800), and it seems steep. But let’s look at the bigger picture.
Operating Costs and Energy Efficiency
Here’s where the value really shows up. A quality 220 volt unit typically uses 20-30% less energy per BTU than a comparable window unit. For example, cooling a 600 sq ft space:
| AC Type | BTU | SEER Rating | Watts | Cost per Hour* |
|---|---|---|---|---|
| 220V Wall Unit | 12,000 | 14 | 850 | $0.11 |
| Window Unit | 12,000 | 11 | 1,100 | $0.15 |
| Portable Unit | 12,000 | 10 | 1,200 | $0.16 |
*Based on $0.13/kWh average electricity rate
Over a typical 120-day cooling season (8 hours/day), that’s a savings of $48-62 per year compared to less efficient options. Factor in the longer lifespan (15-20 years vs. 8-12 for window units), and the 220 volt unit becomes the better long-term investment.
Additional Value Factors
Beyond energy savings, consider these often-overlooked benefits:
- Home value: A professionally installed unit can increase your home’s value, especially in hot climates.
- Comfort: Consistent, quiet operation improves quality of life.
- Health: Better humidity control reduces mold and allergens.
- Noise reduction: No window rattling or portable unit fan noise.
- Space savings: Frees up window and floor space.
My own unit paid for itself in about 5 years when you factor in energy savings and the fact that it eliminated the need to buy a dehumidifier for the room. Plus, I can finally enjoy my morning coffee in the sunroom without sweating through my shirt!
The Bottom Line: Is a 220 Volt Wall AC Right for You?
After years of dealing with inefficient window units, portable ACs that barely cooled a closet, and the constant battle against humidity, I can confidently say that my 220 volt wall air conditioner has been one of my best home investments. But it’s not the right choice for everyone. Here’s how to decide if it’s right for you.
If you’re looking for a temporary or portable solution, need to cool a very small space, or rent your home, a 220 volt wall unit probably isn’t worth the investment. Window or portable units make more sense in those cases. But if you own your home and need to cool a medium to large space (400+ sq ft) on a regular basis, especially in a climate with hot, humid summers, these units shine.
The key advantages are clear: better efficiency, more consistent cooling, quieter operation, and a more permanent, professional installation. Yes, the upfront cost is higher, but the long-term savings in energy bills, replacement costs, and improved comfort make it worthwhile. Plus, there’s something satisfying about having a system that just works – no more wrestling with window units, no more extension cords for portable ACs, no more “it’s cool in here but hot right next to the unit” situations.
My final advice? Do your homework on size and features, budget for professional installation (especially the electrical work), and commit to regular maintenance. With those pieces in place, a 220 volt wall air conditioner can provide reliable, efficient cooling for a decade or more. Just like that first sip of cold lemonade on a hot day – once you experience this level of comfort, it’s hard to go back to anything less.
Frequently Asked Questions
What is a 220 volt wall air conditioner and how does it work?
A 220 volt wall air conditioner is a high-capacity cooling unit designed for spaces requiring powerful temperature control, typically installed through a wall or window. It operates on a 220-240V electrical circuit, making it more efficient for heavy-duty cooling compared to standard 110V units.
Can I install a 220 volt wall air conditioner myself?
While installation is possible for DIY enthusiasts, hiring a licensed electrician is highly recommended due to the high-voltage wiring requirements. Improper installation can lead to electrical hazards or void the unit’s warranty.
What size 220 volt wall air conditioner do I need for my room?
Choose a unit with 200-300 BTUs per square foot (e.g., a 12,000 BTU model for a 400-600 sq ft space). For larger or poorly insulated rooms, opt for a higher-capacity 220 volt wall air conditioner.
Are 220 volt wall air conditioners energy efficient?
Yes, most modern 220V units feature high SEER ratings (14+), inverters, and eco-modes to reduce energy consumption. They’re especially efficient for whole-home or commercial cooling compared to multiple smaller units.
What maintenance does a 220 volt wall air conditioner require?
Regularly clean or replace air filters, clear debris from outdoor vents, and check refrigerant lines for leaks. Annual professional servicing ensures optimal performance and extends the unit’s lifespan.
Can a 220 volt wall air conditioner also heat a room?
Many models include a heat pump function, providing both cooling and heating in one unit. This dual functionality makes them ideal for year-round climate control in moderate climates.